How to Make Your Own Charm Bracelets: 3 Step Guide
By: Sawyer Wood
Between small business marketplaces, luxury jewelry shops, Instagram-driven labels, and the online shopping behemoths, jewelry-lovers definitely aren’t hurting for choices. Contrary to our collective assumptions, however, these avenues for spending don’t actually have anything and everything an accessorizing heart could desire. Sometimes, regardless of how hard you look, no one will have the kind of design or style you’re after, especially if you’re in the market for a unique bracelet since simple and understated have become the aesthetic of choice over the last several years.
Yet, where there’s a will, there’s a way. And in this case, that comes in the form of DIY. Many may hesitate to craft something of their own but making bracelets truly is rather easy once you get the hang of it, and also happens to be the best way to get what you want when it’s in short (or worse yet, no) supply. All you need to get started are a few basic tools, creative vision, and maybe a sprinkling of guidance. Needing the latter? Then you’ve come to the right place. Read below for our easy step-by-step guide to all things bracelet-making.
What You’ll Need
Ingenuity and a willingness to learn as you go are paramount for anybody looking to start crafting their own bracelets - whether they’re doing so as a profitable side hustle, a full-scale business venture, or simply as a way to keep one’s hands busy. Still, you’re not going to get very far if you don’t have the materials you need to succeed. Since there’s nearly limitless potential for designs and construction methods, your potential necessary supplies may vary although the following are standard materials everyone should have in their toolkit; newbie, expert, or otherwise:
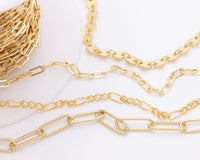
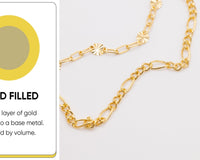
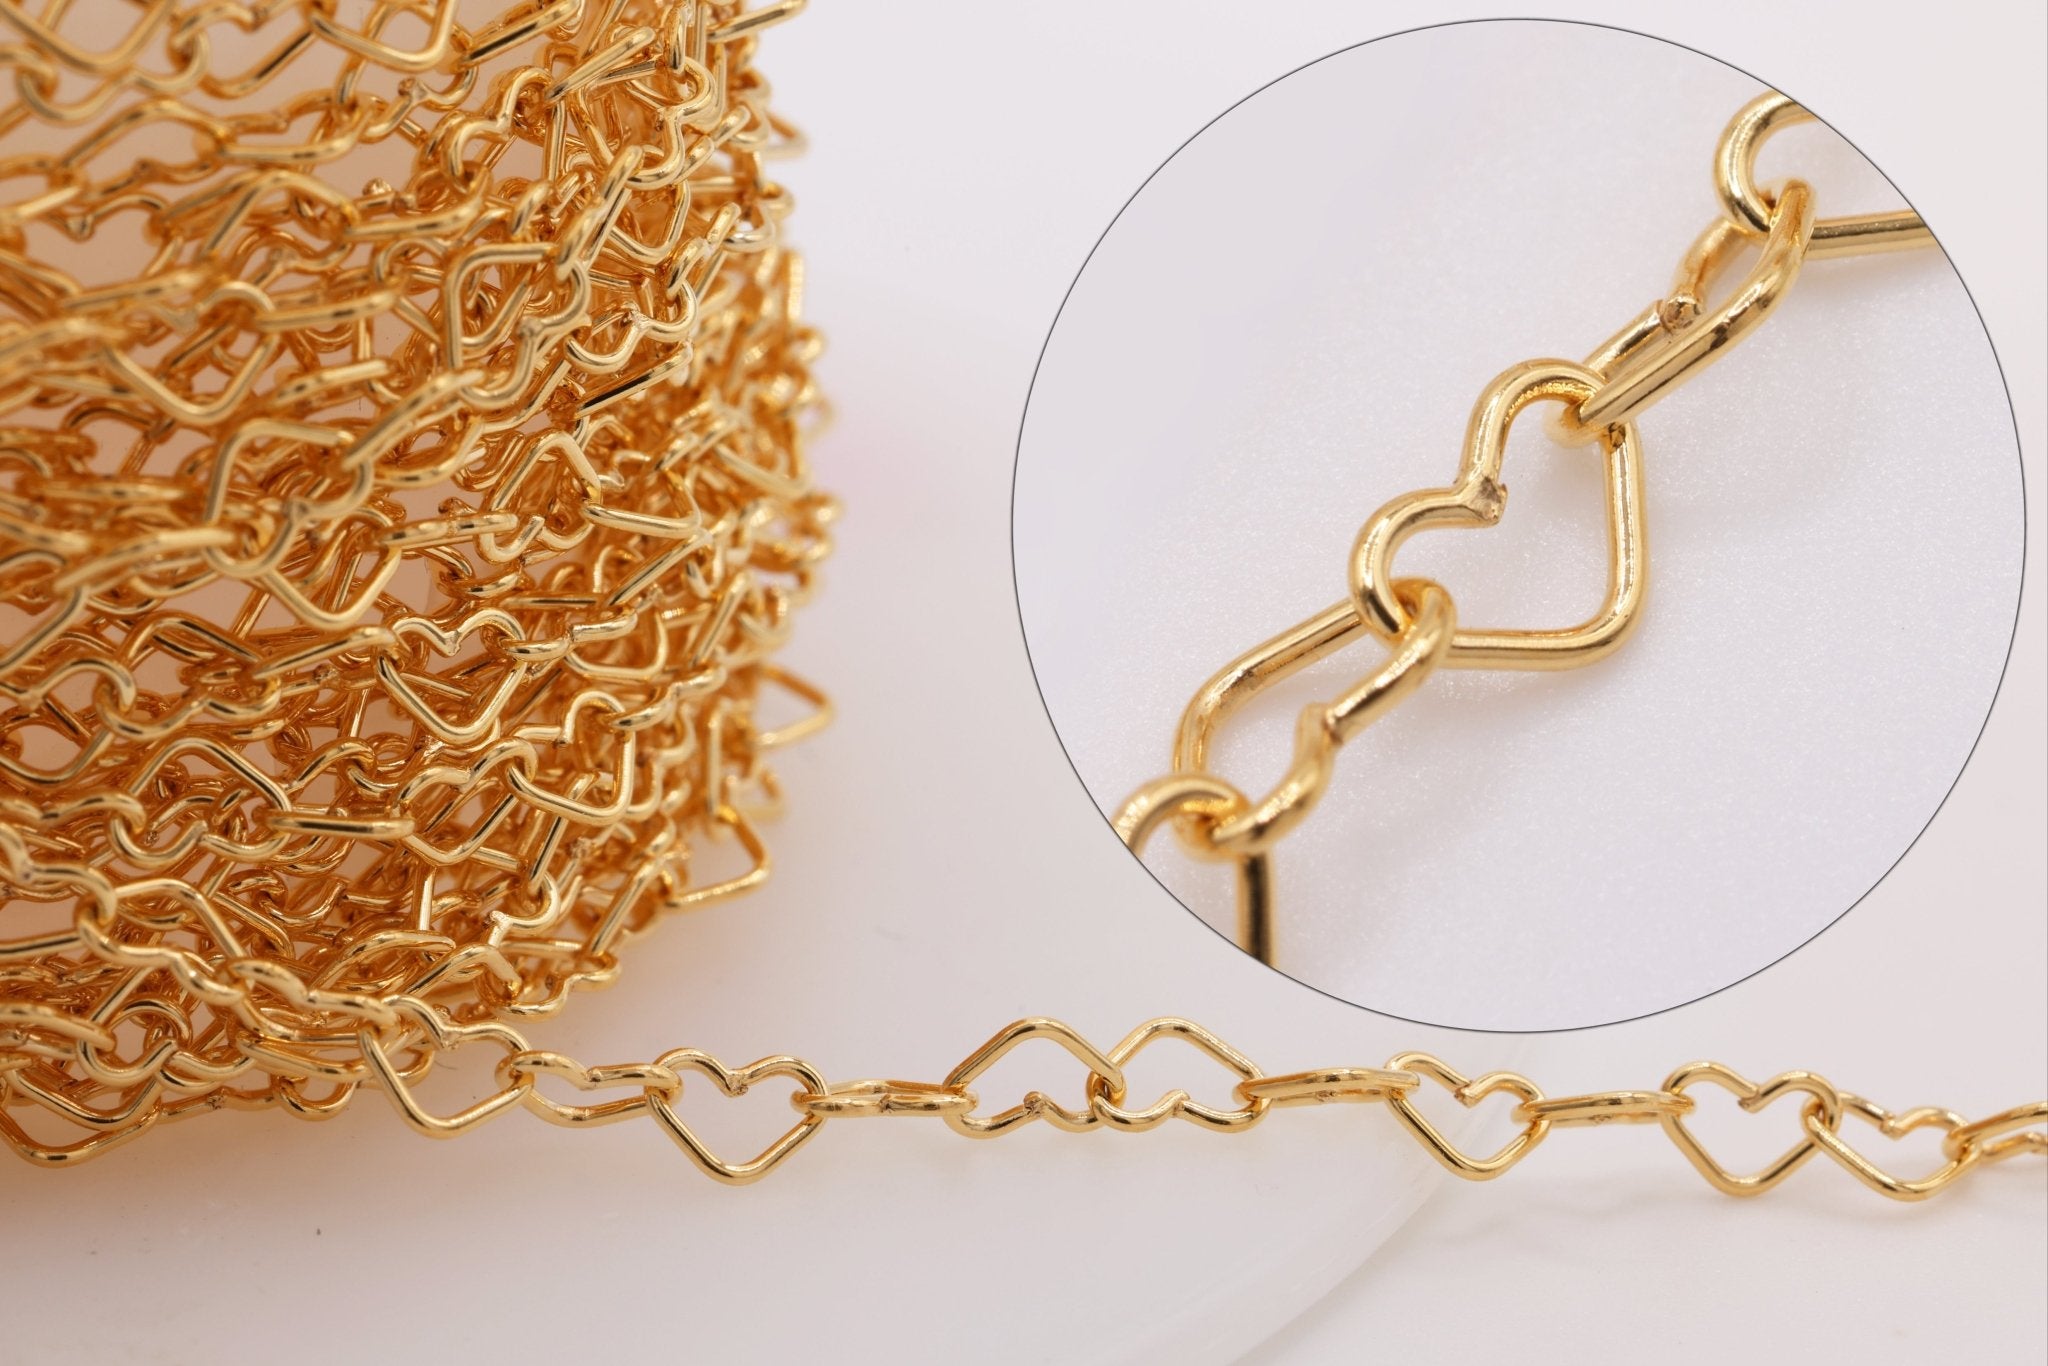
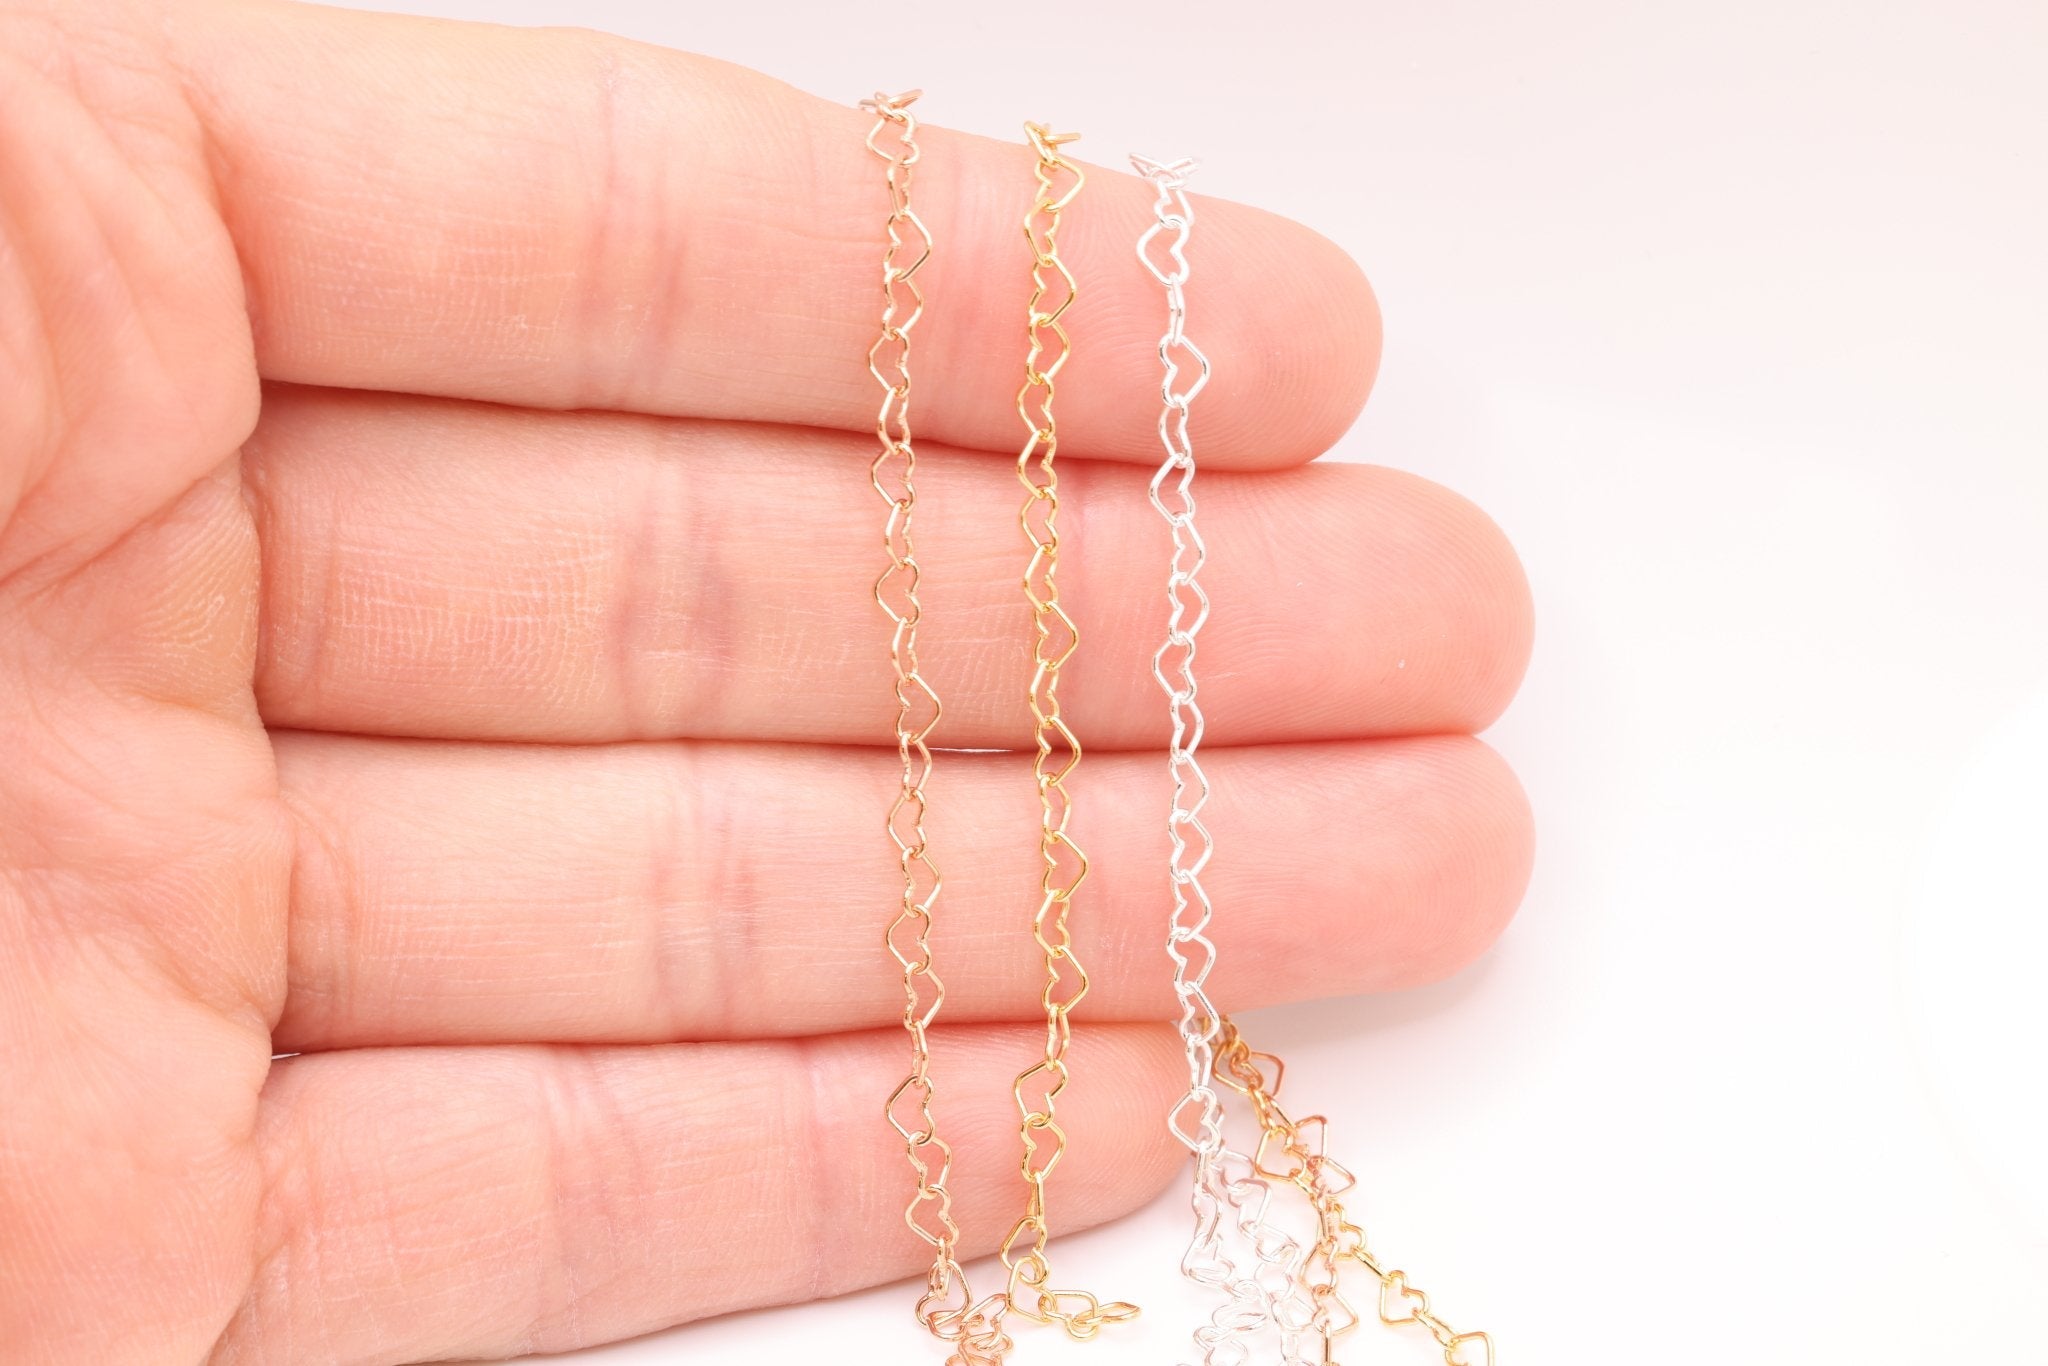
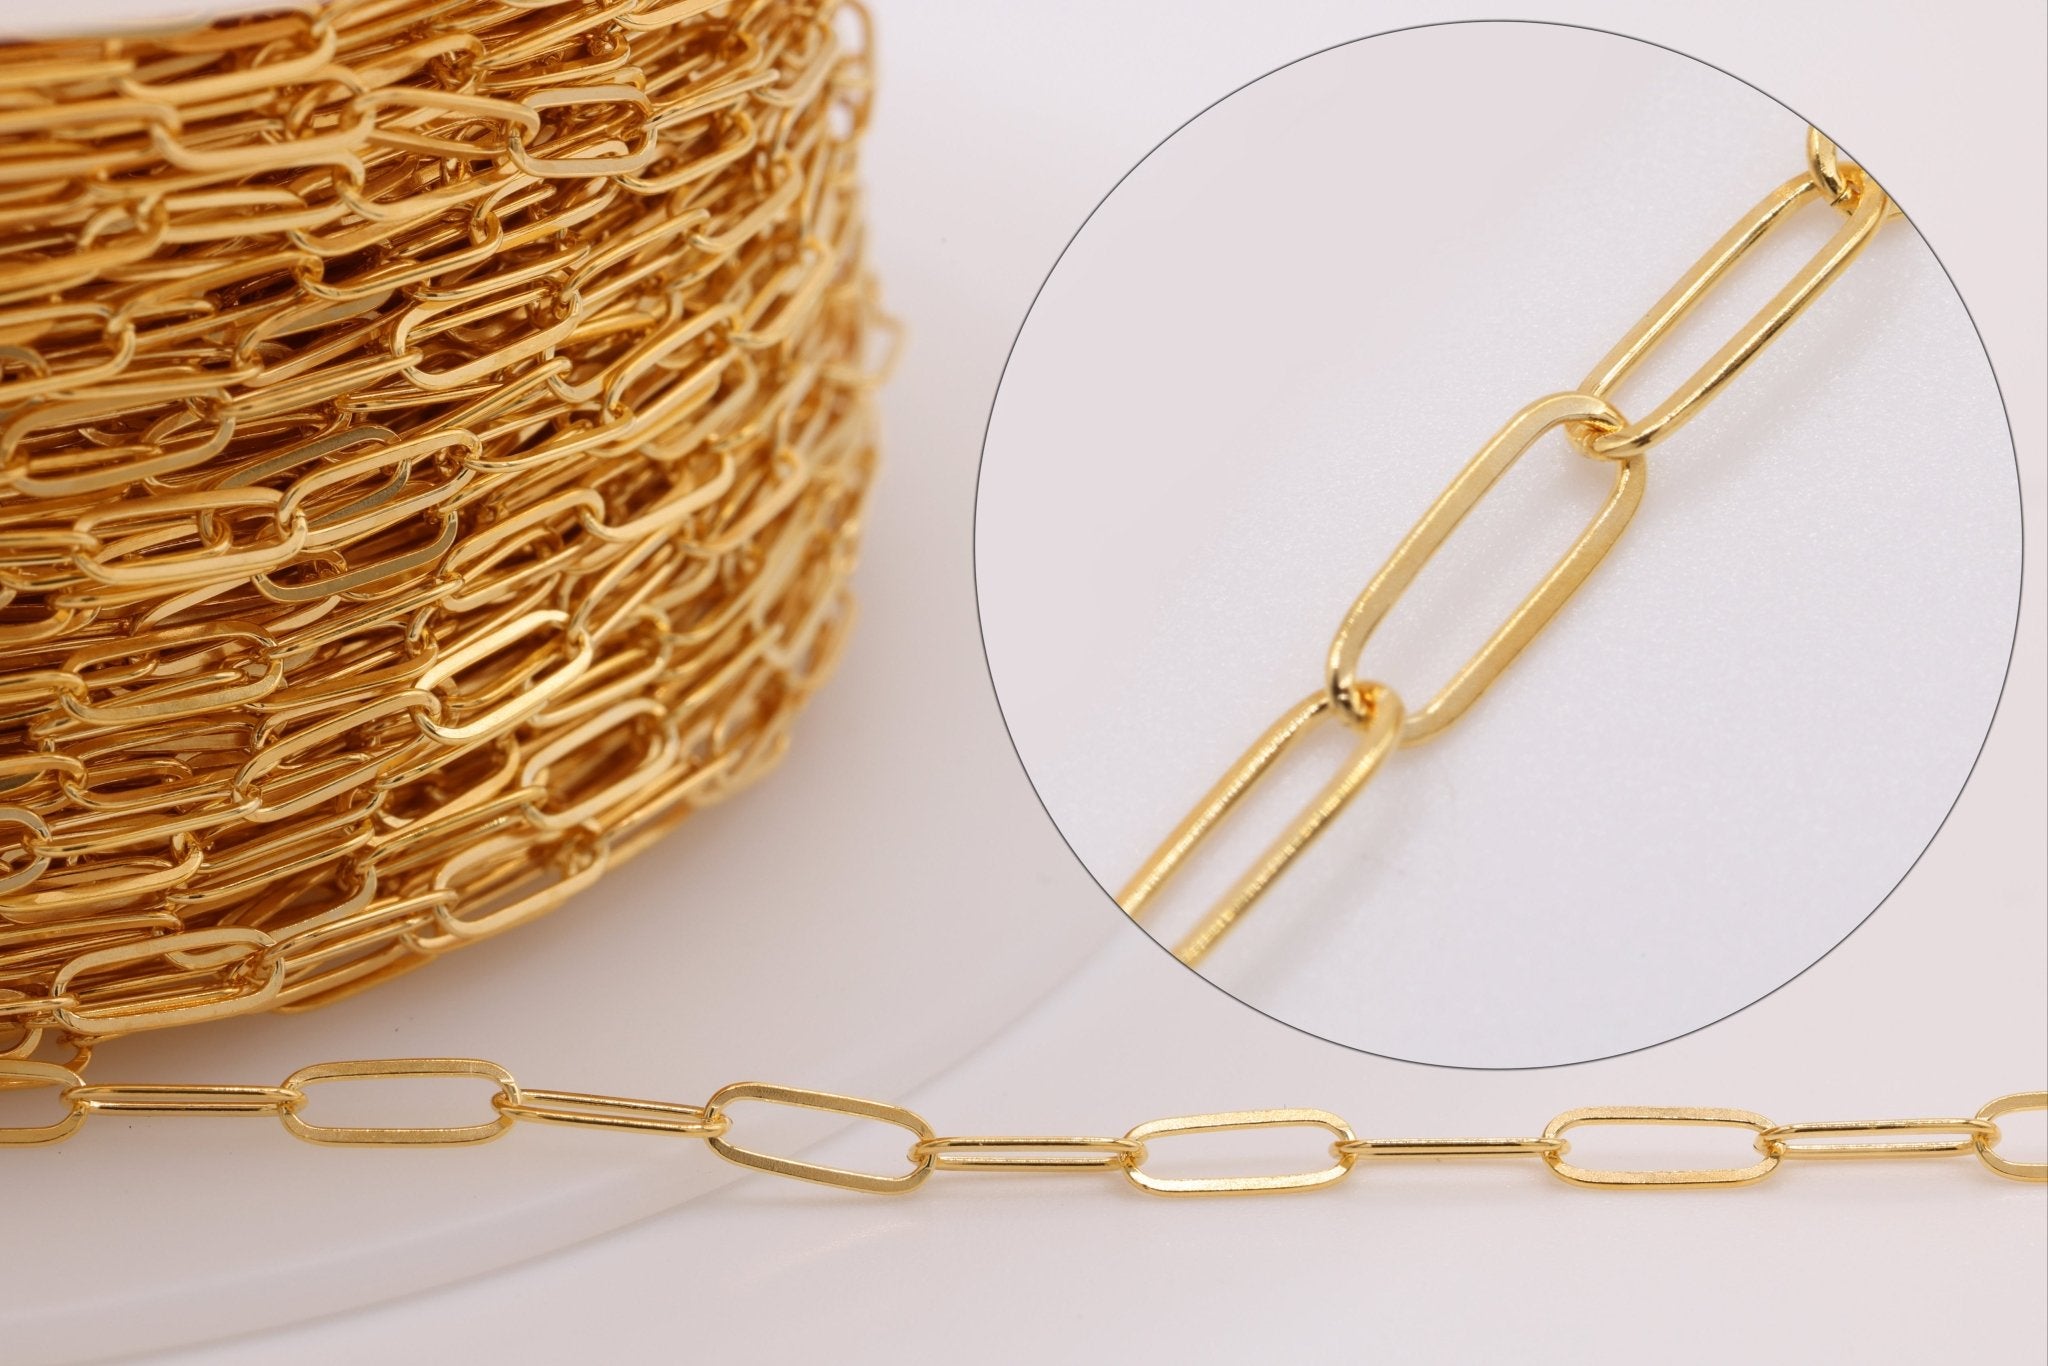
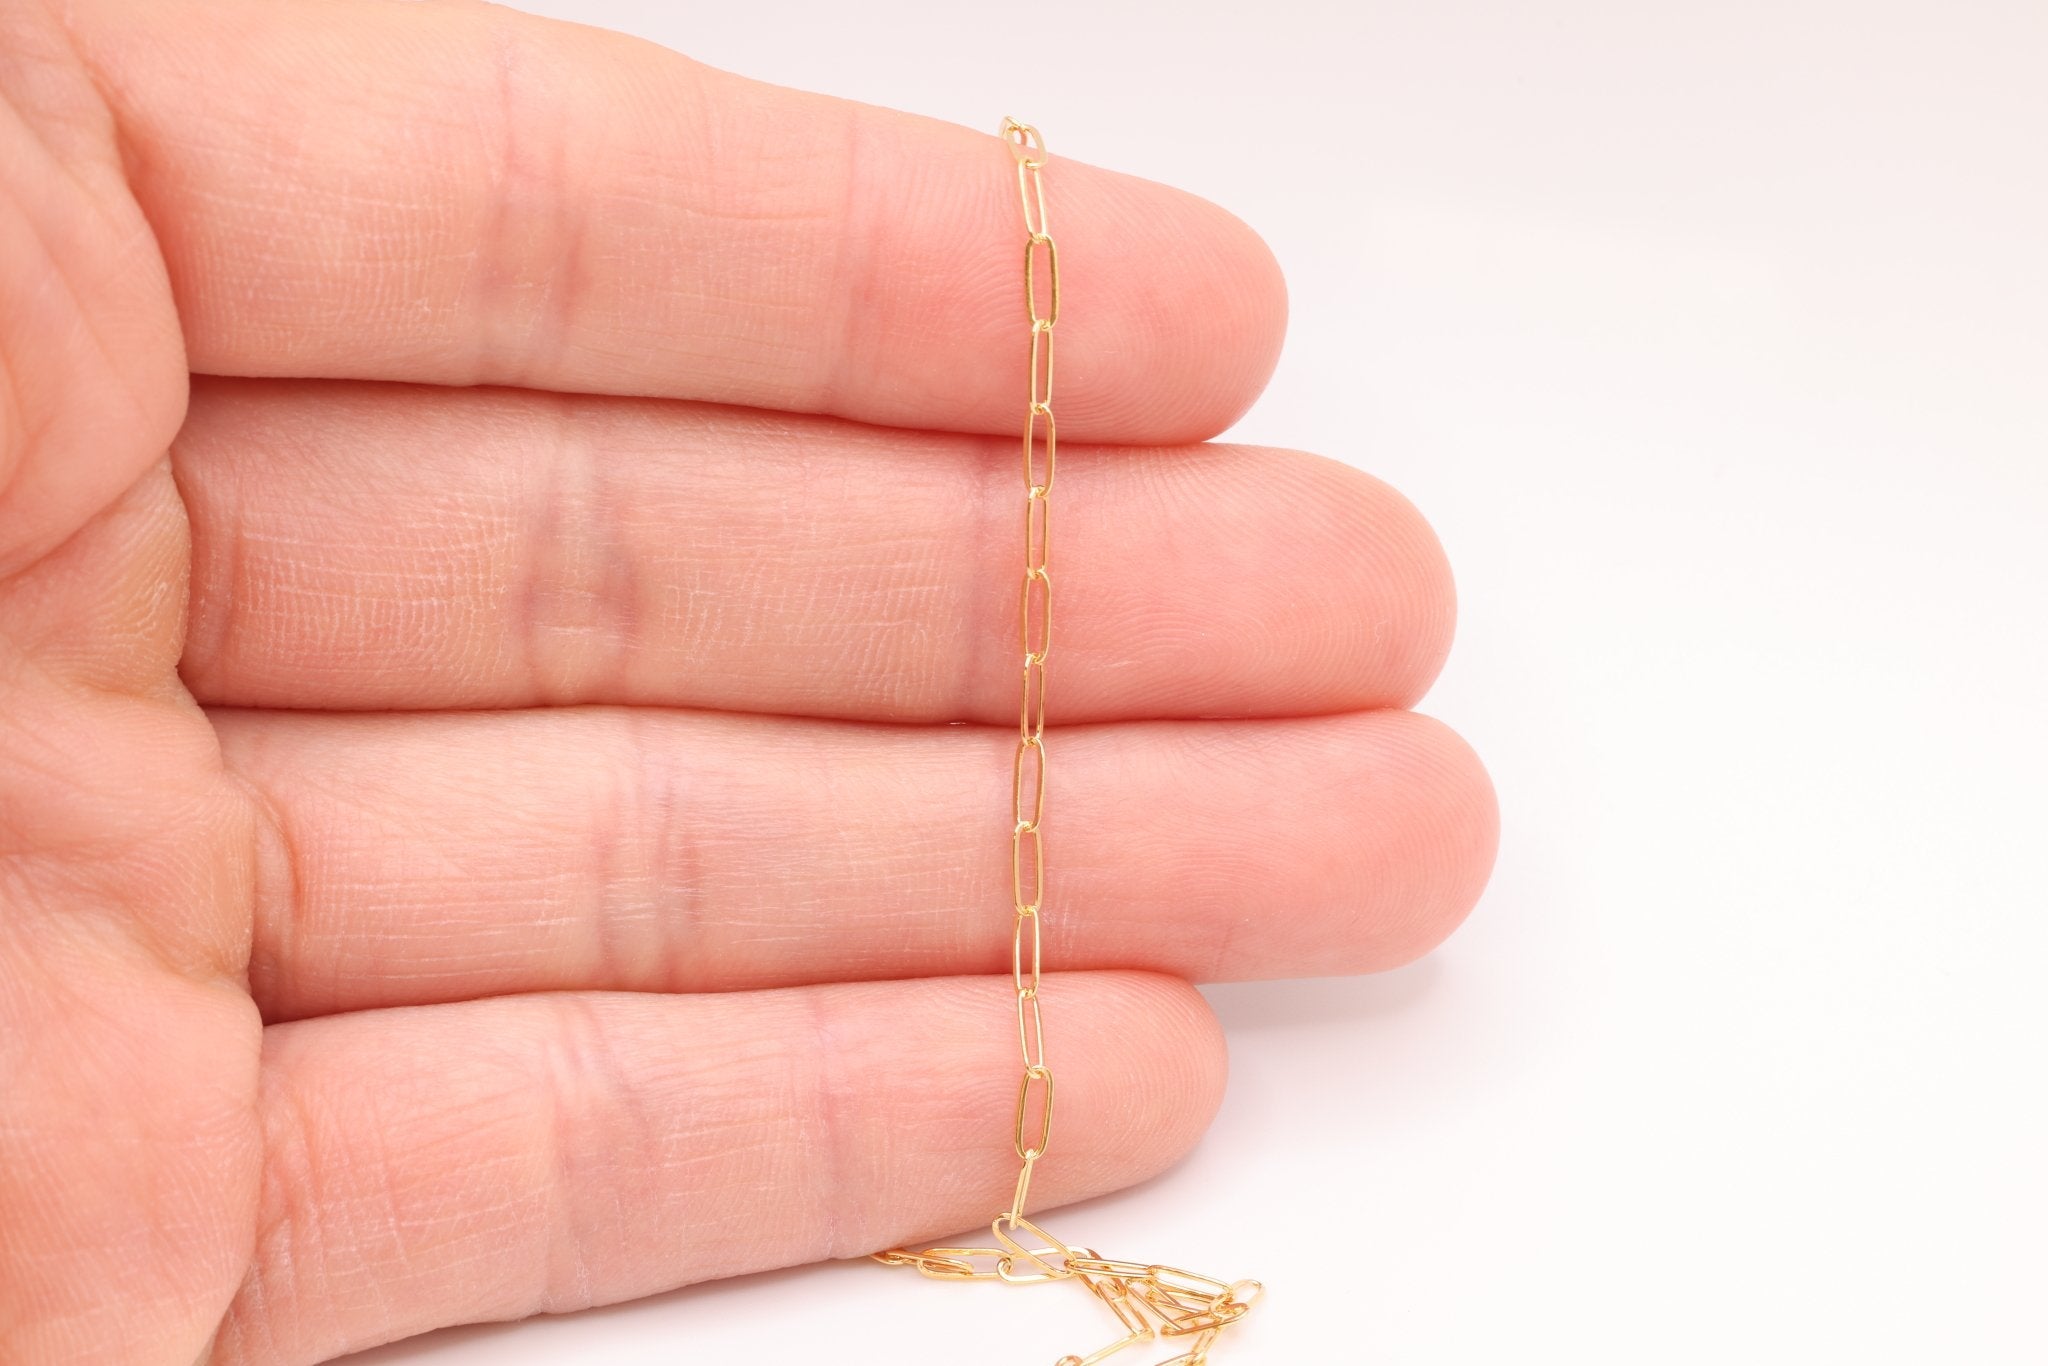
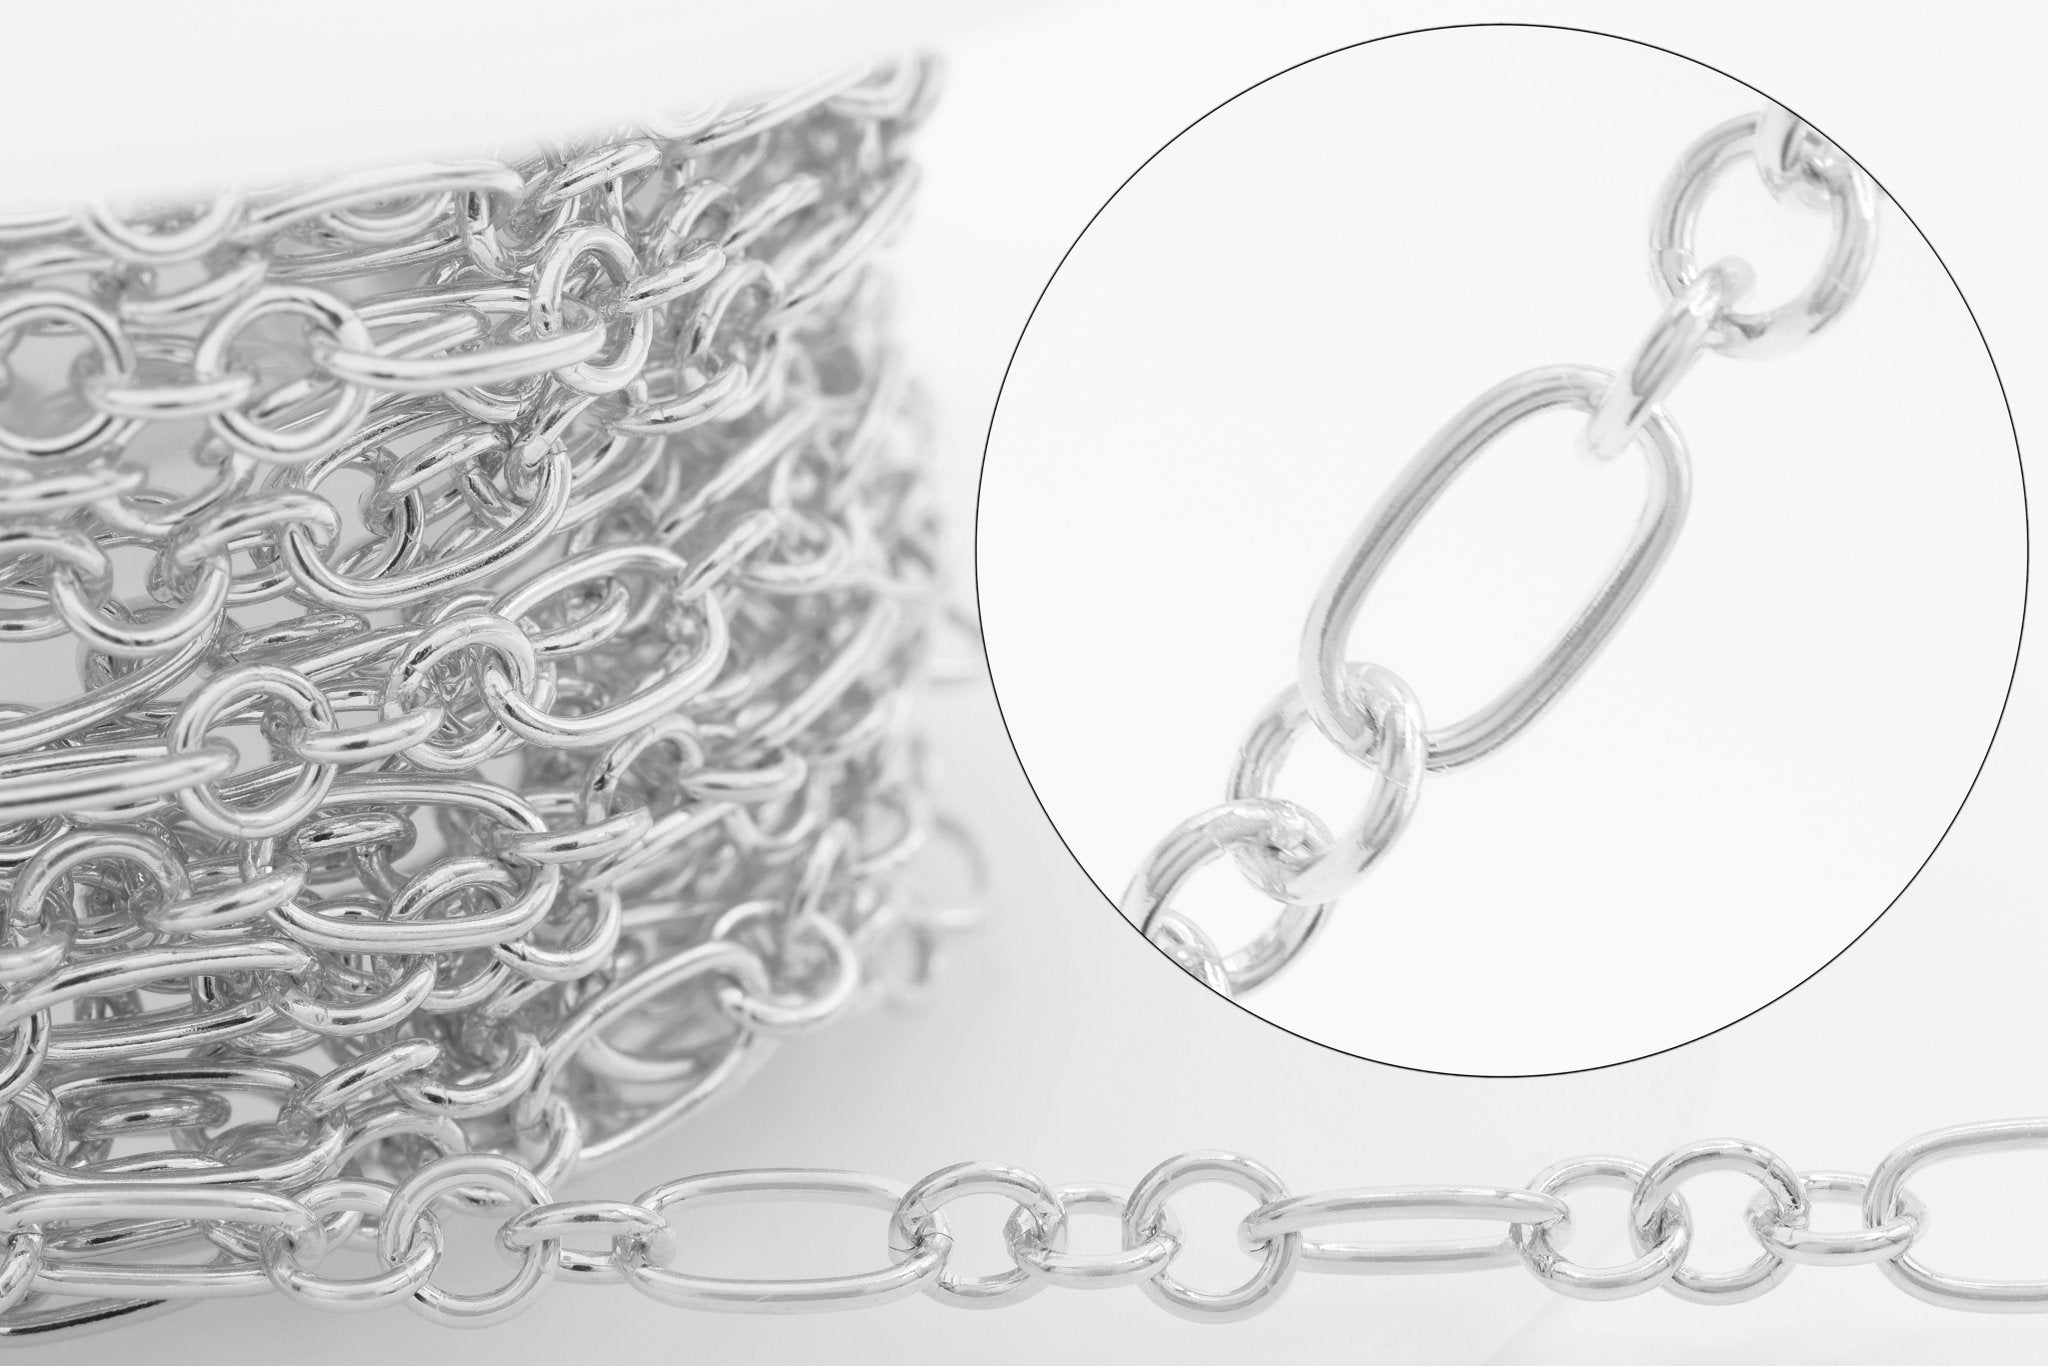
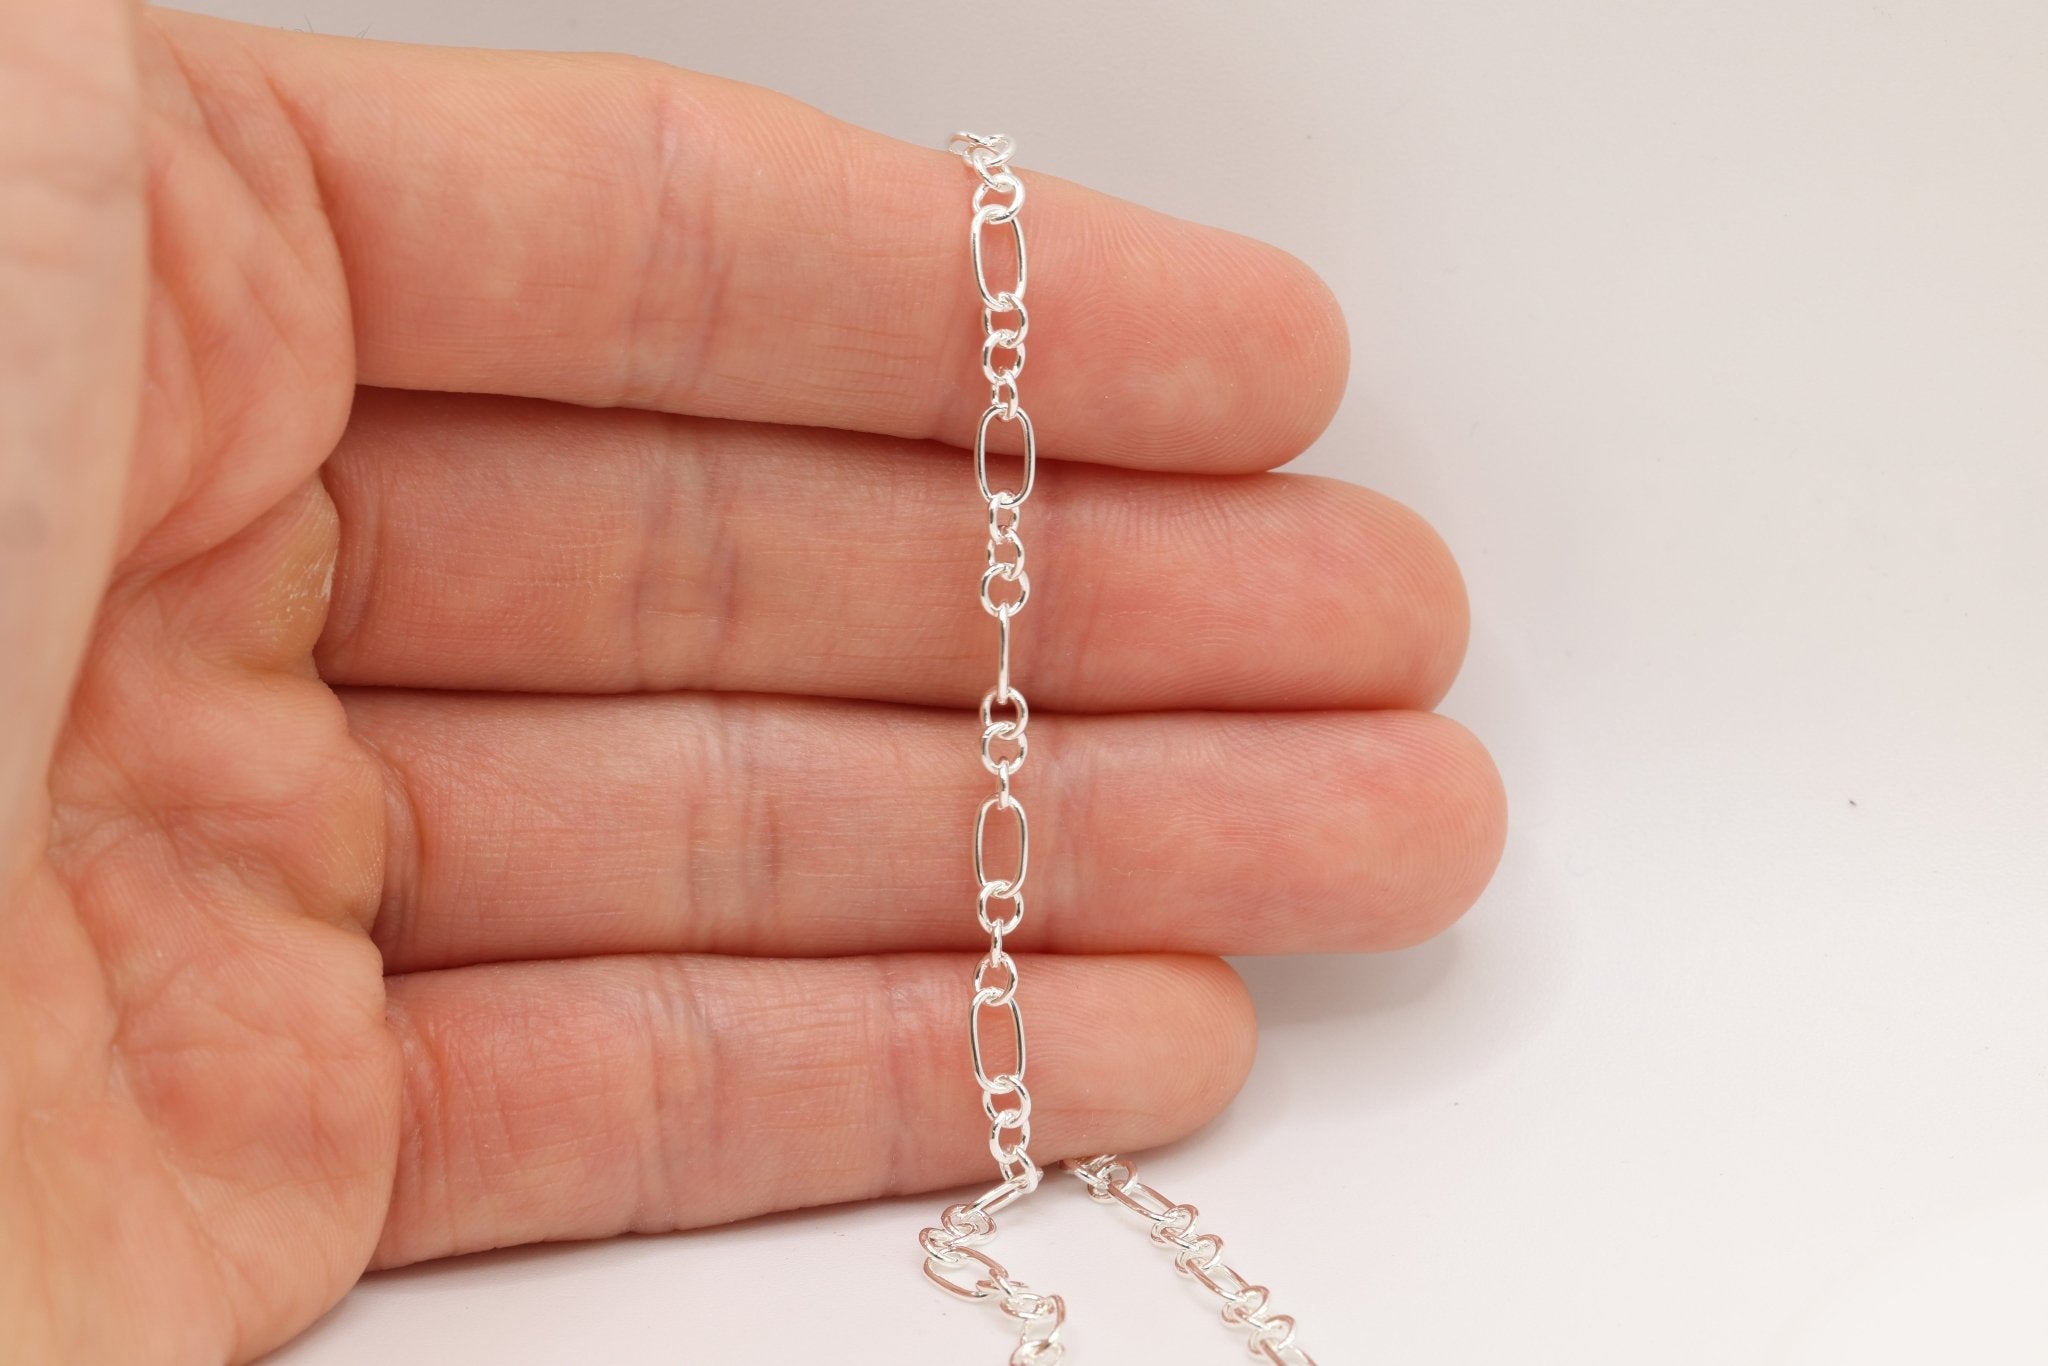
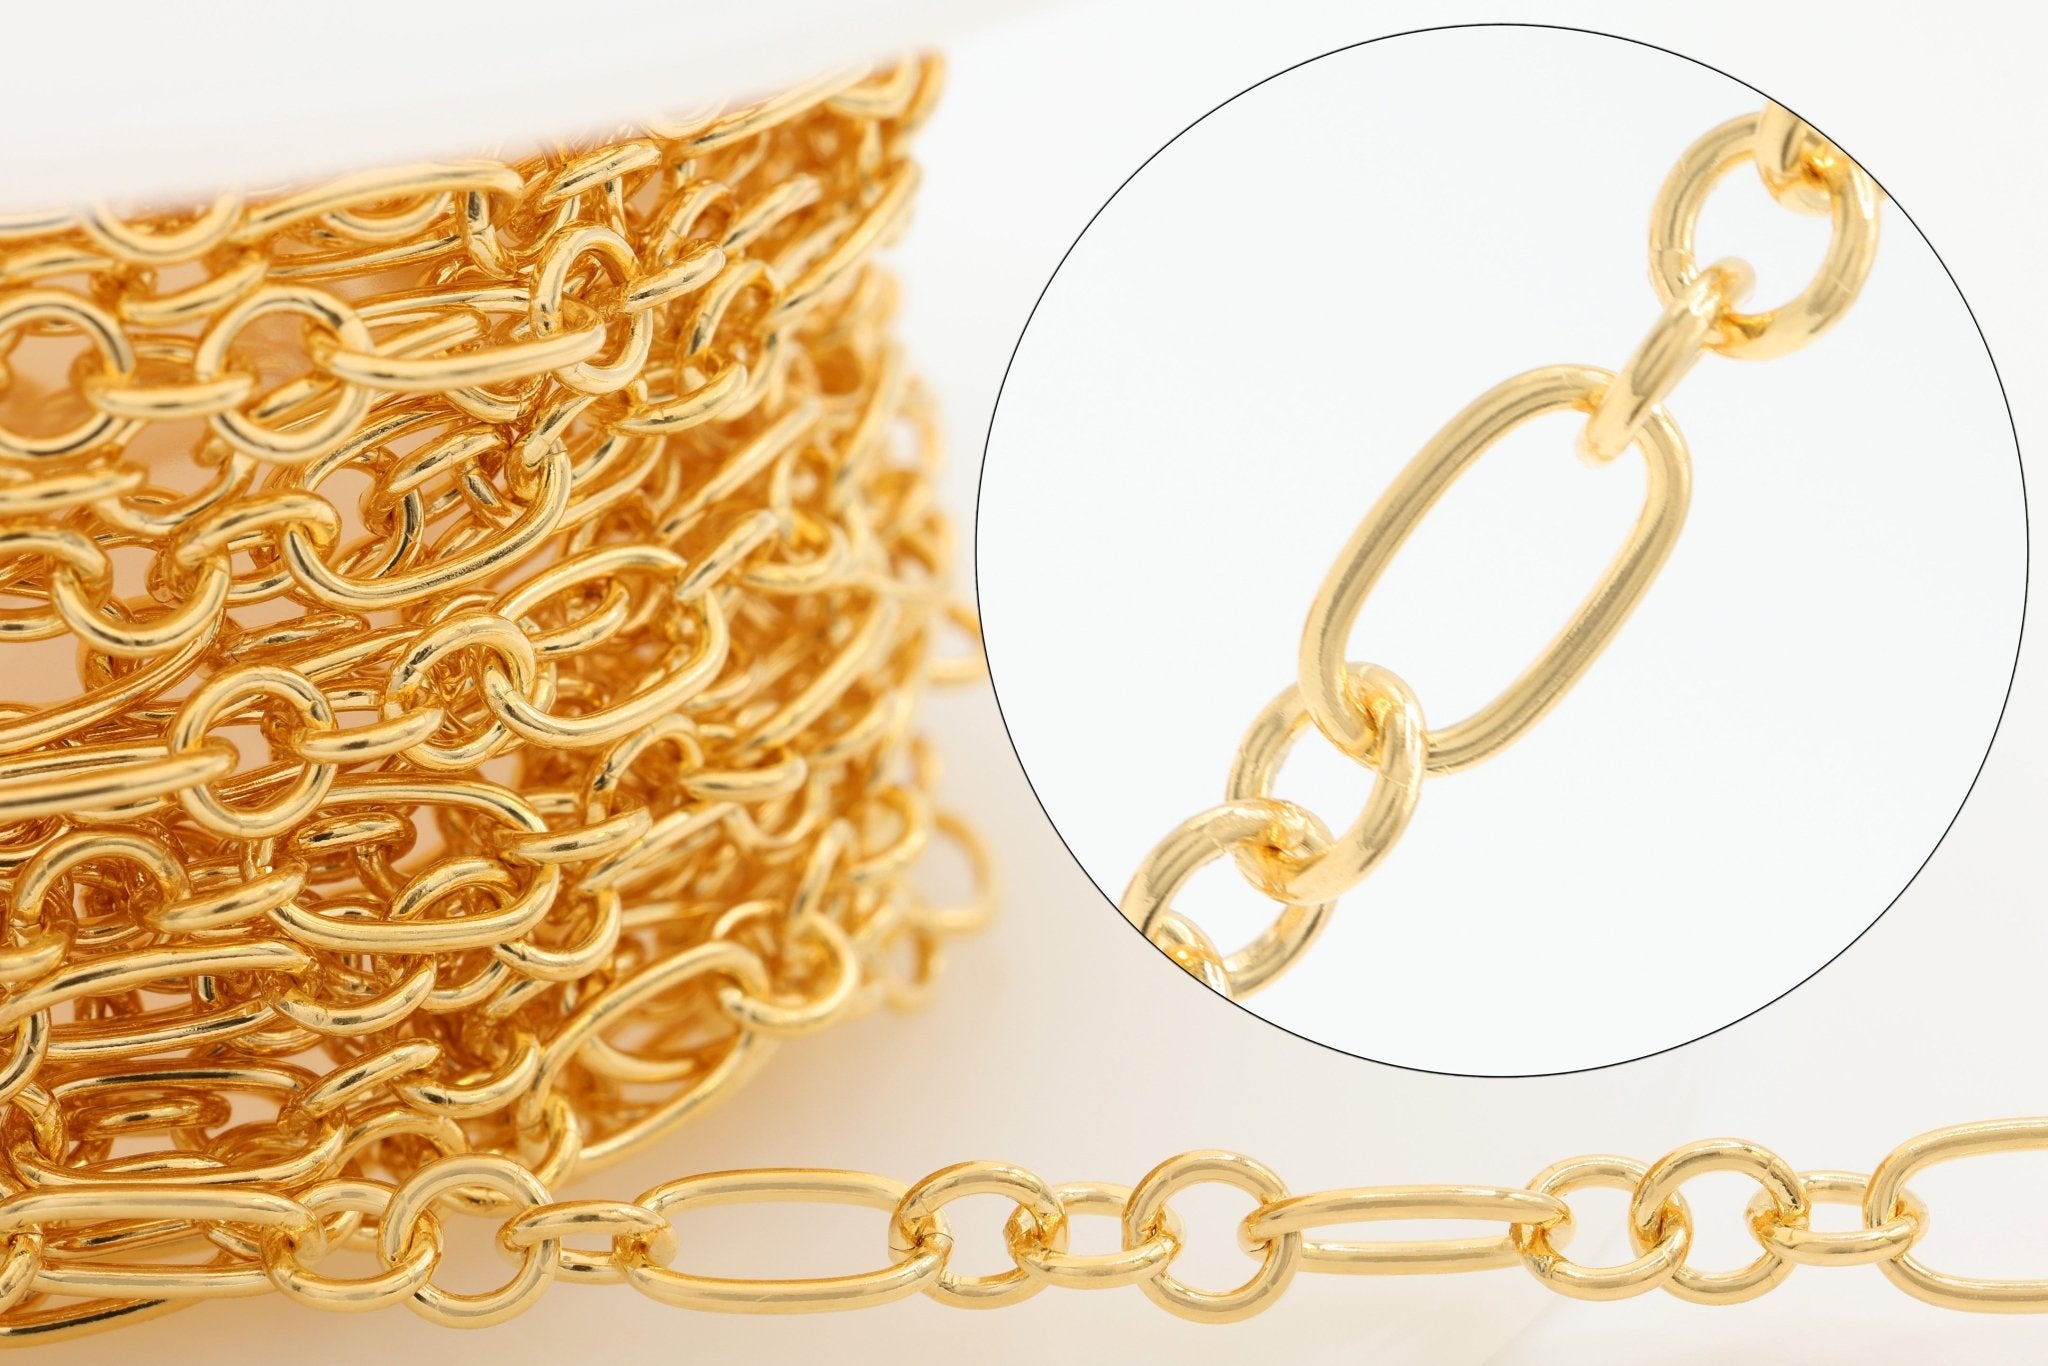
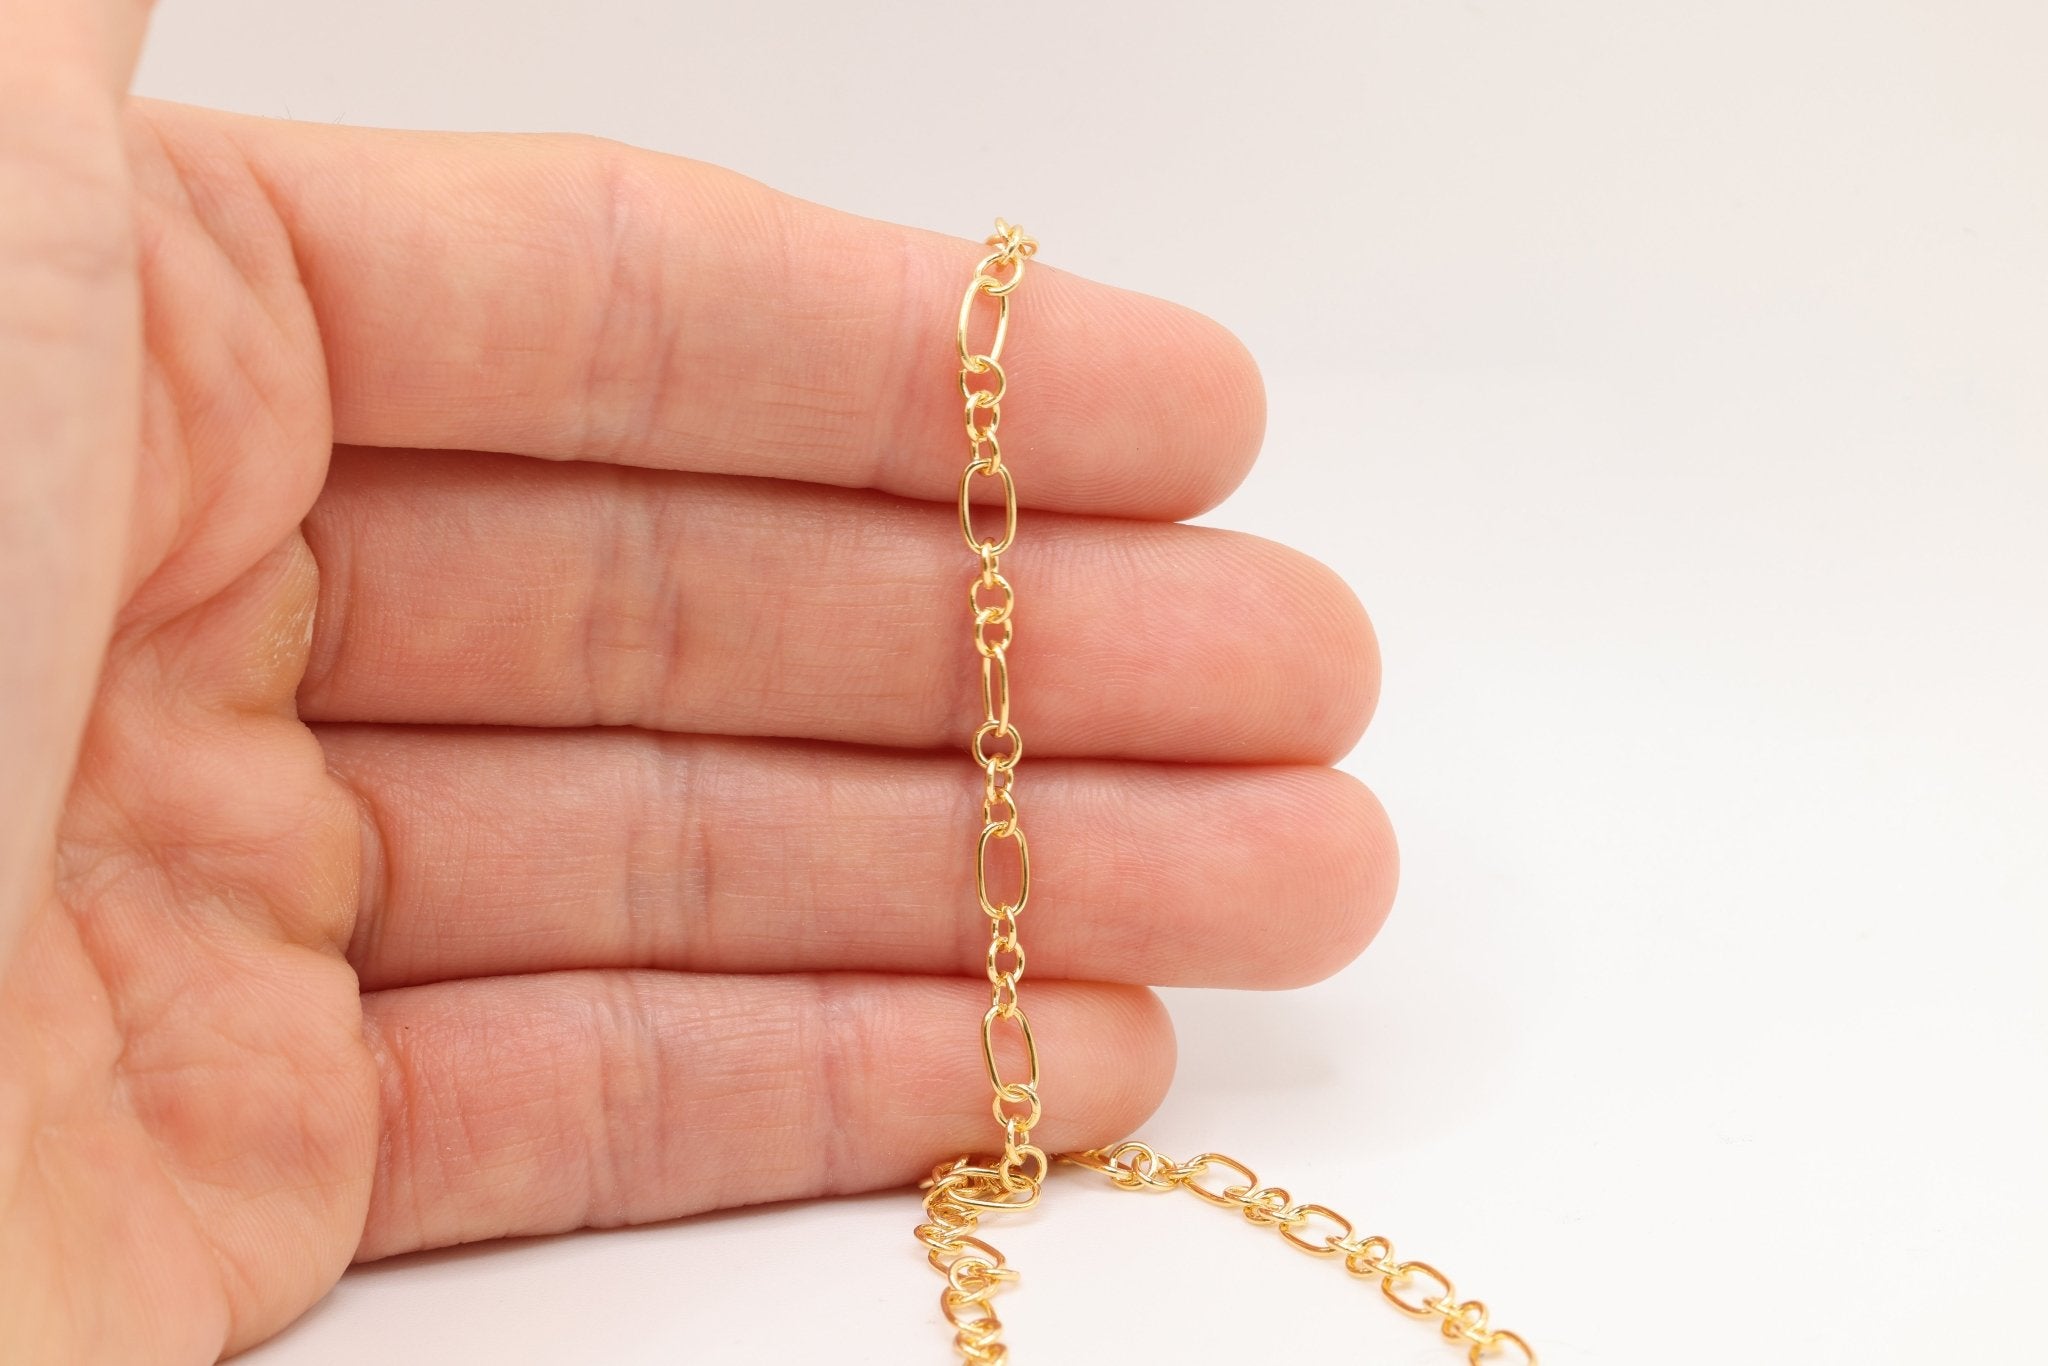
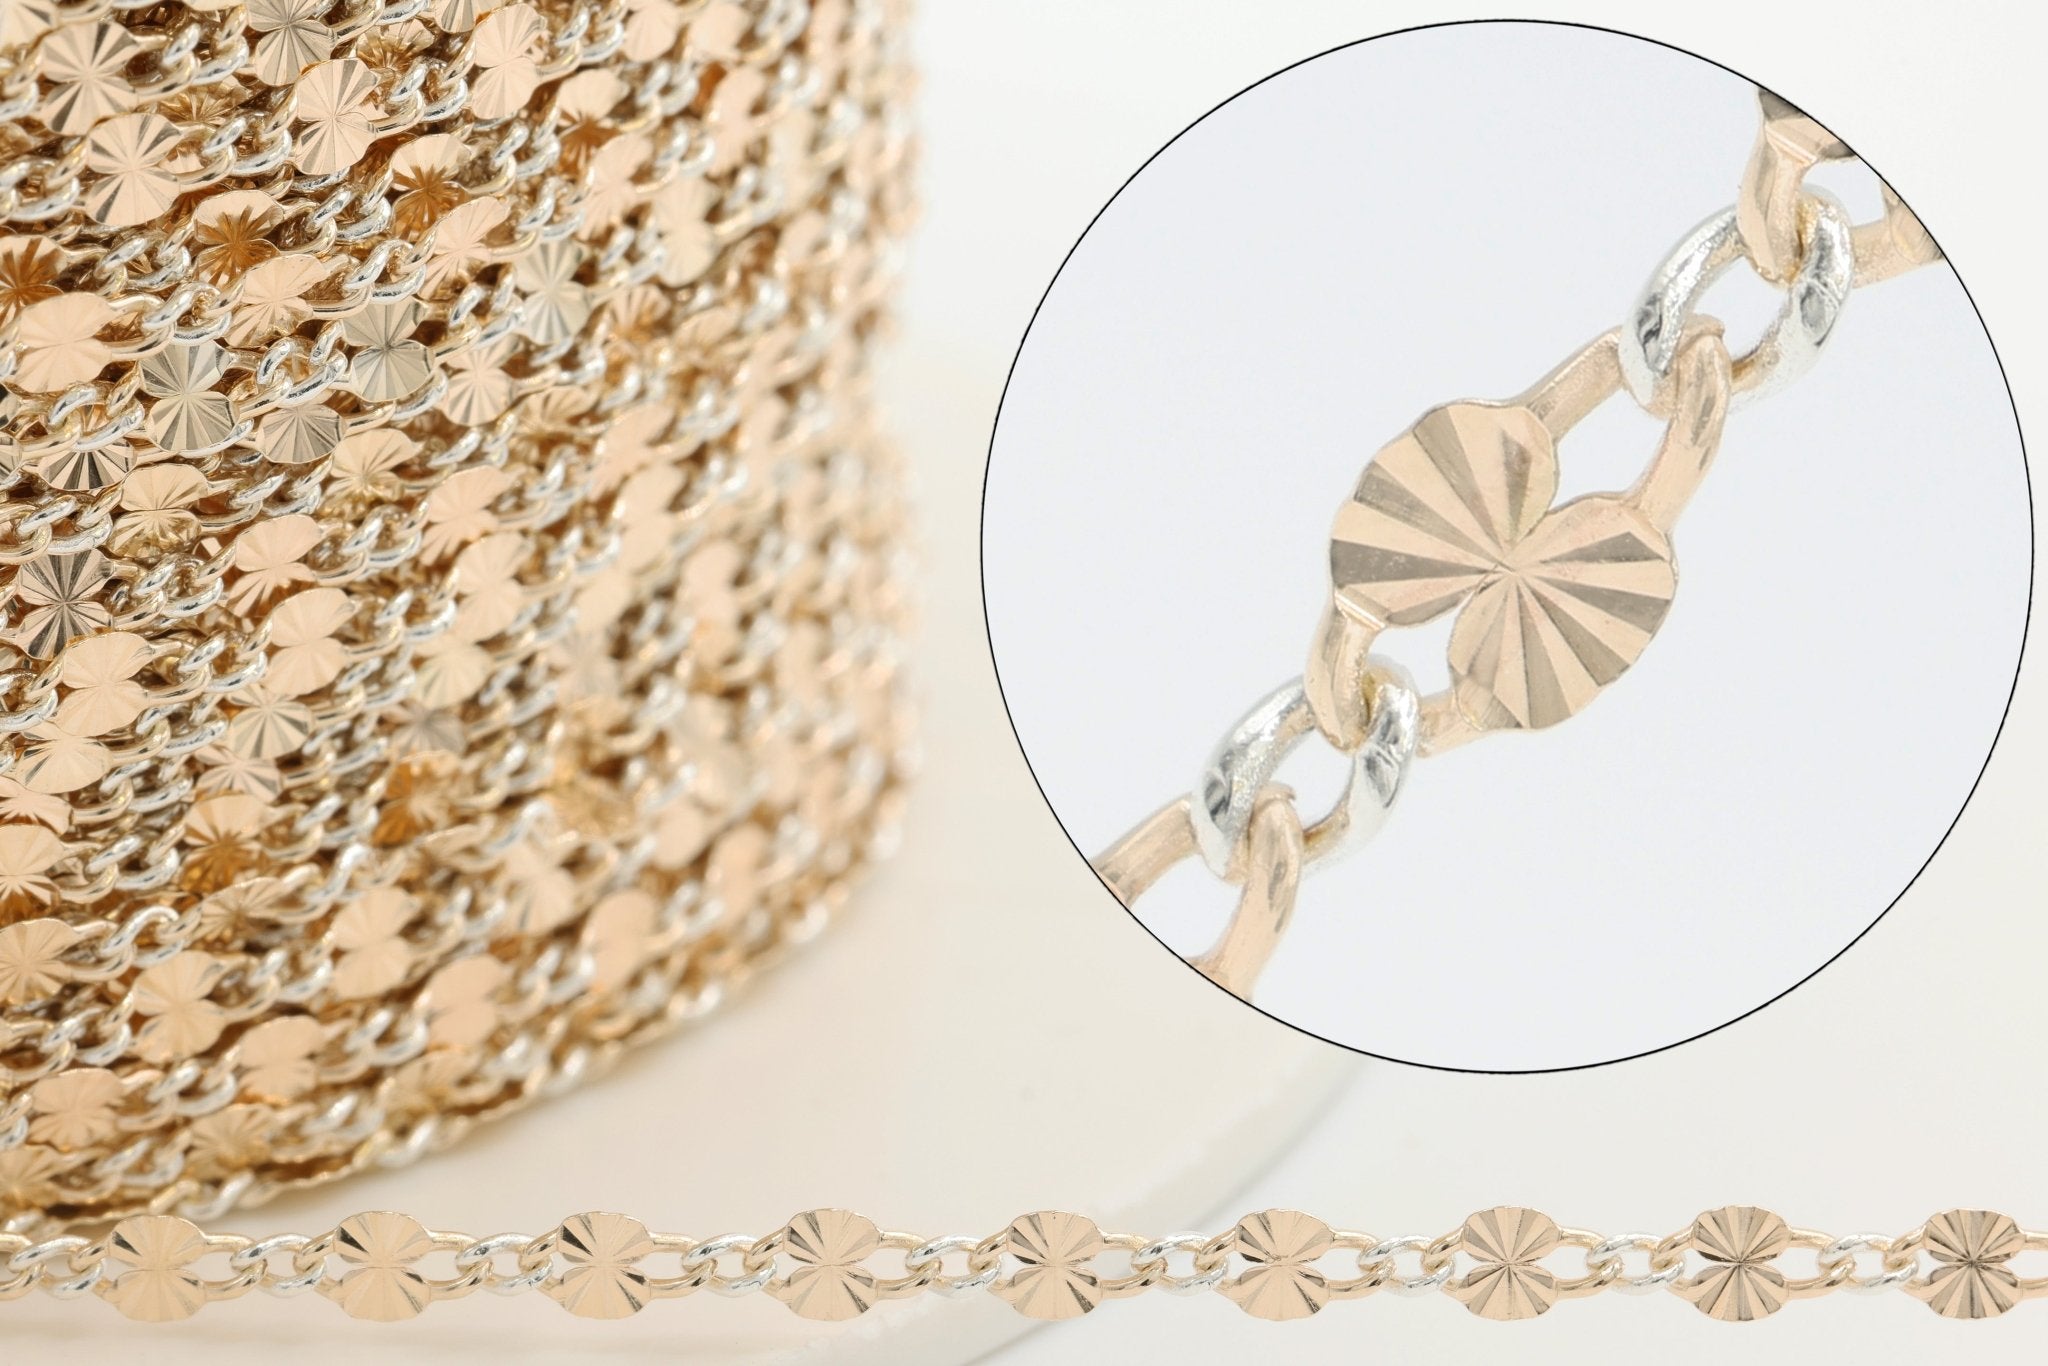
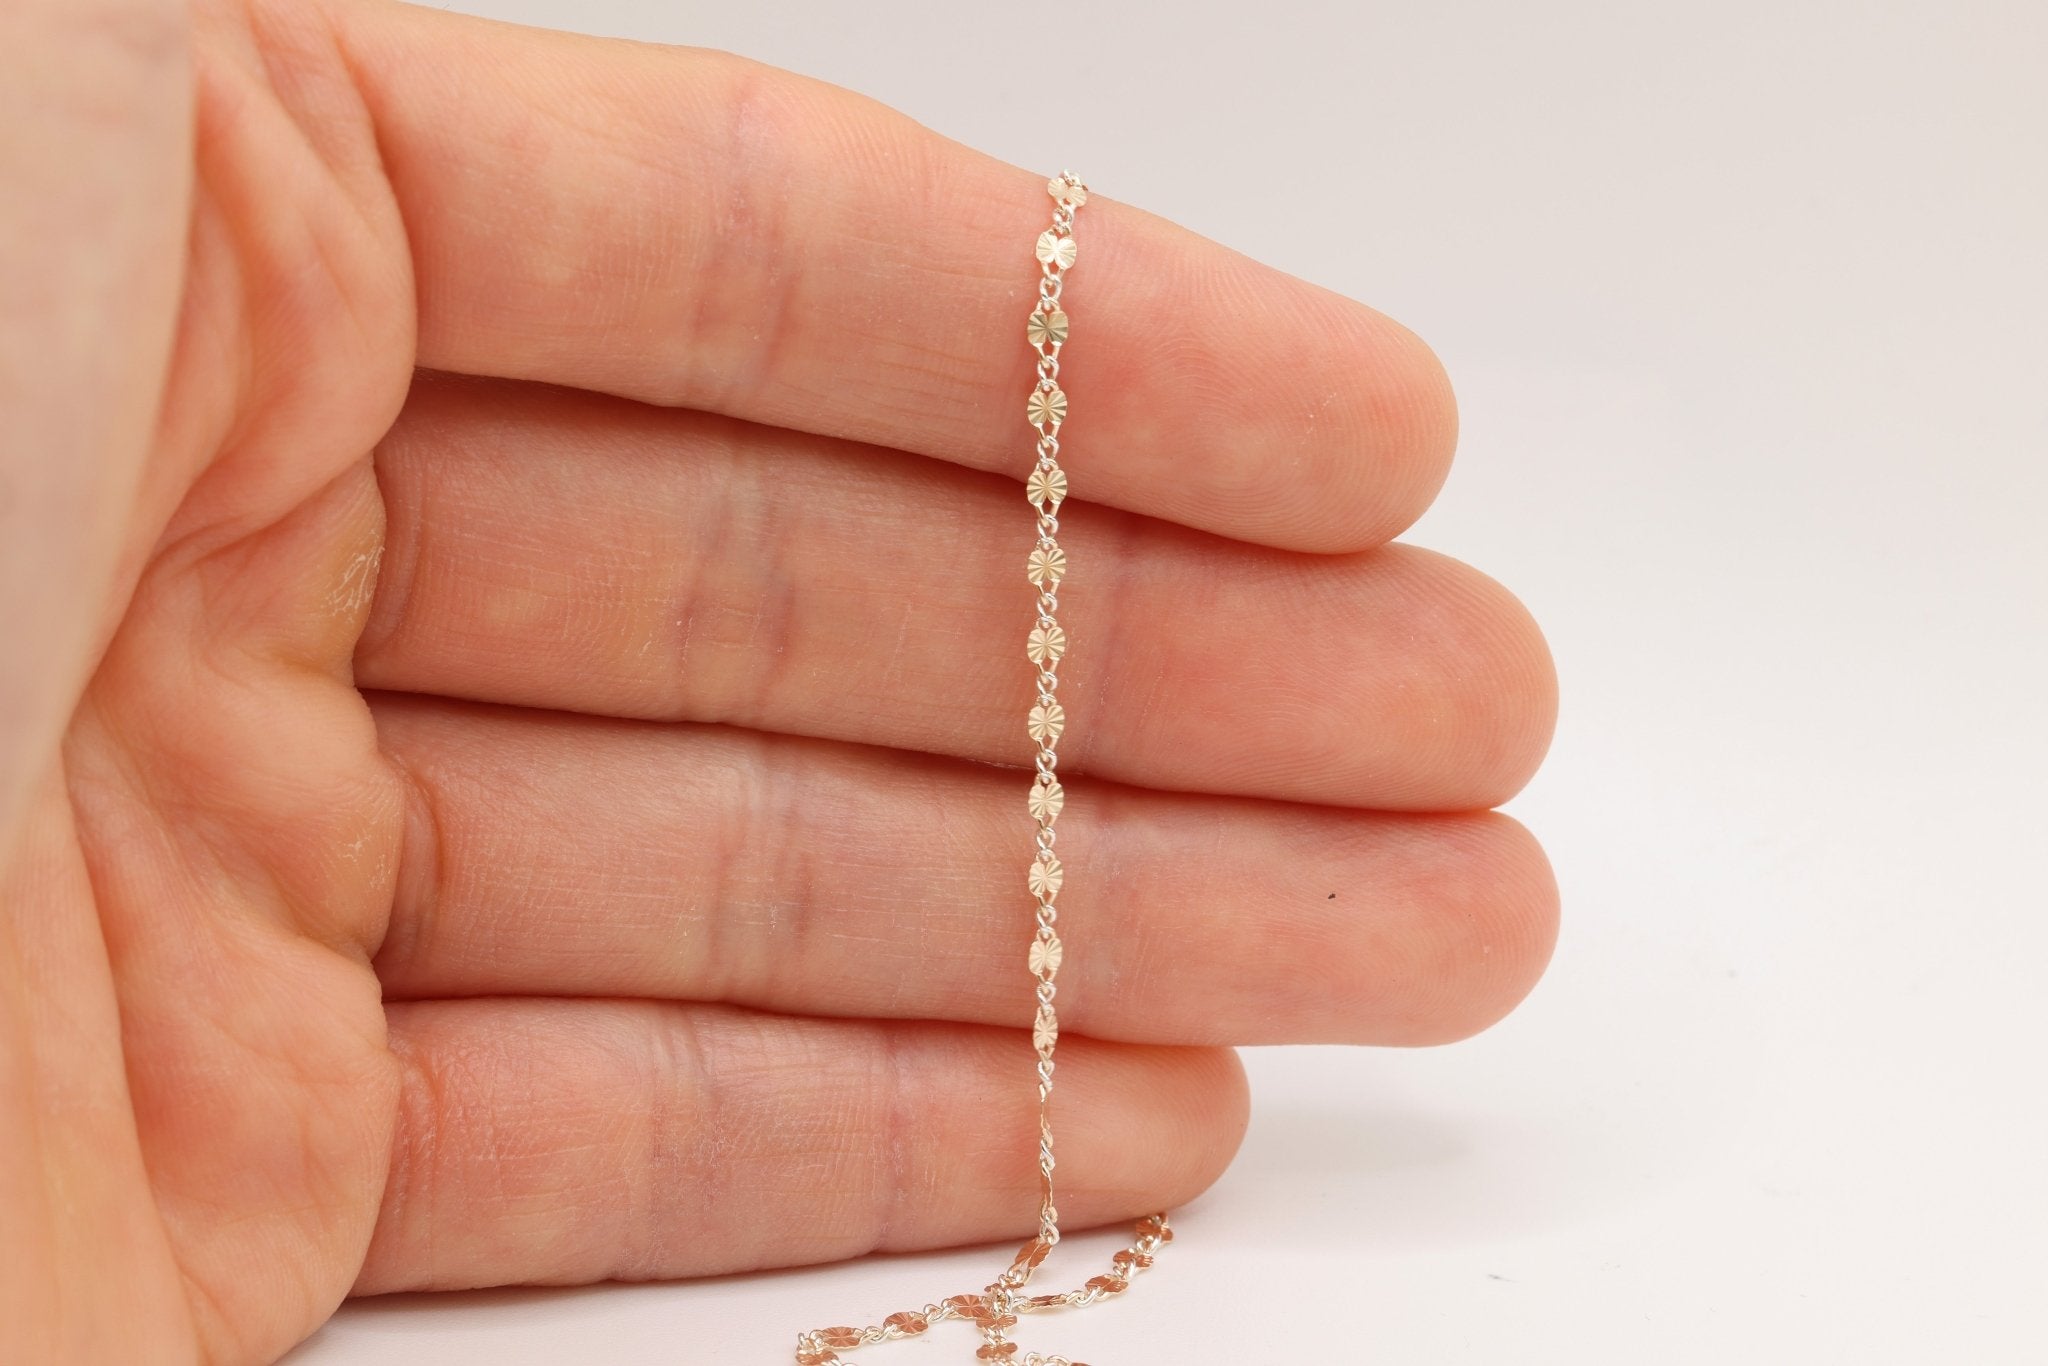
- Bracelet cord, wire, elastic string, or chain
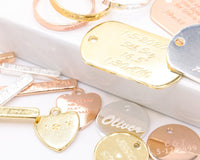
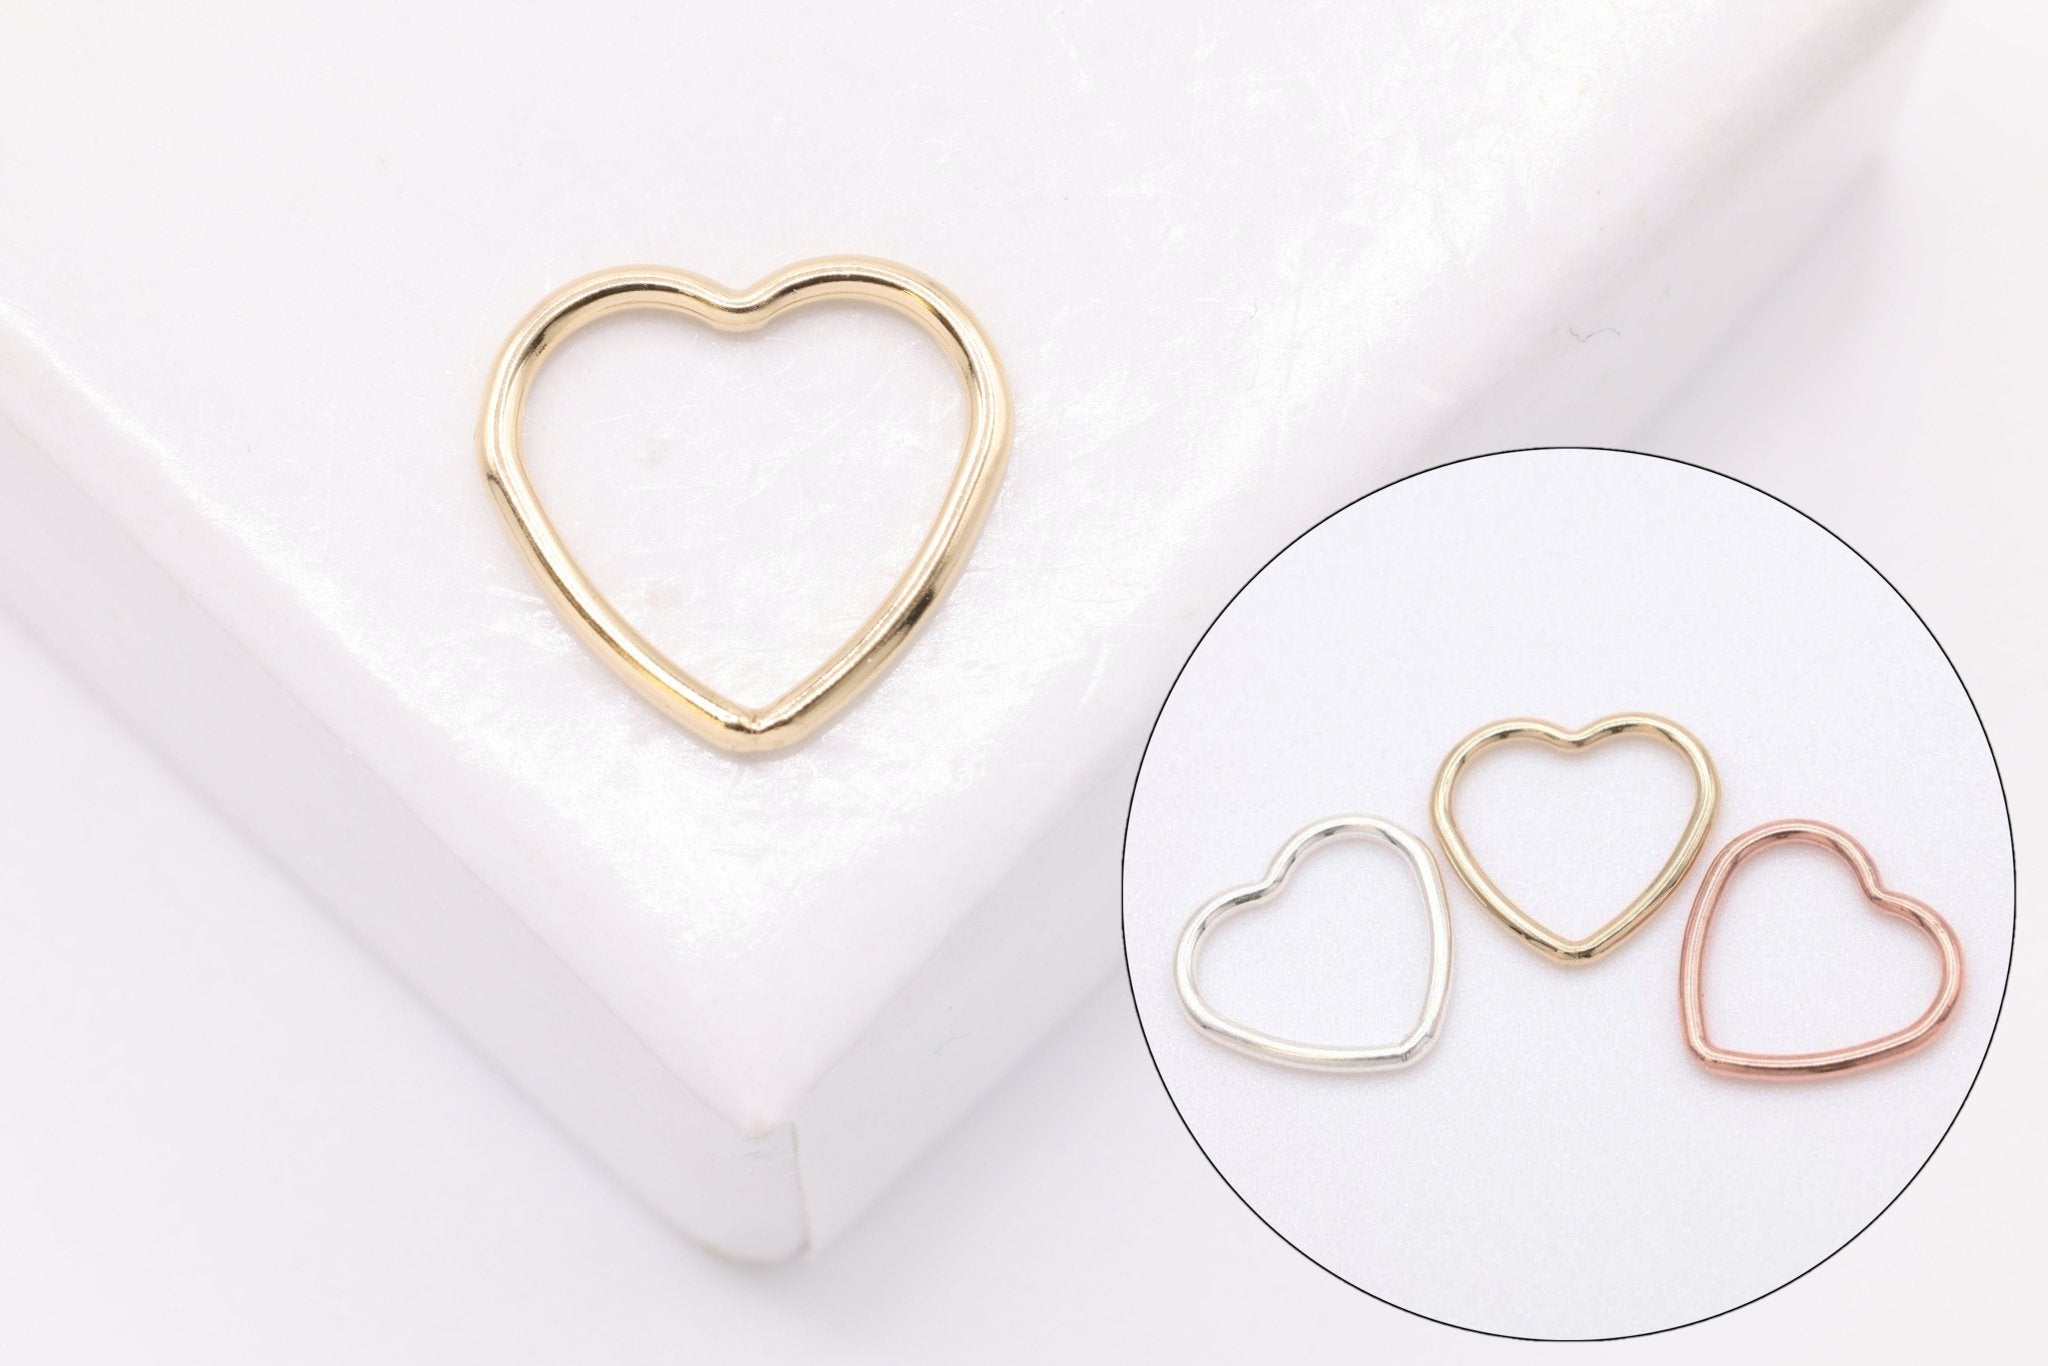
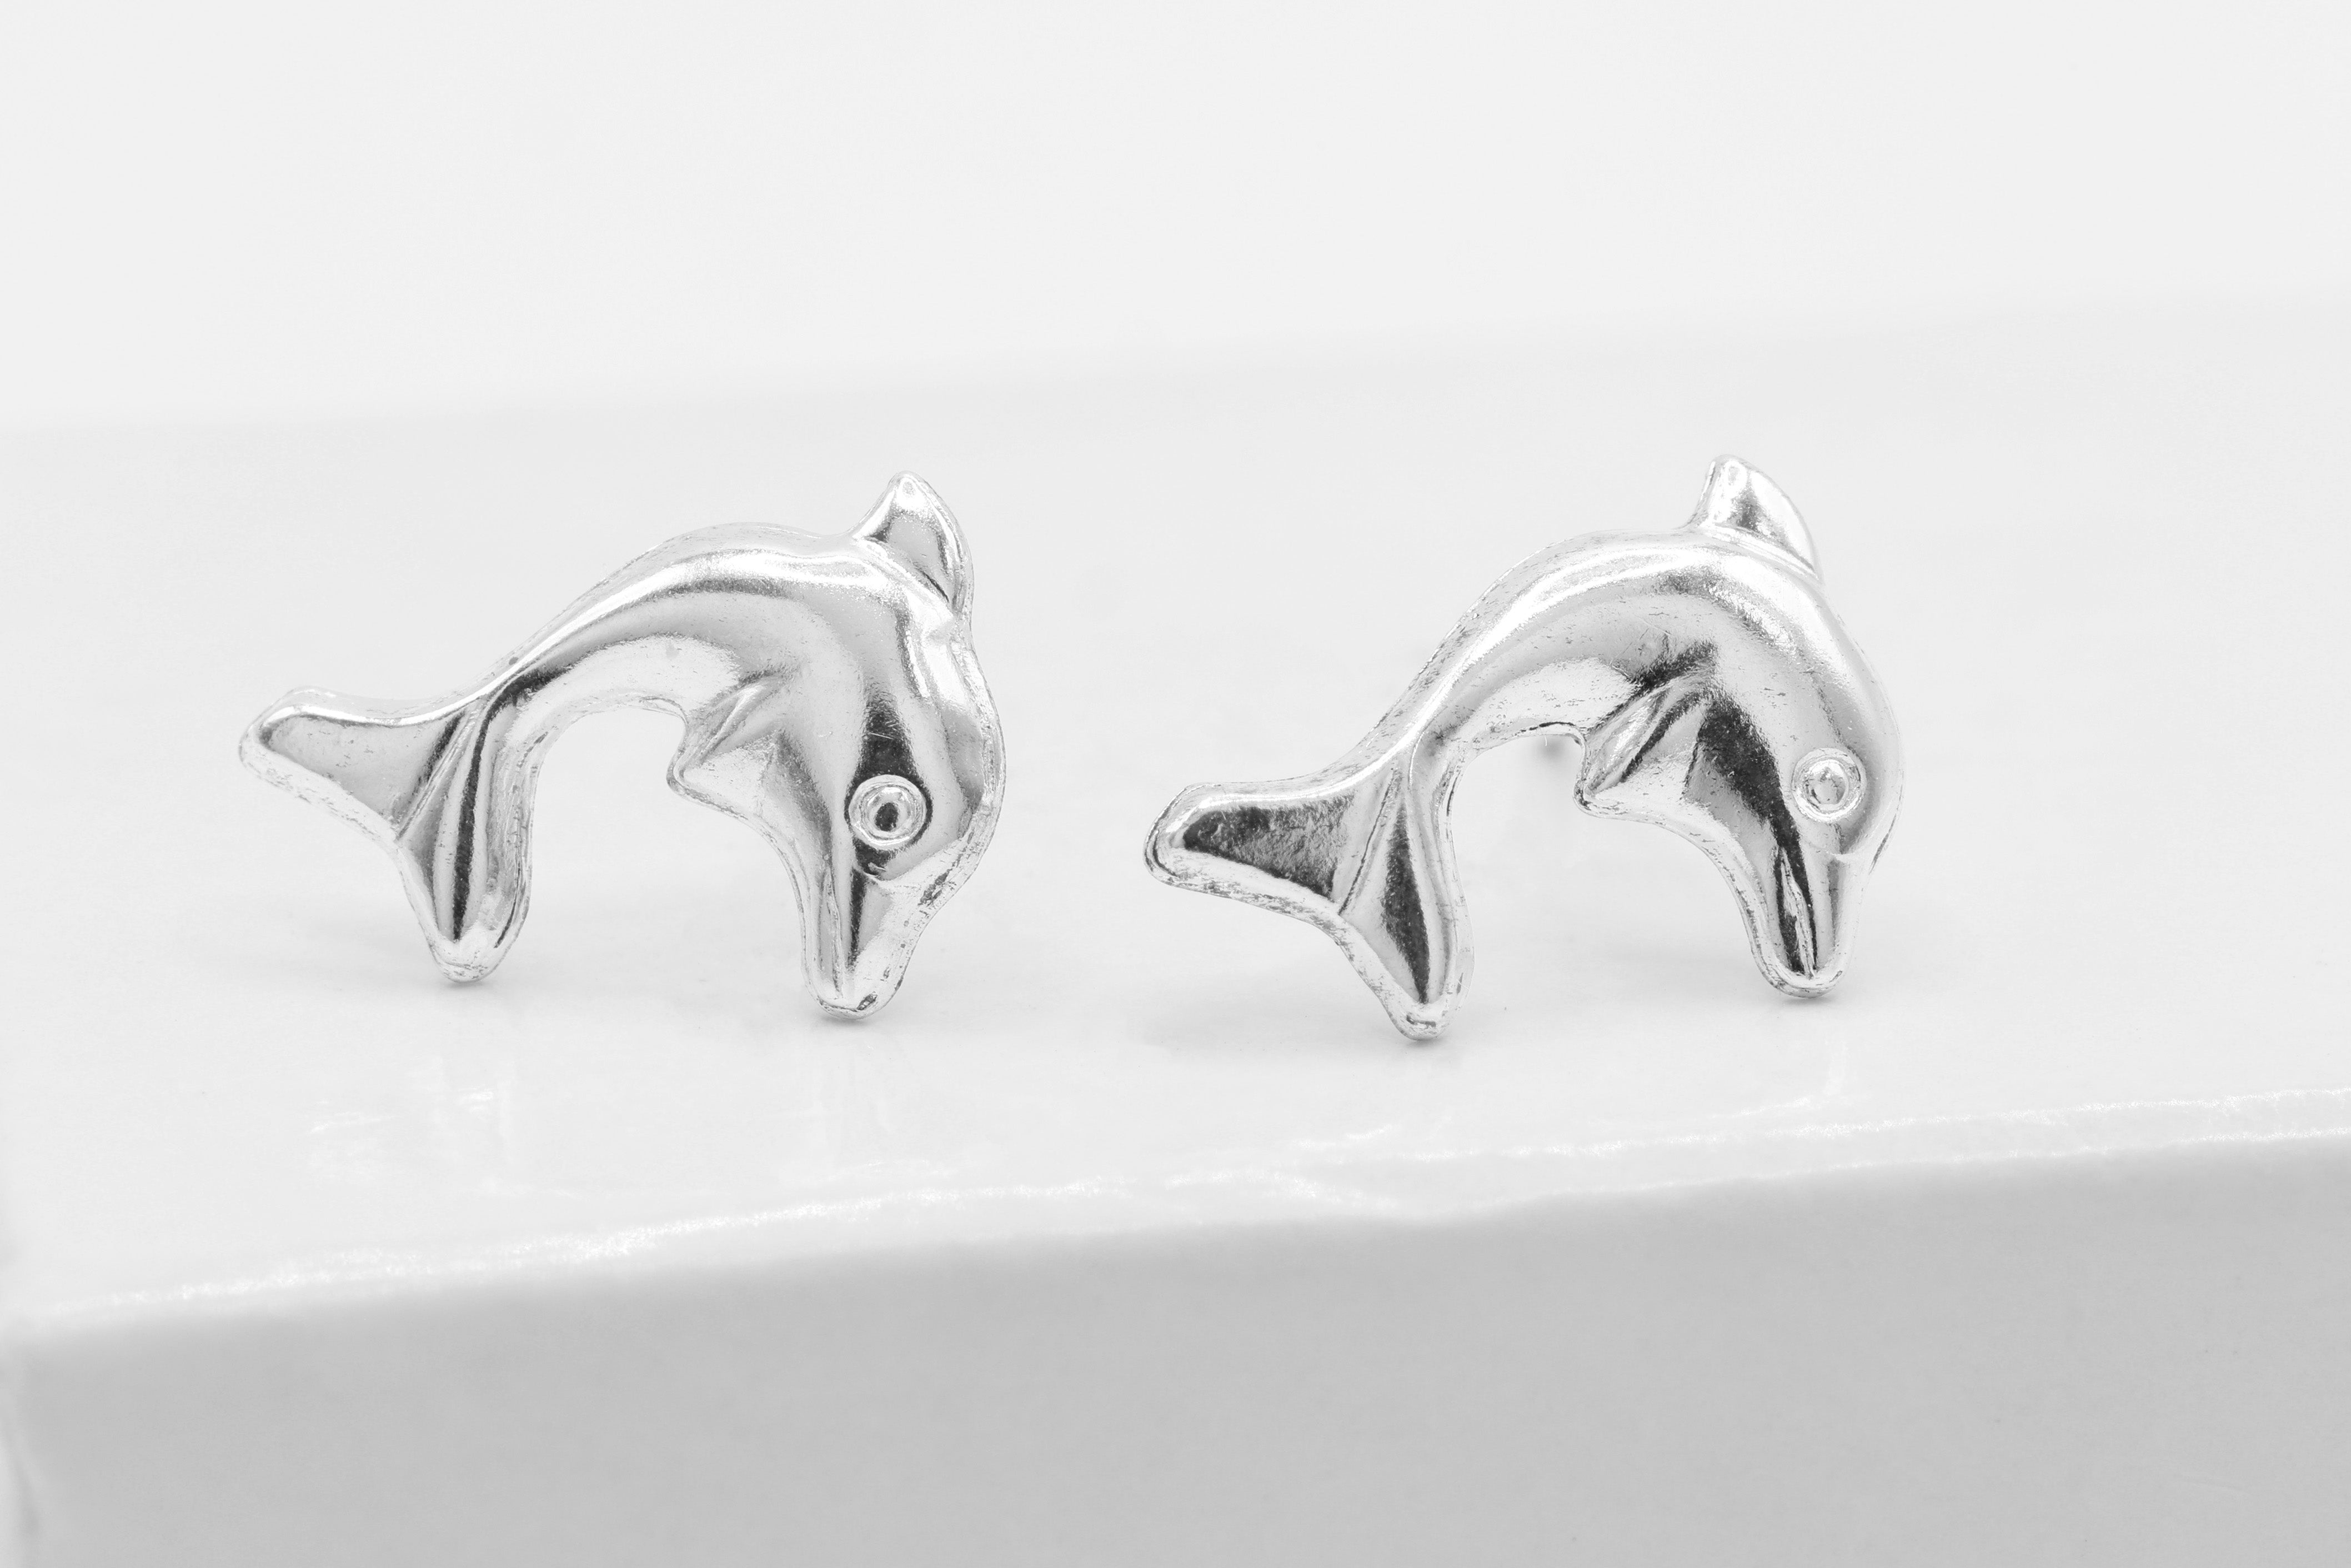
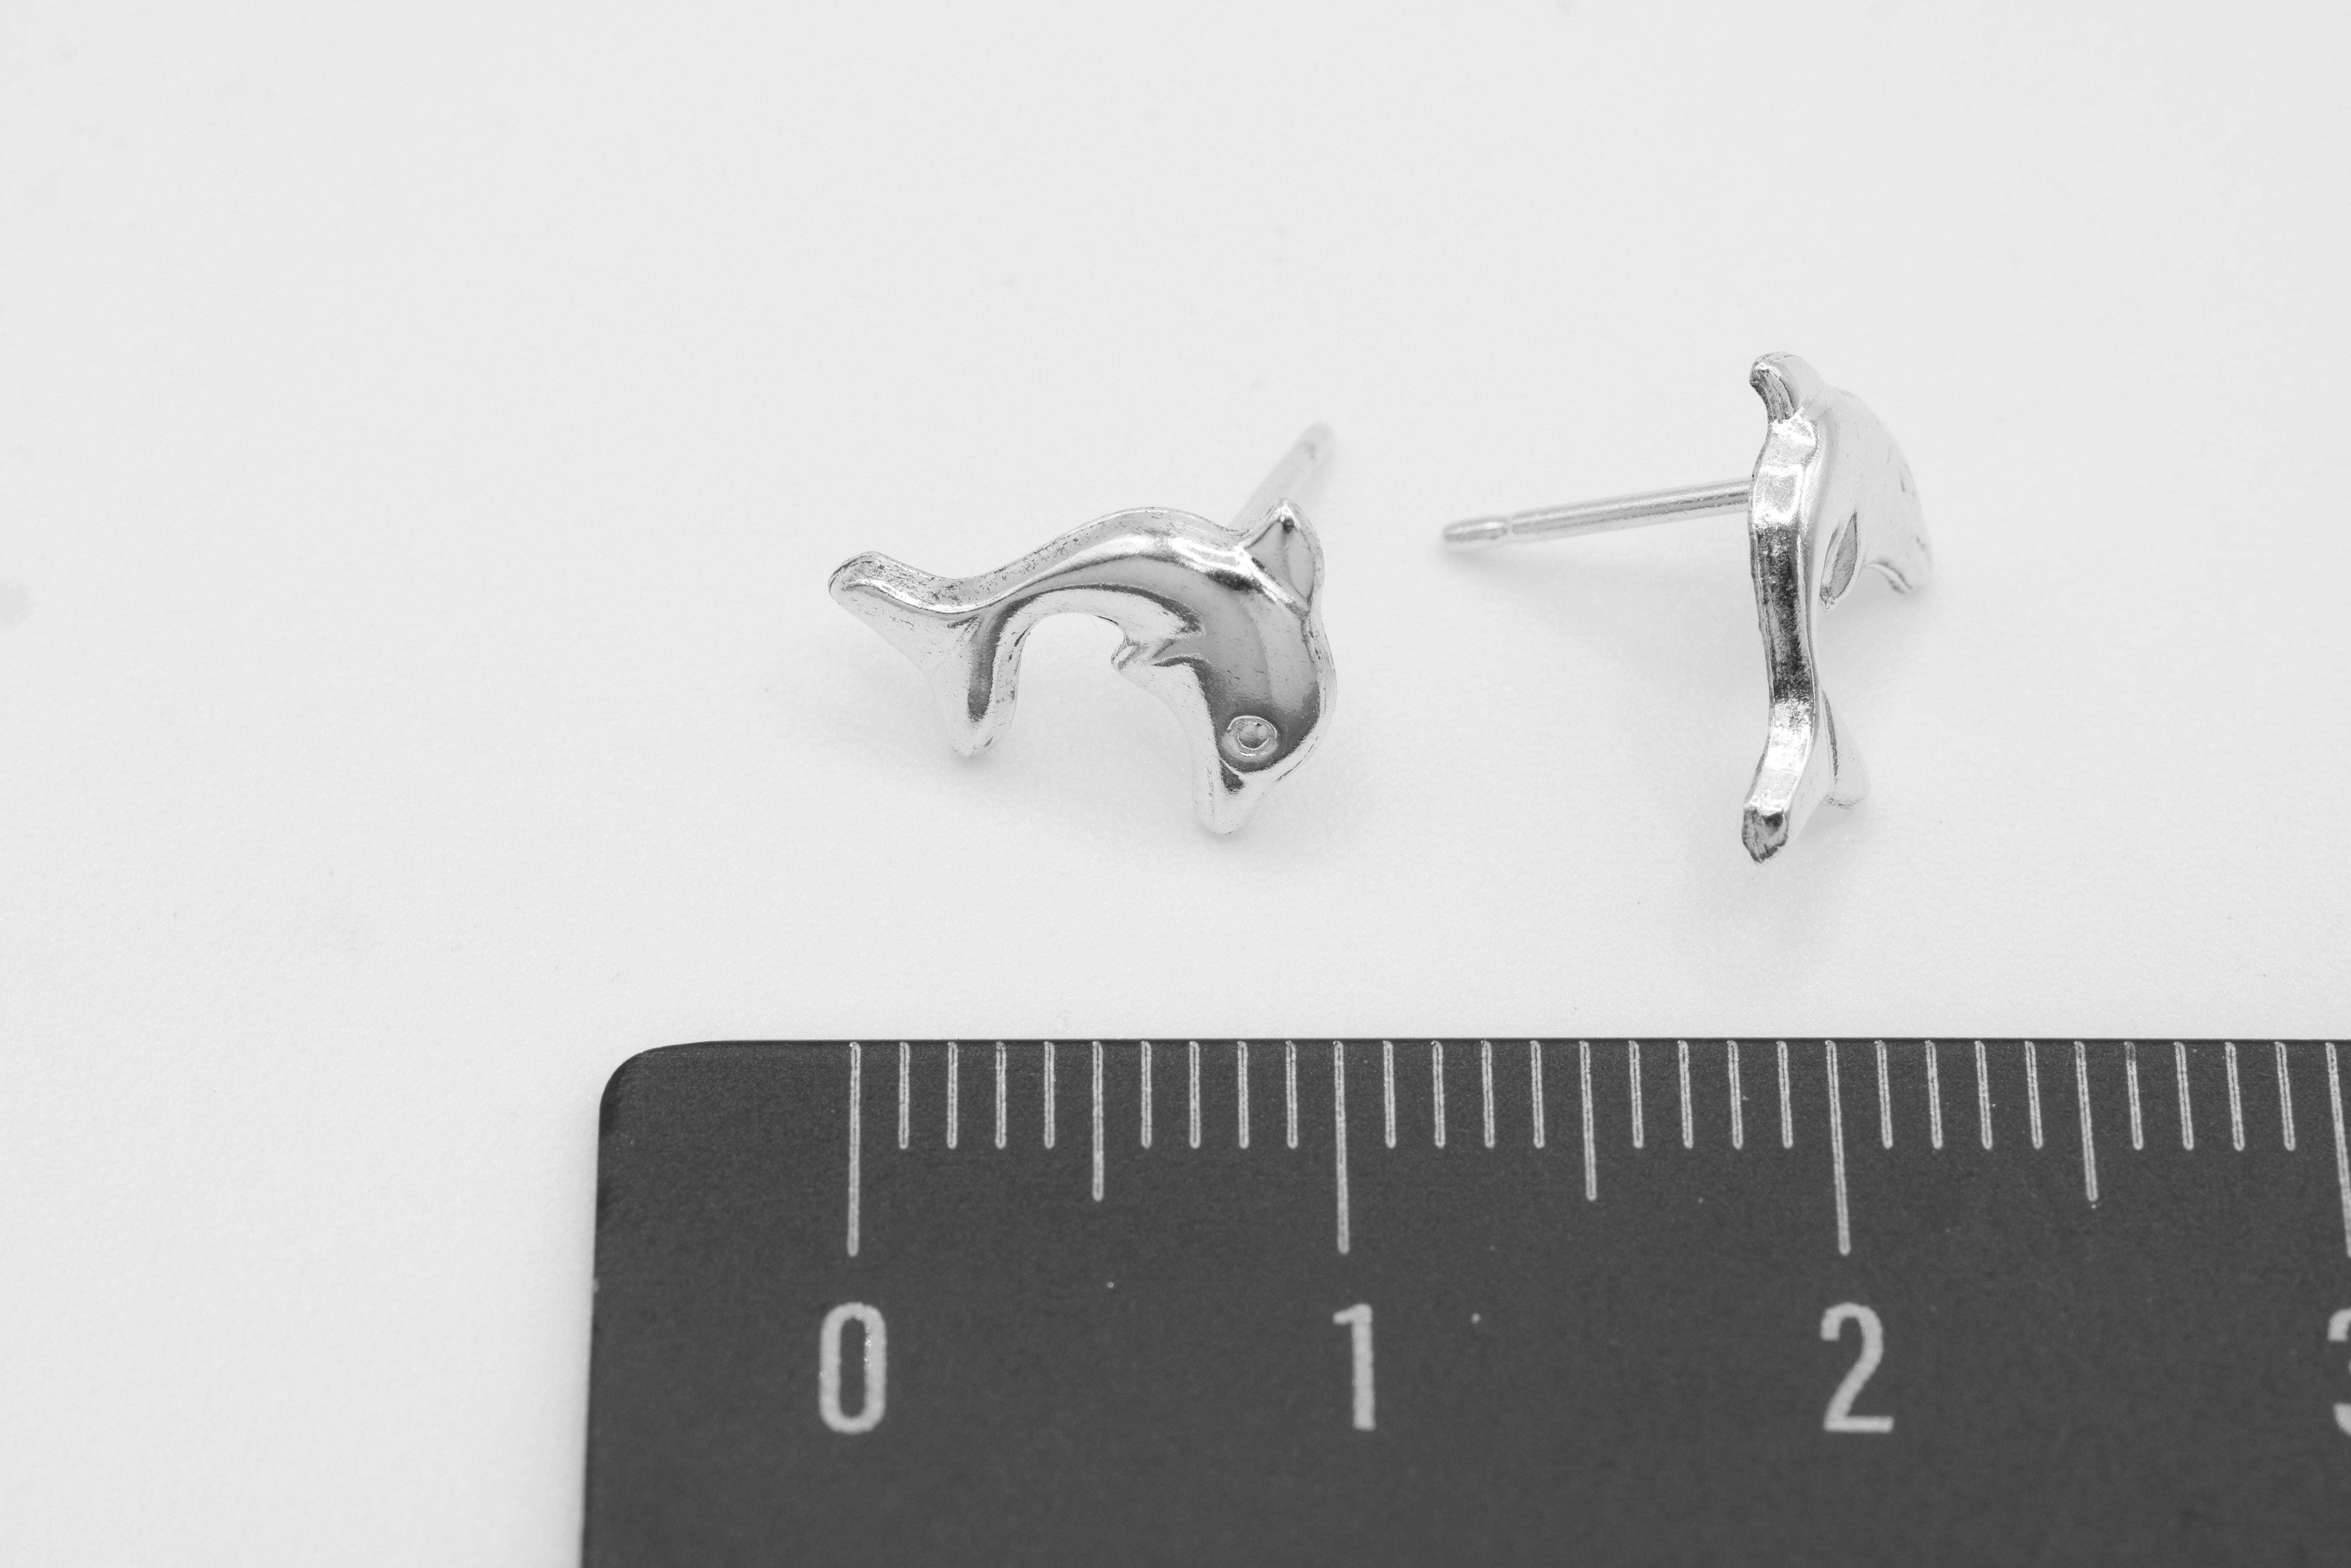
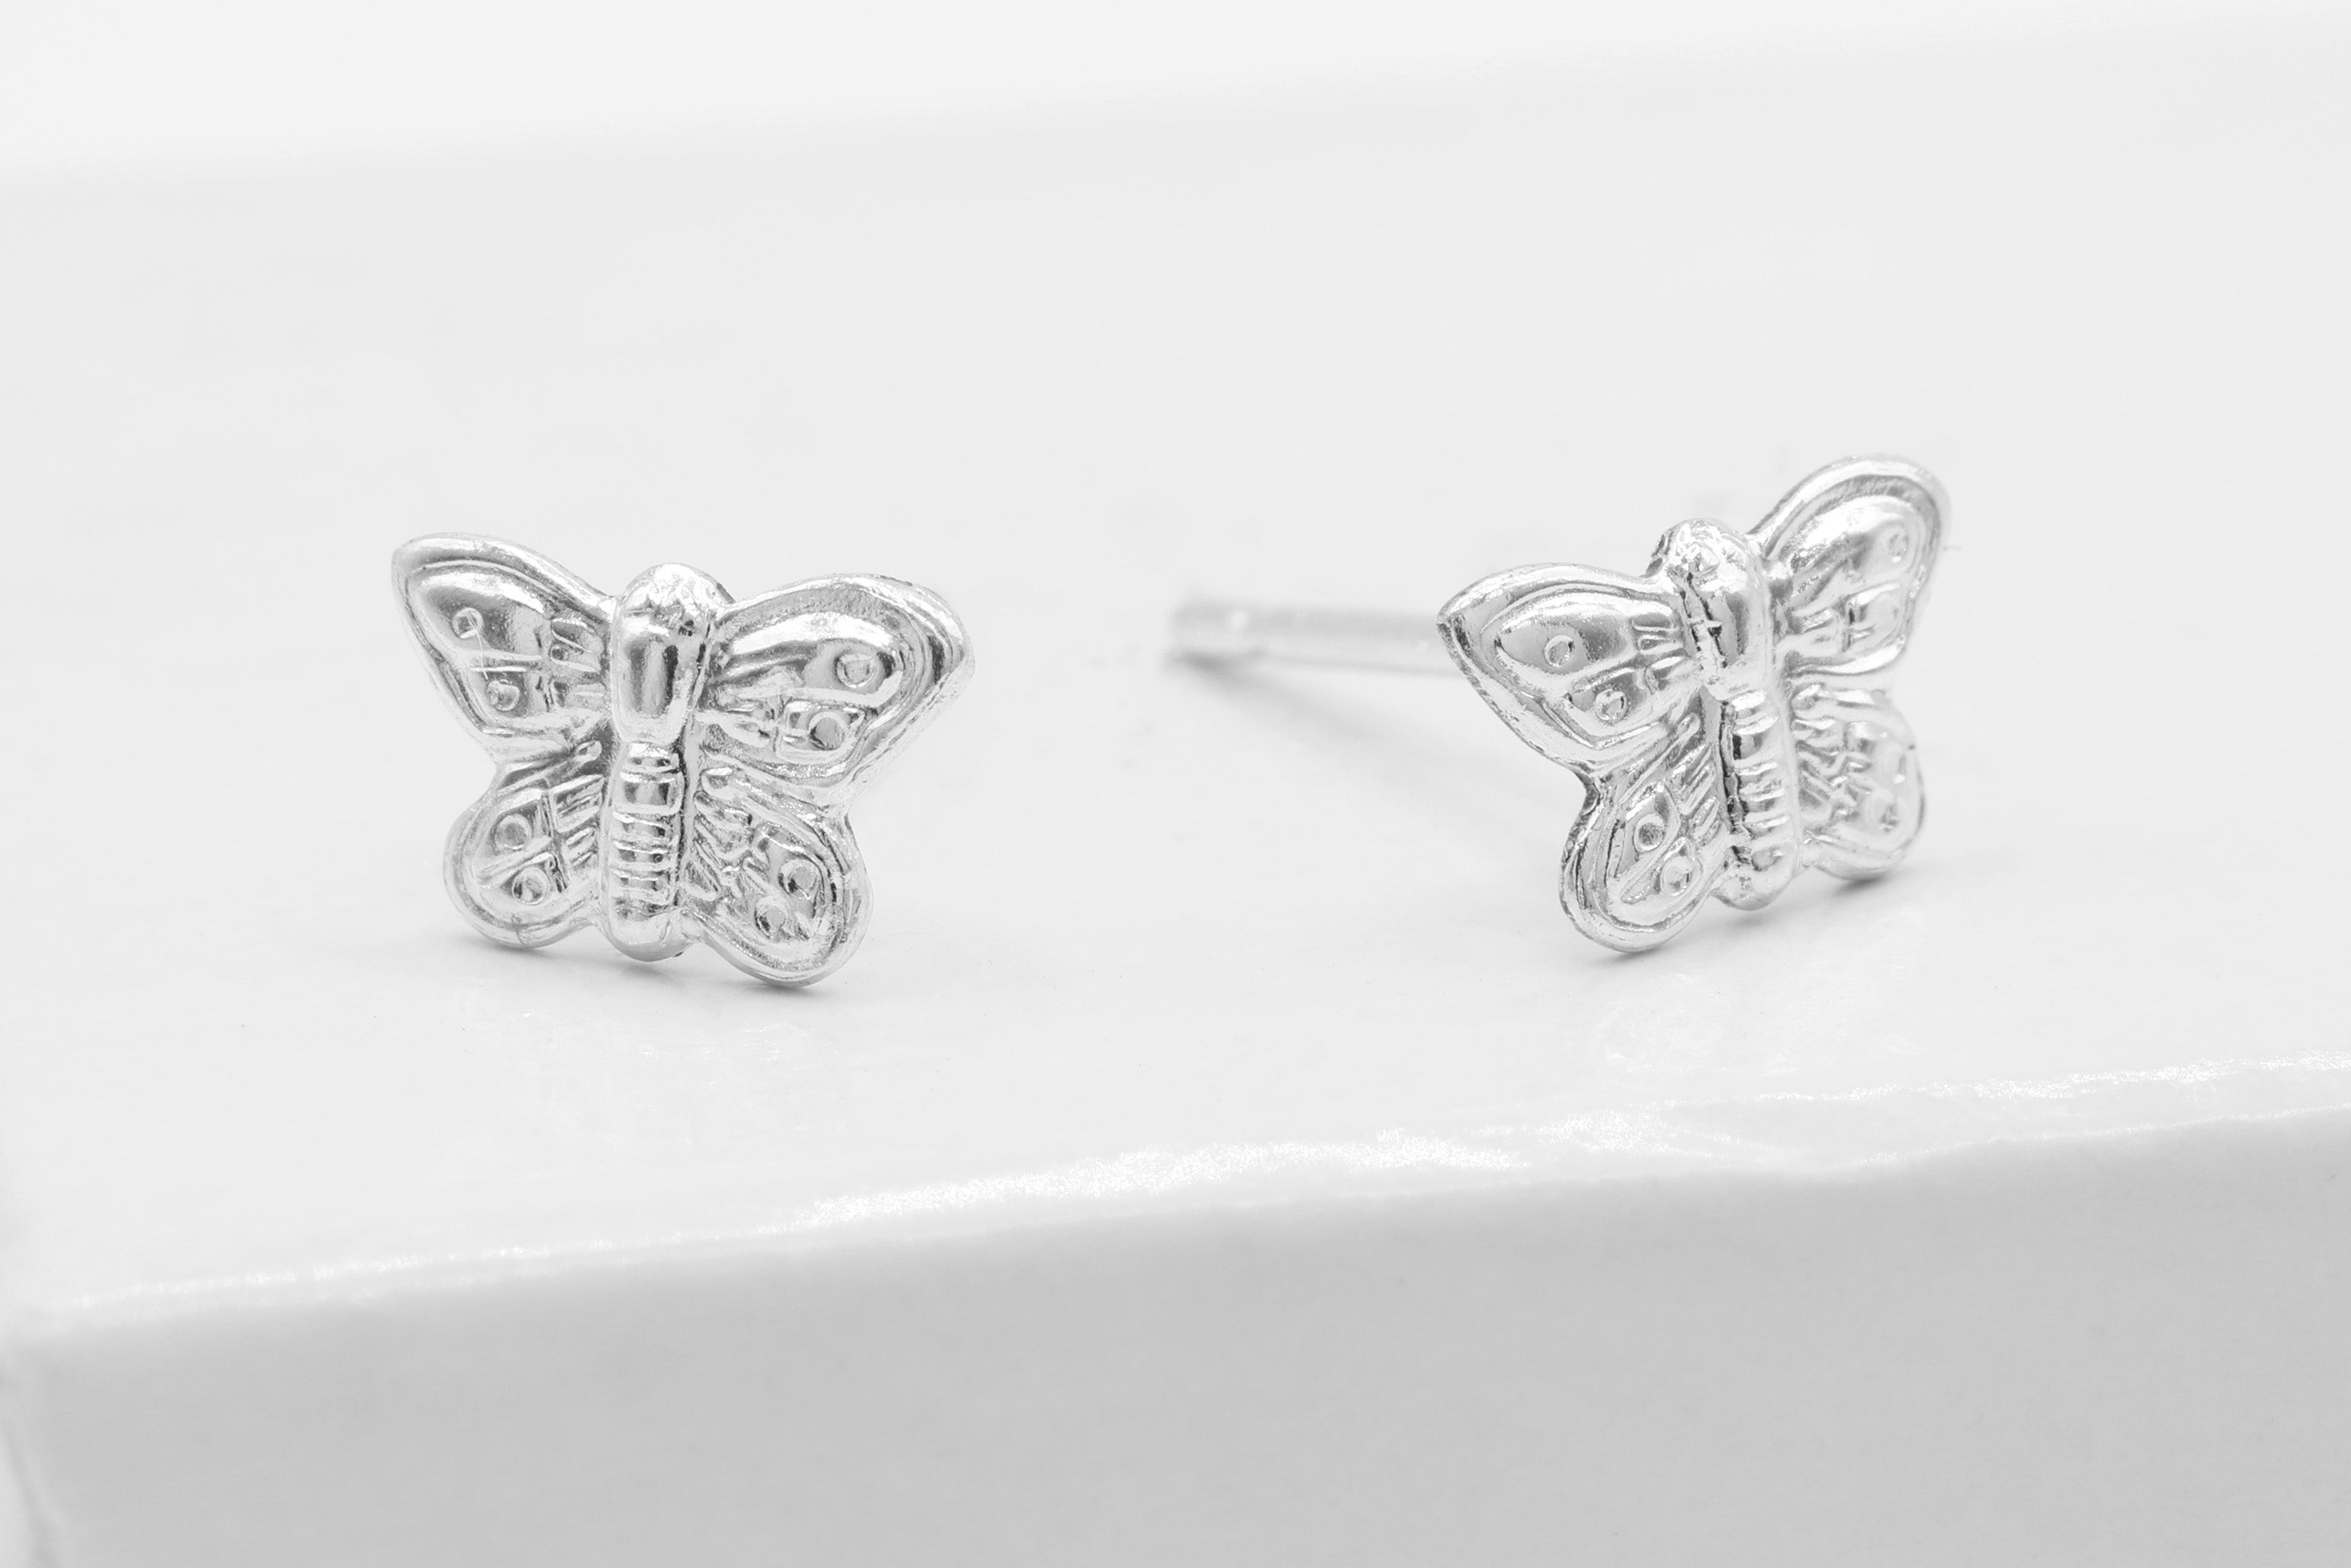
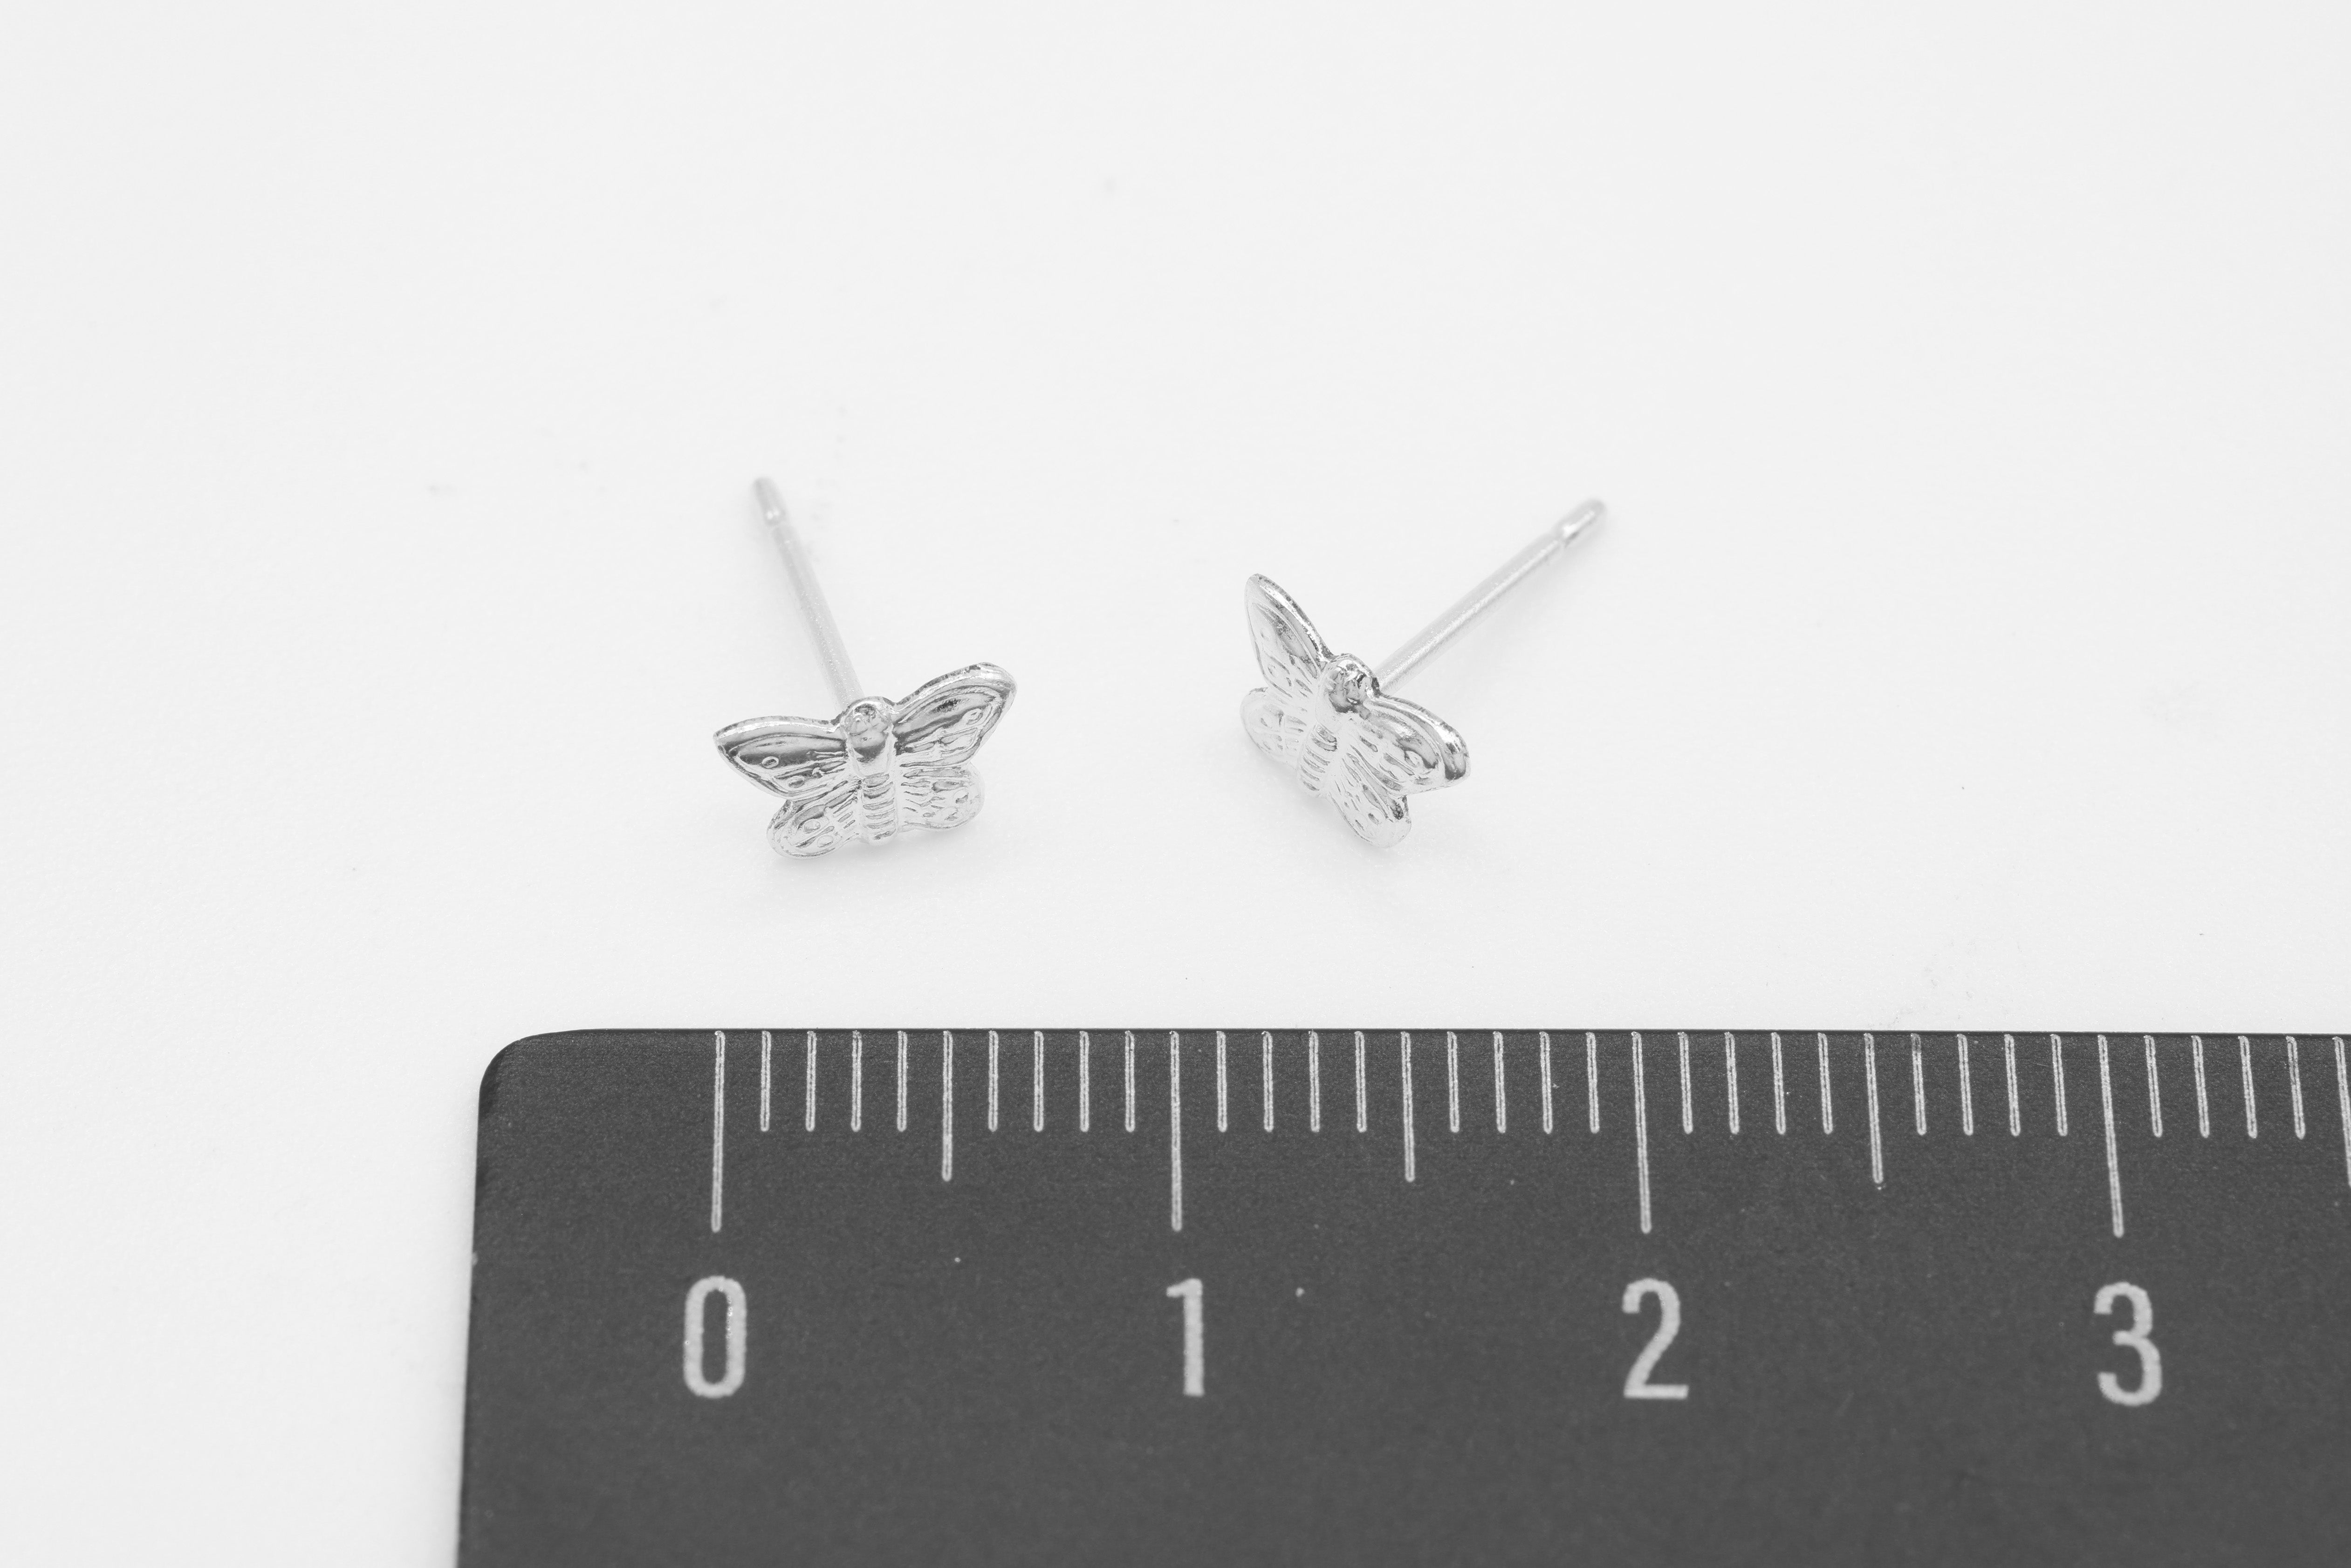
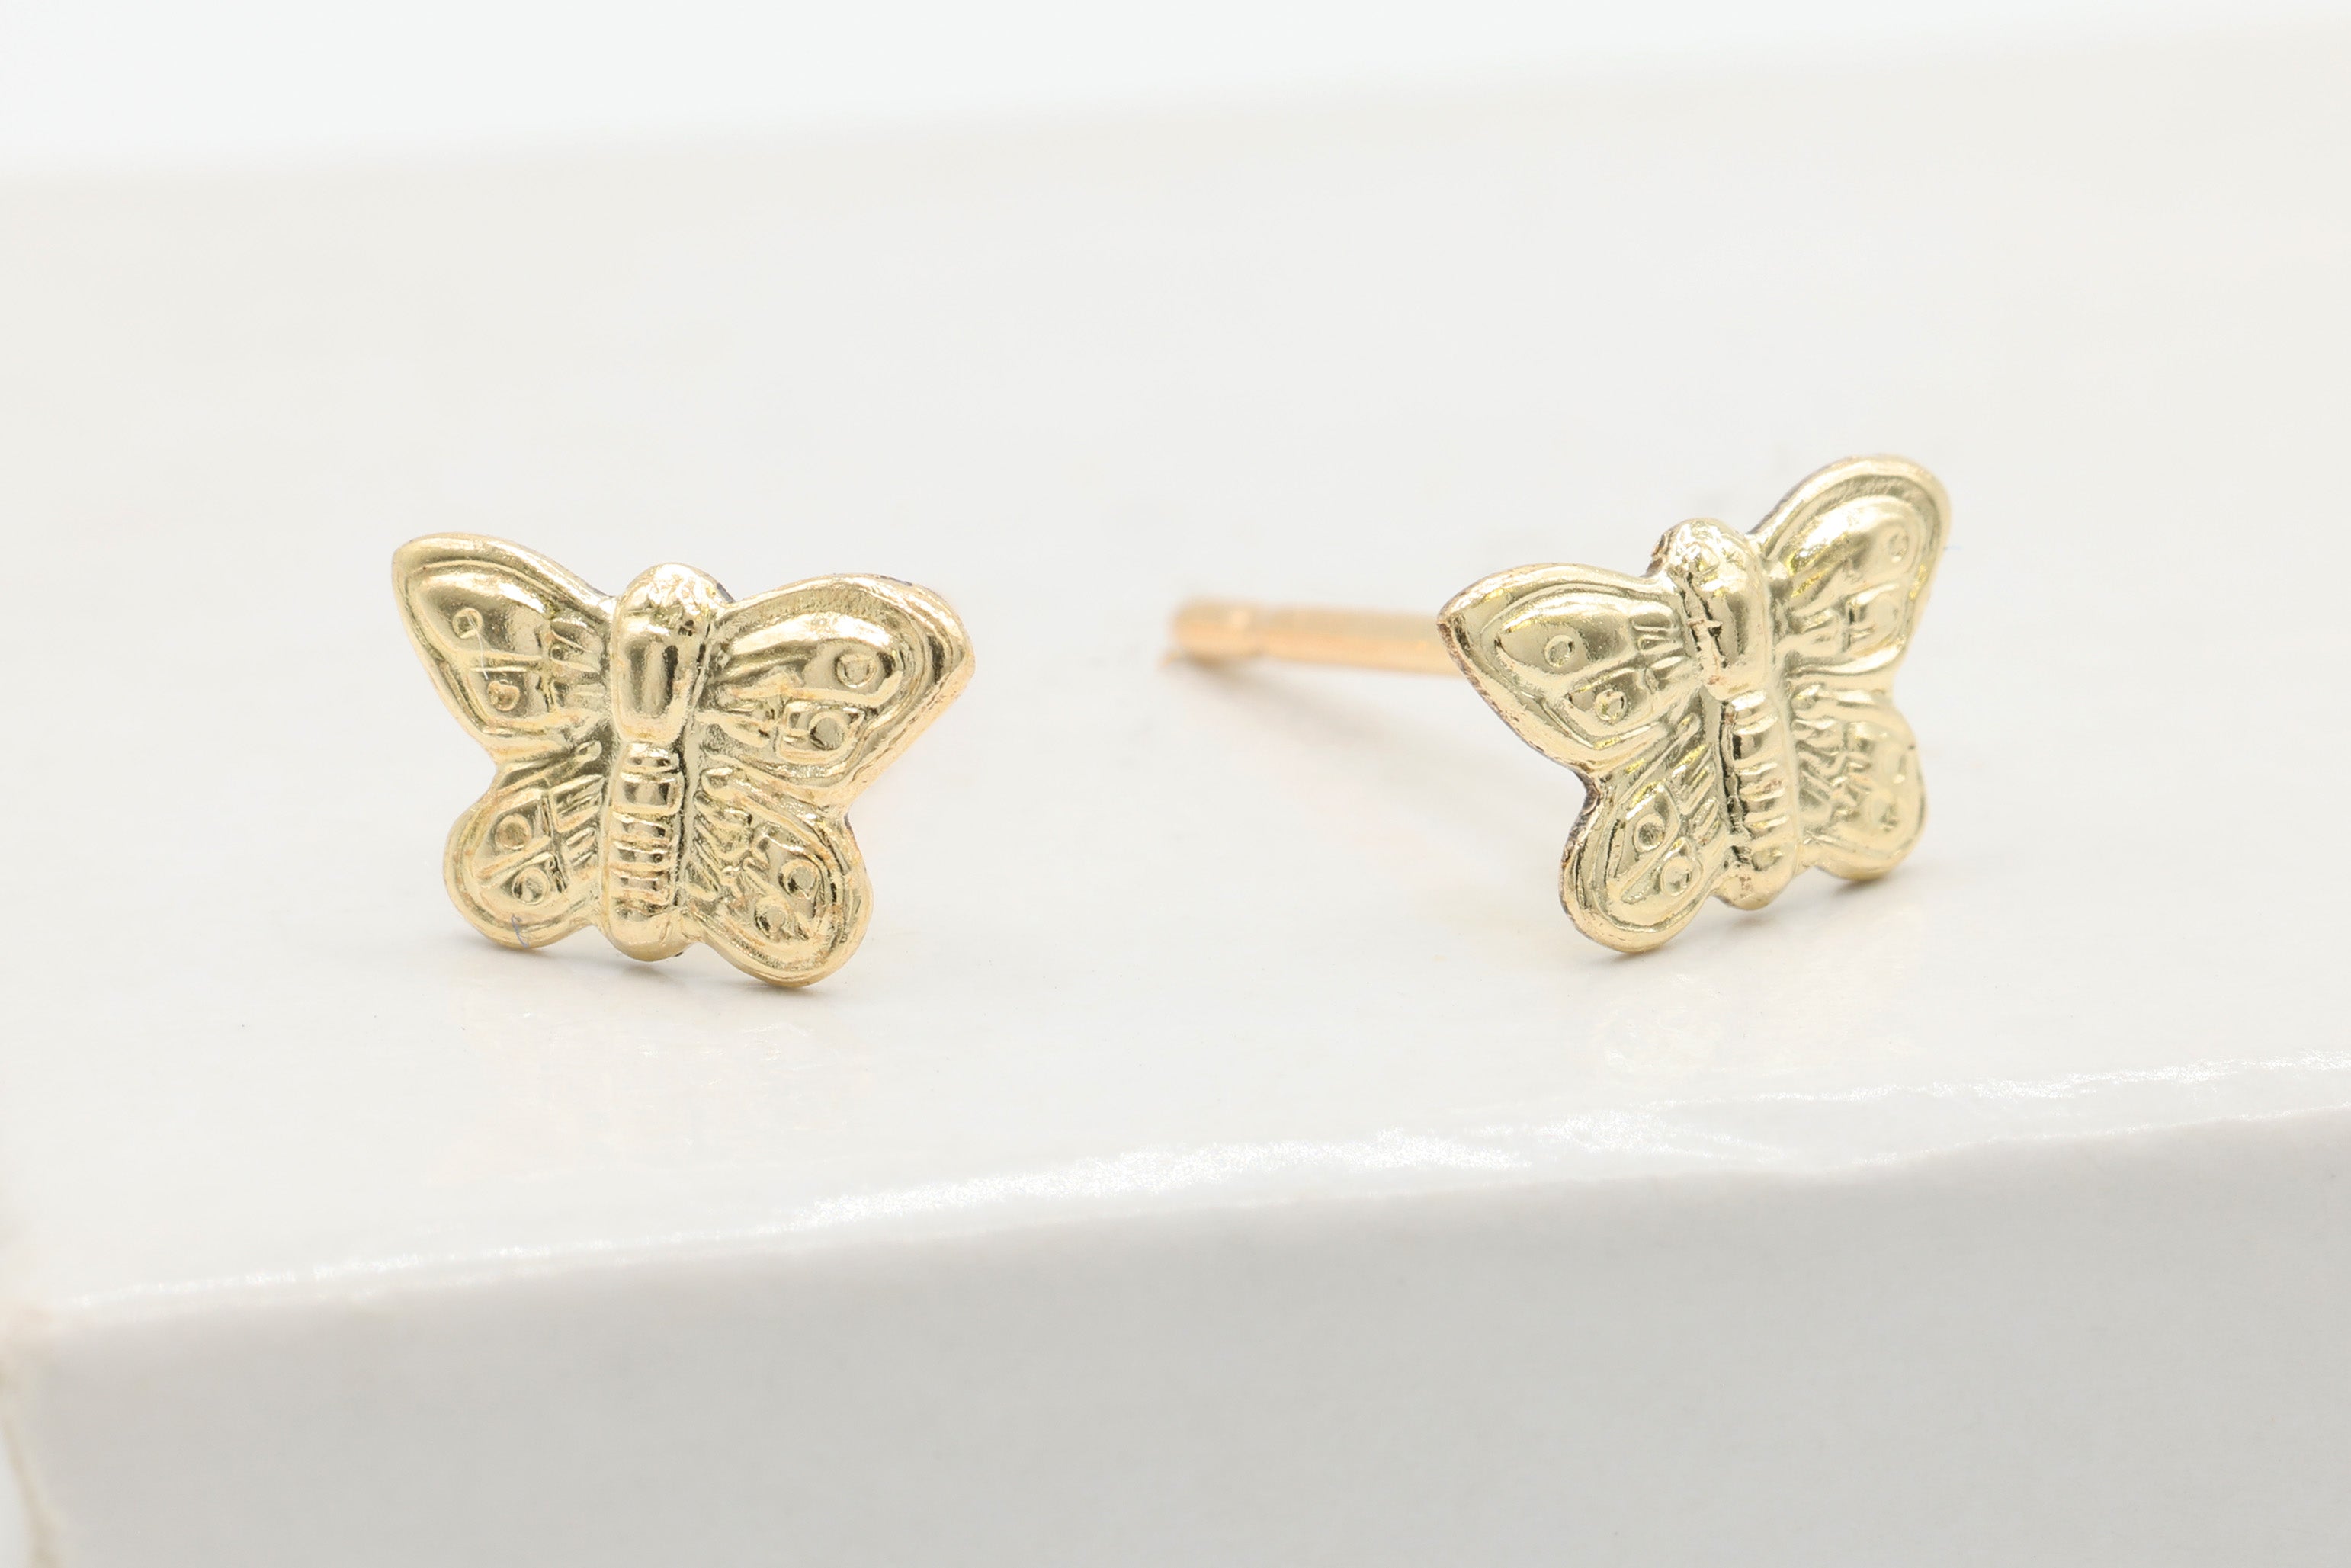
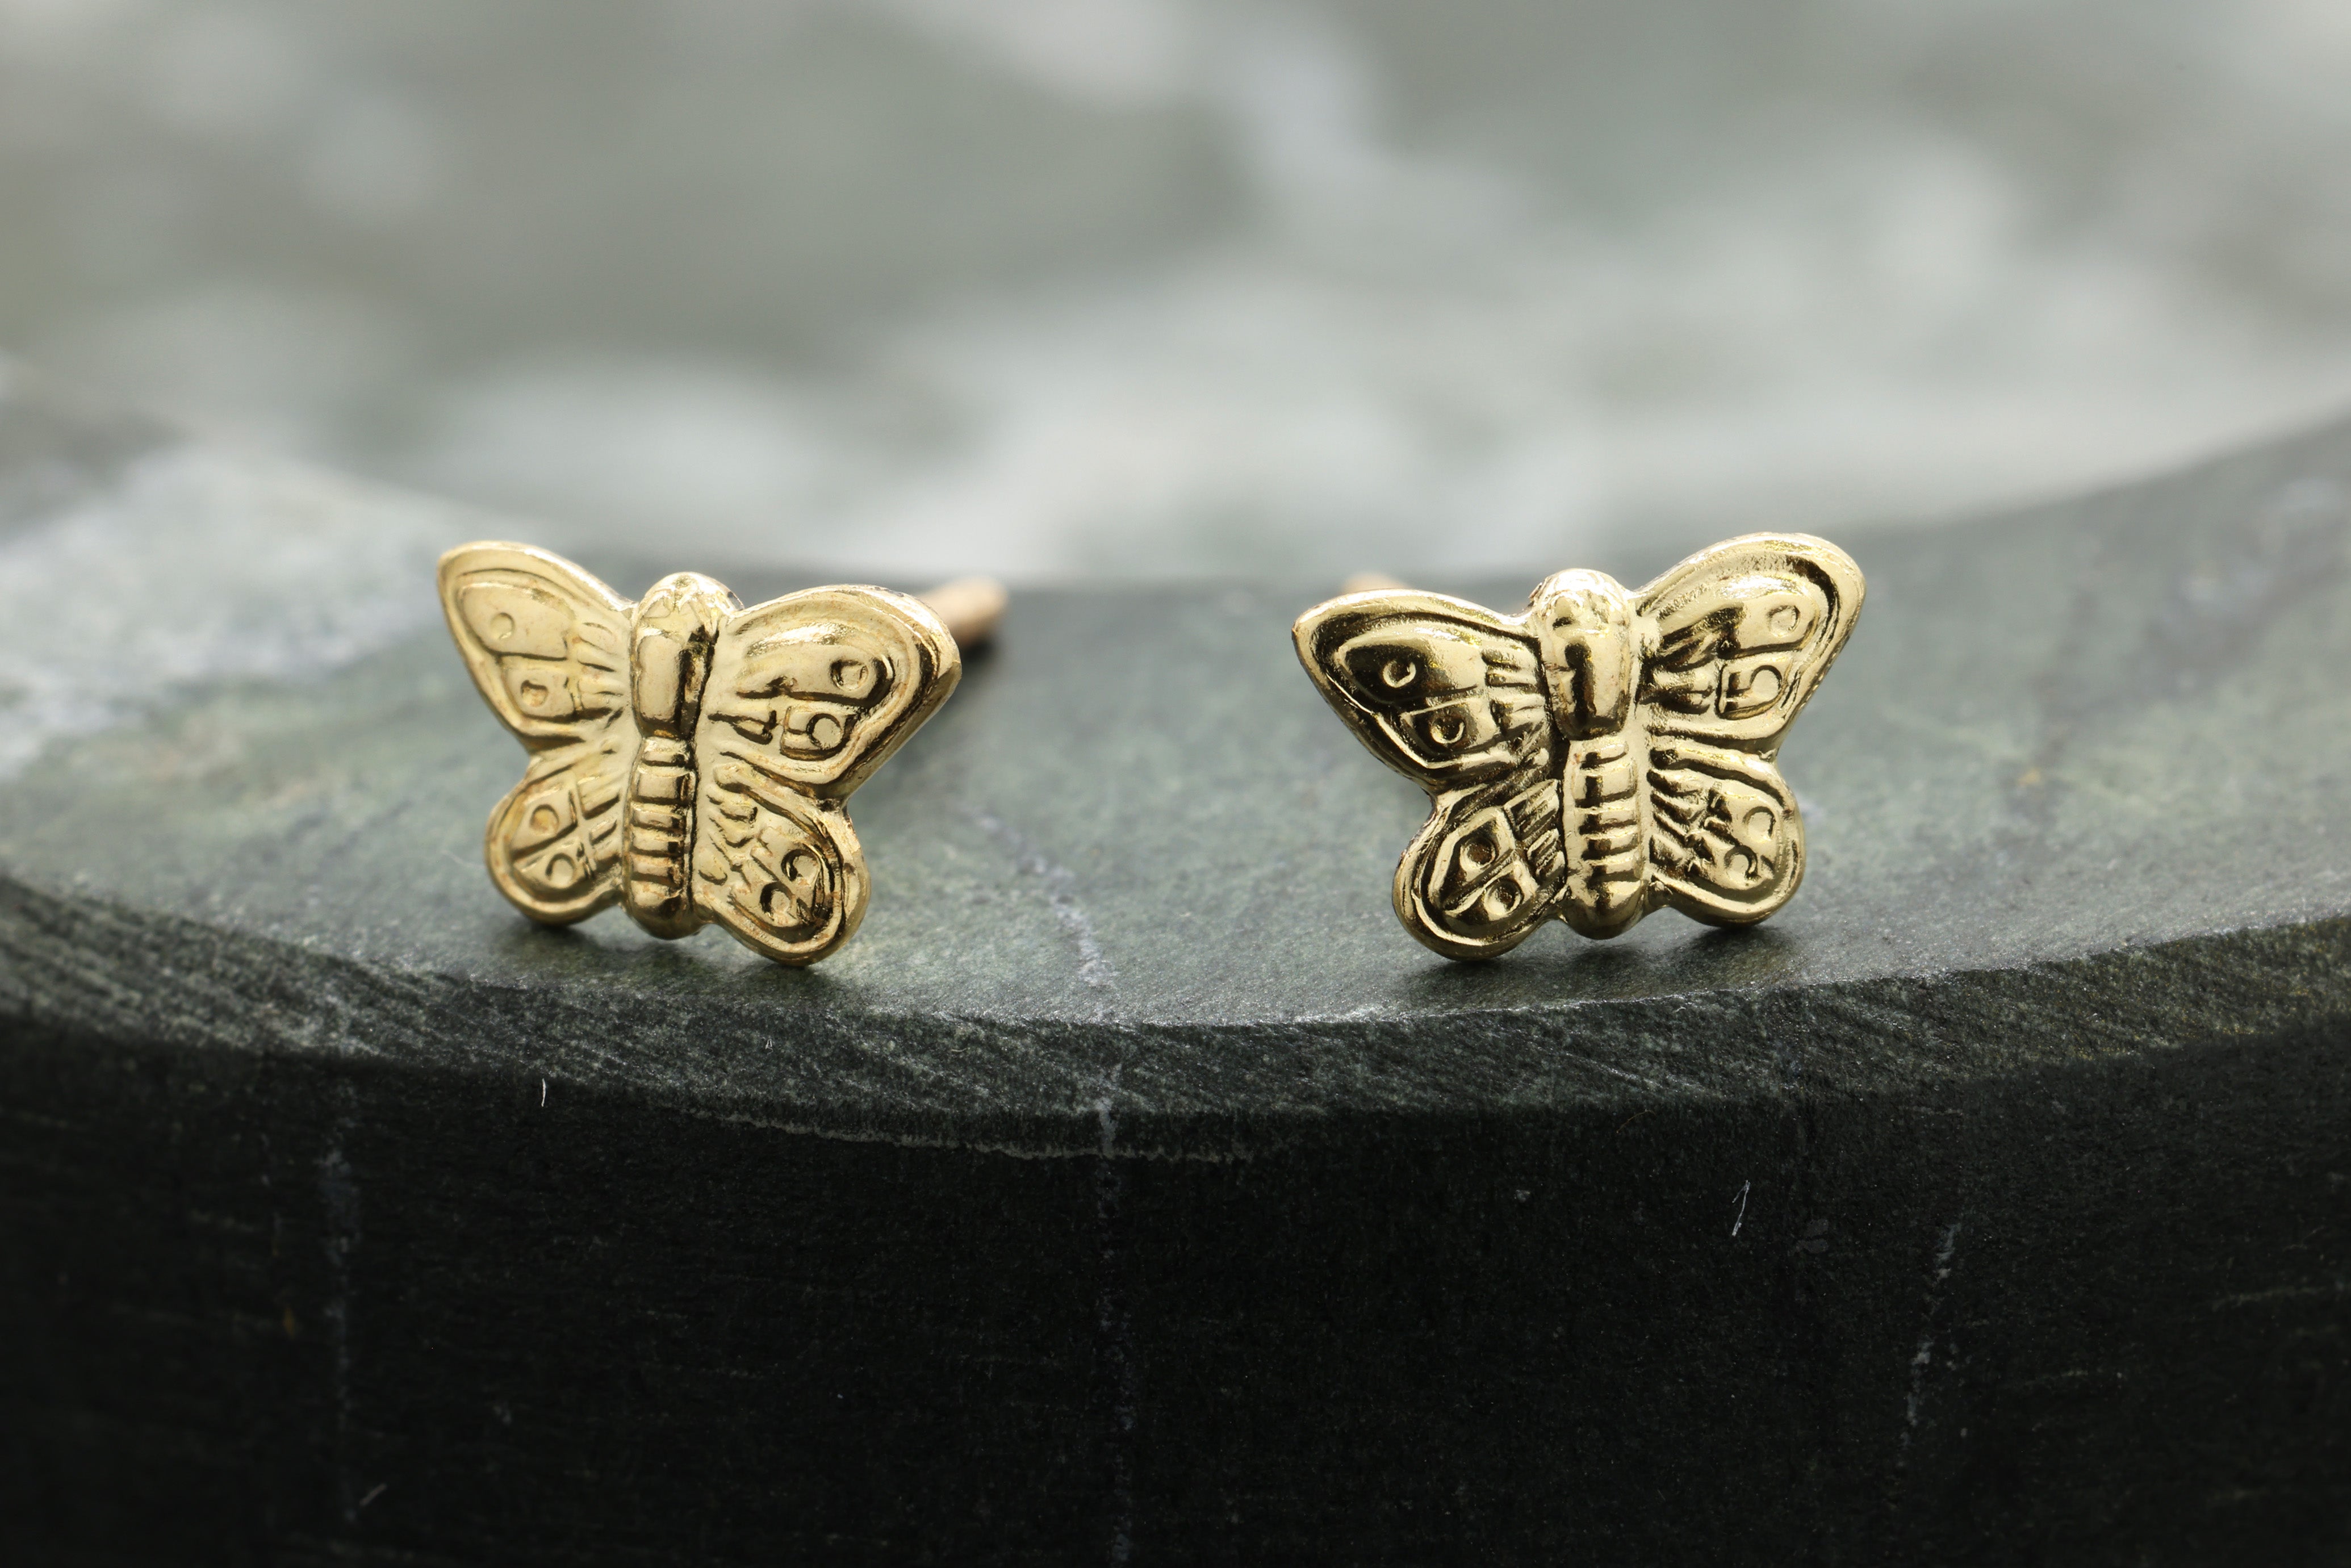
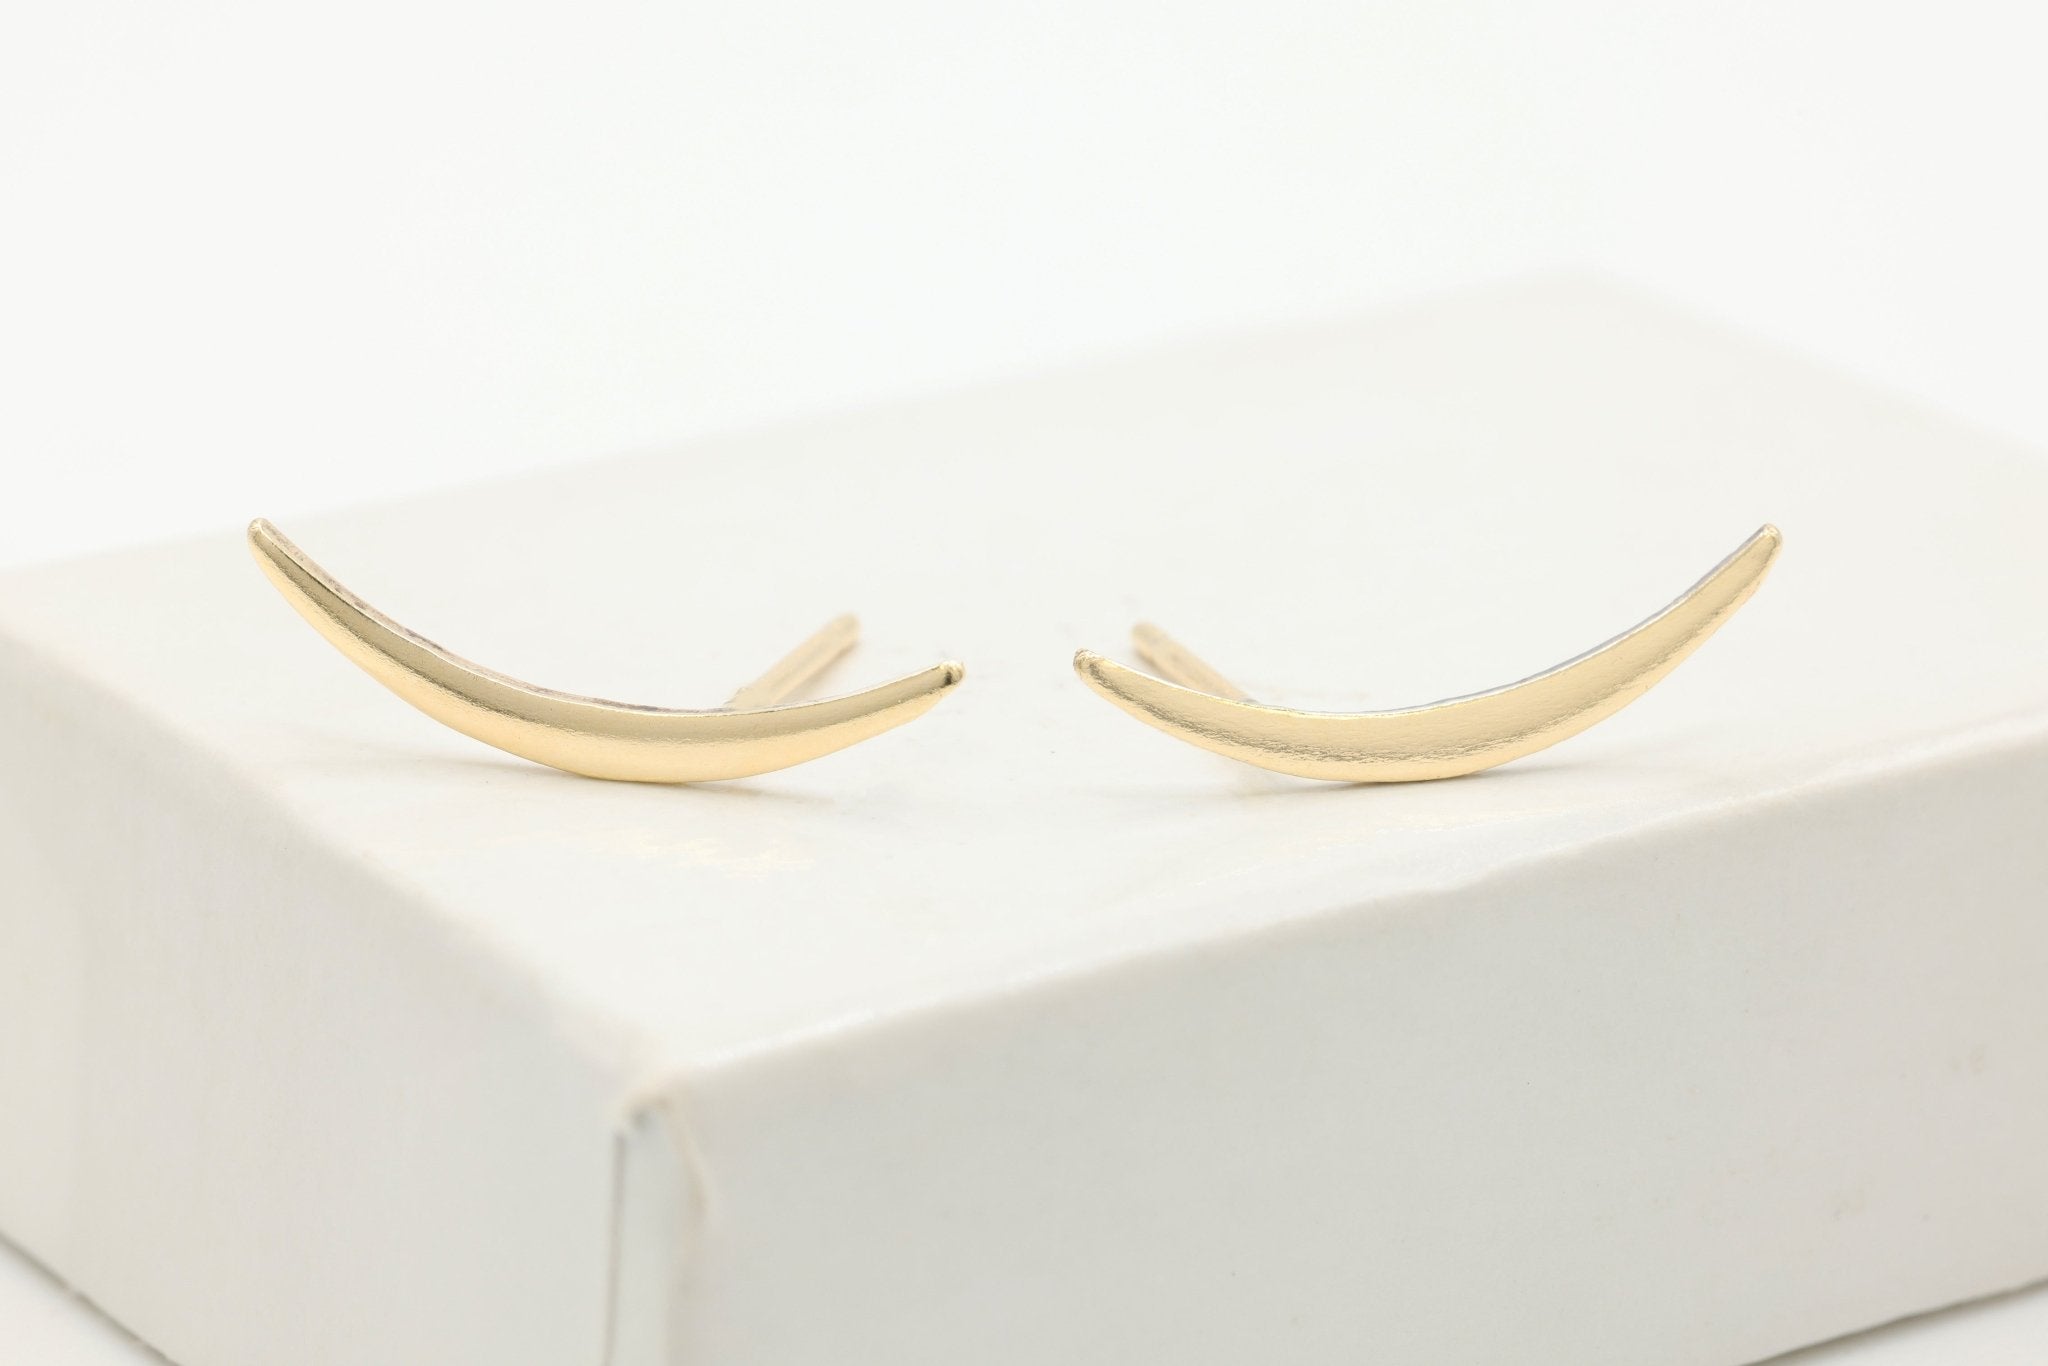
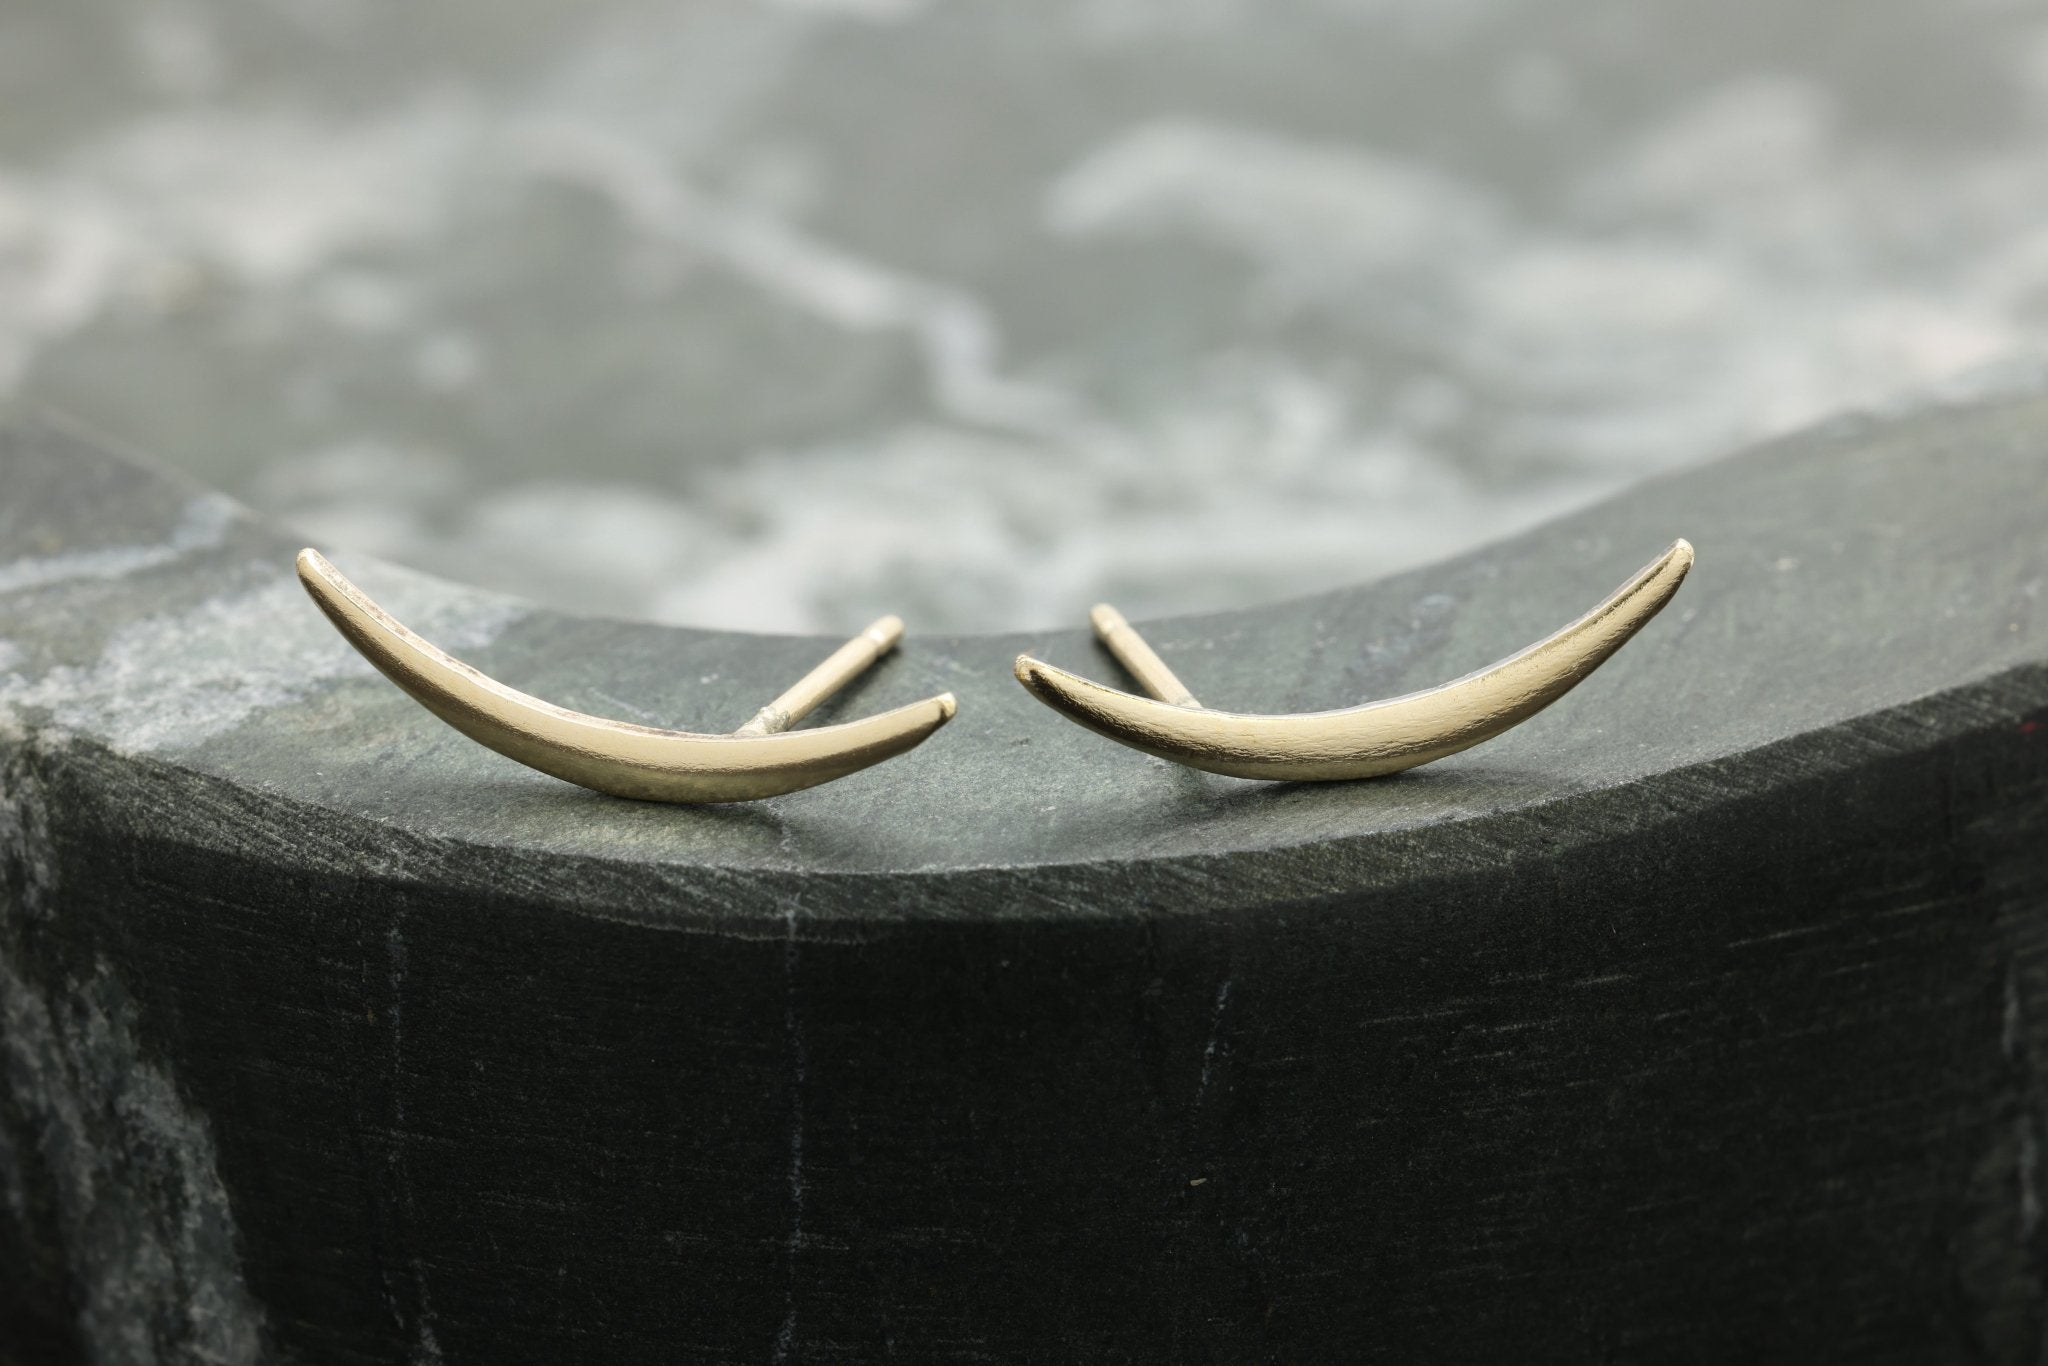
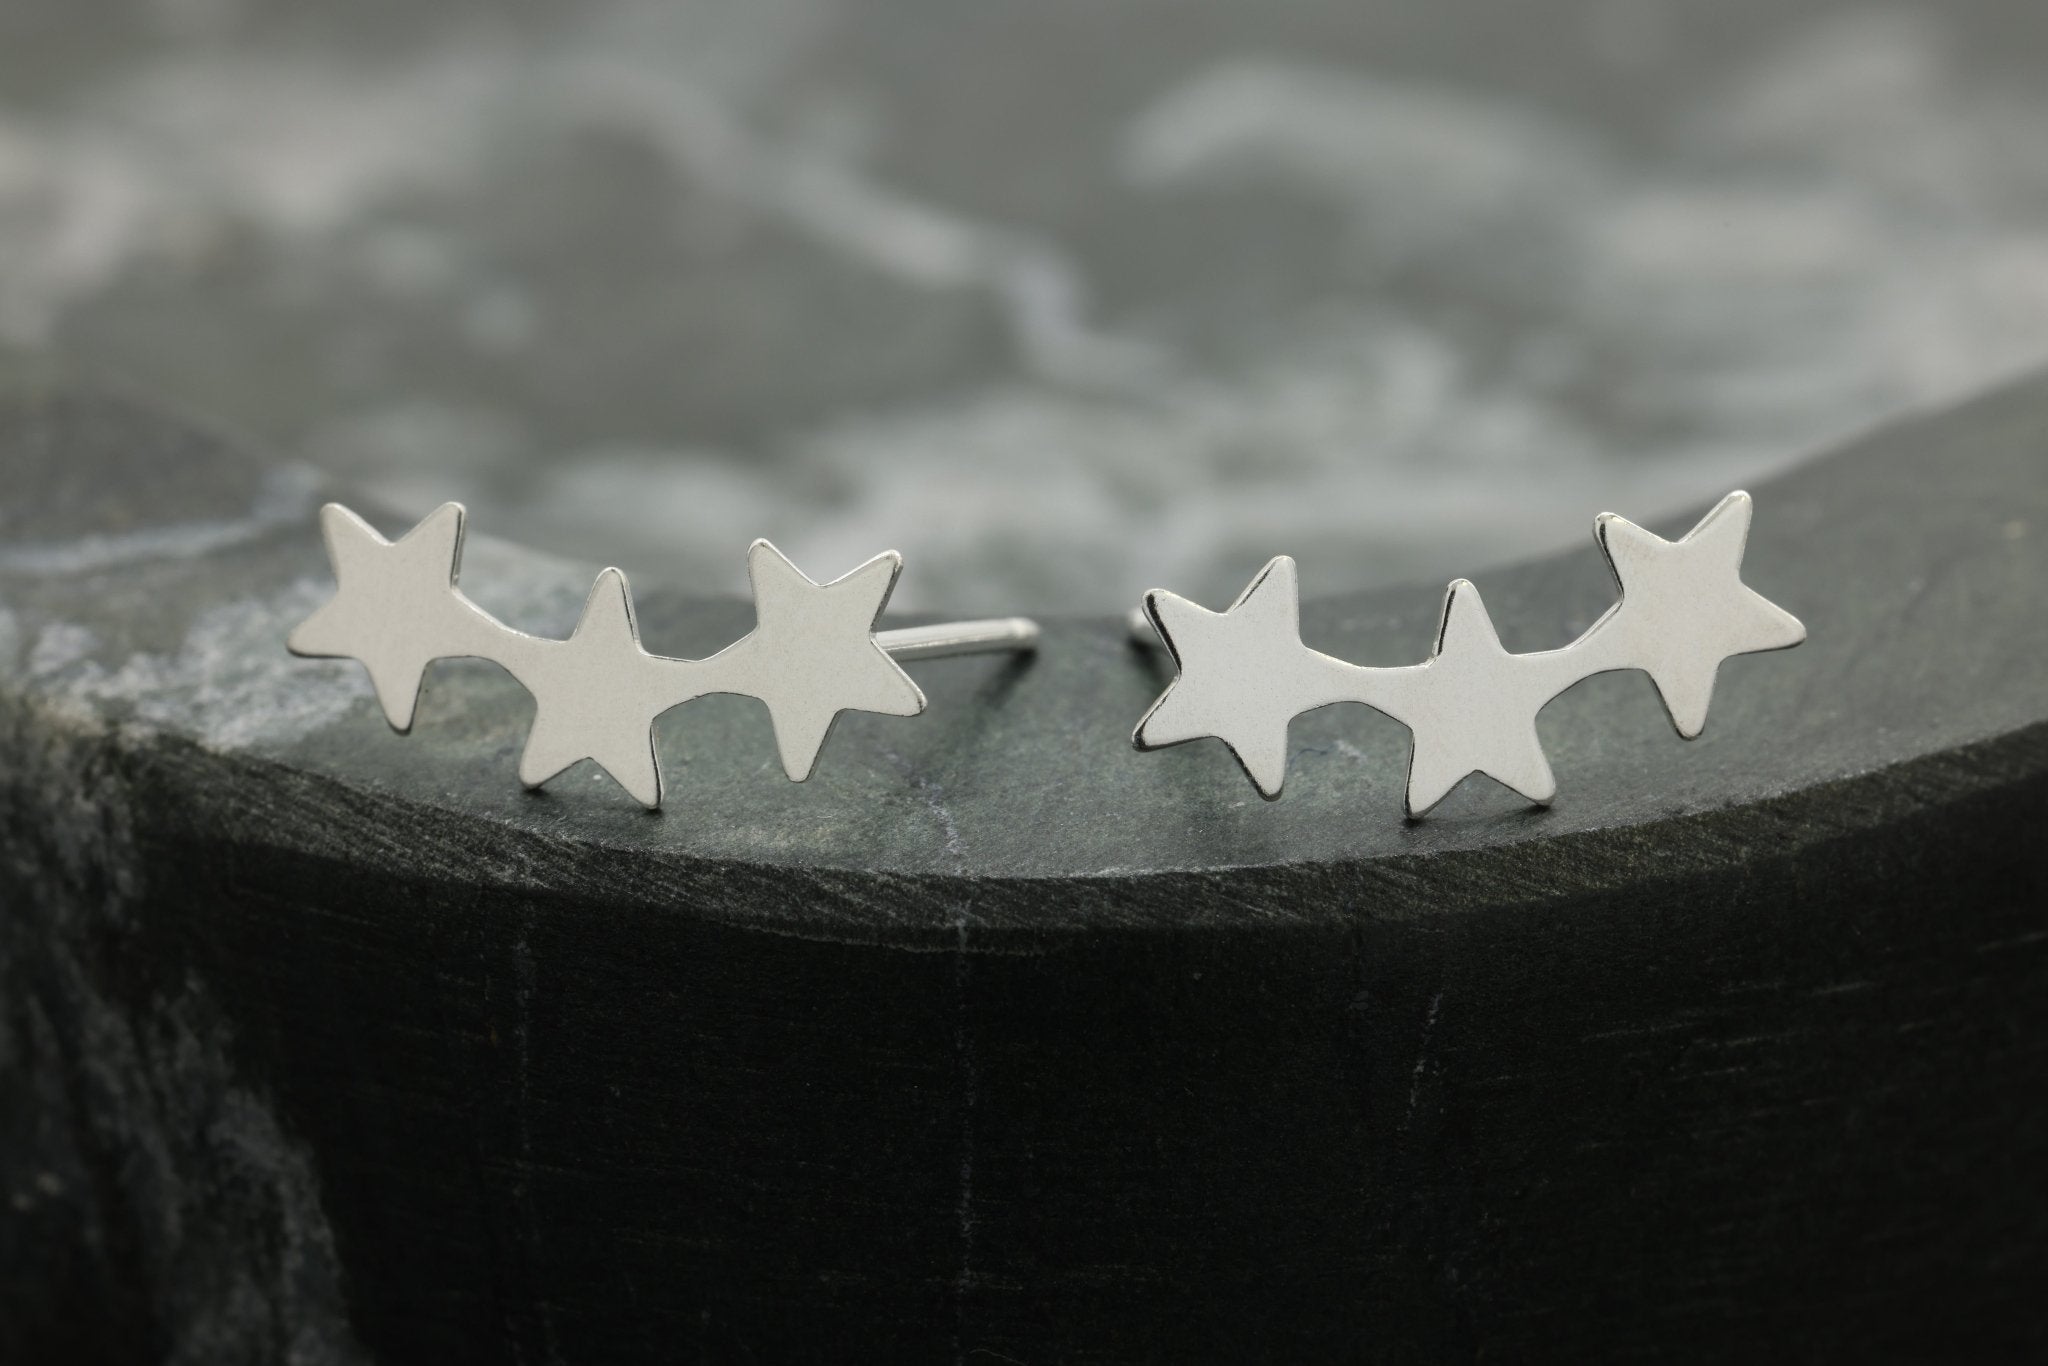
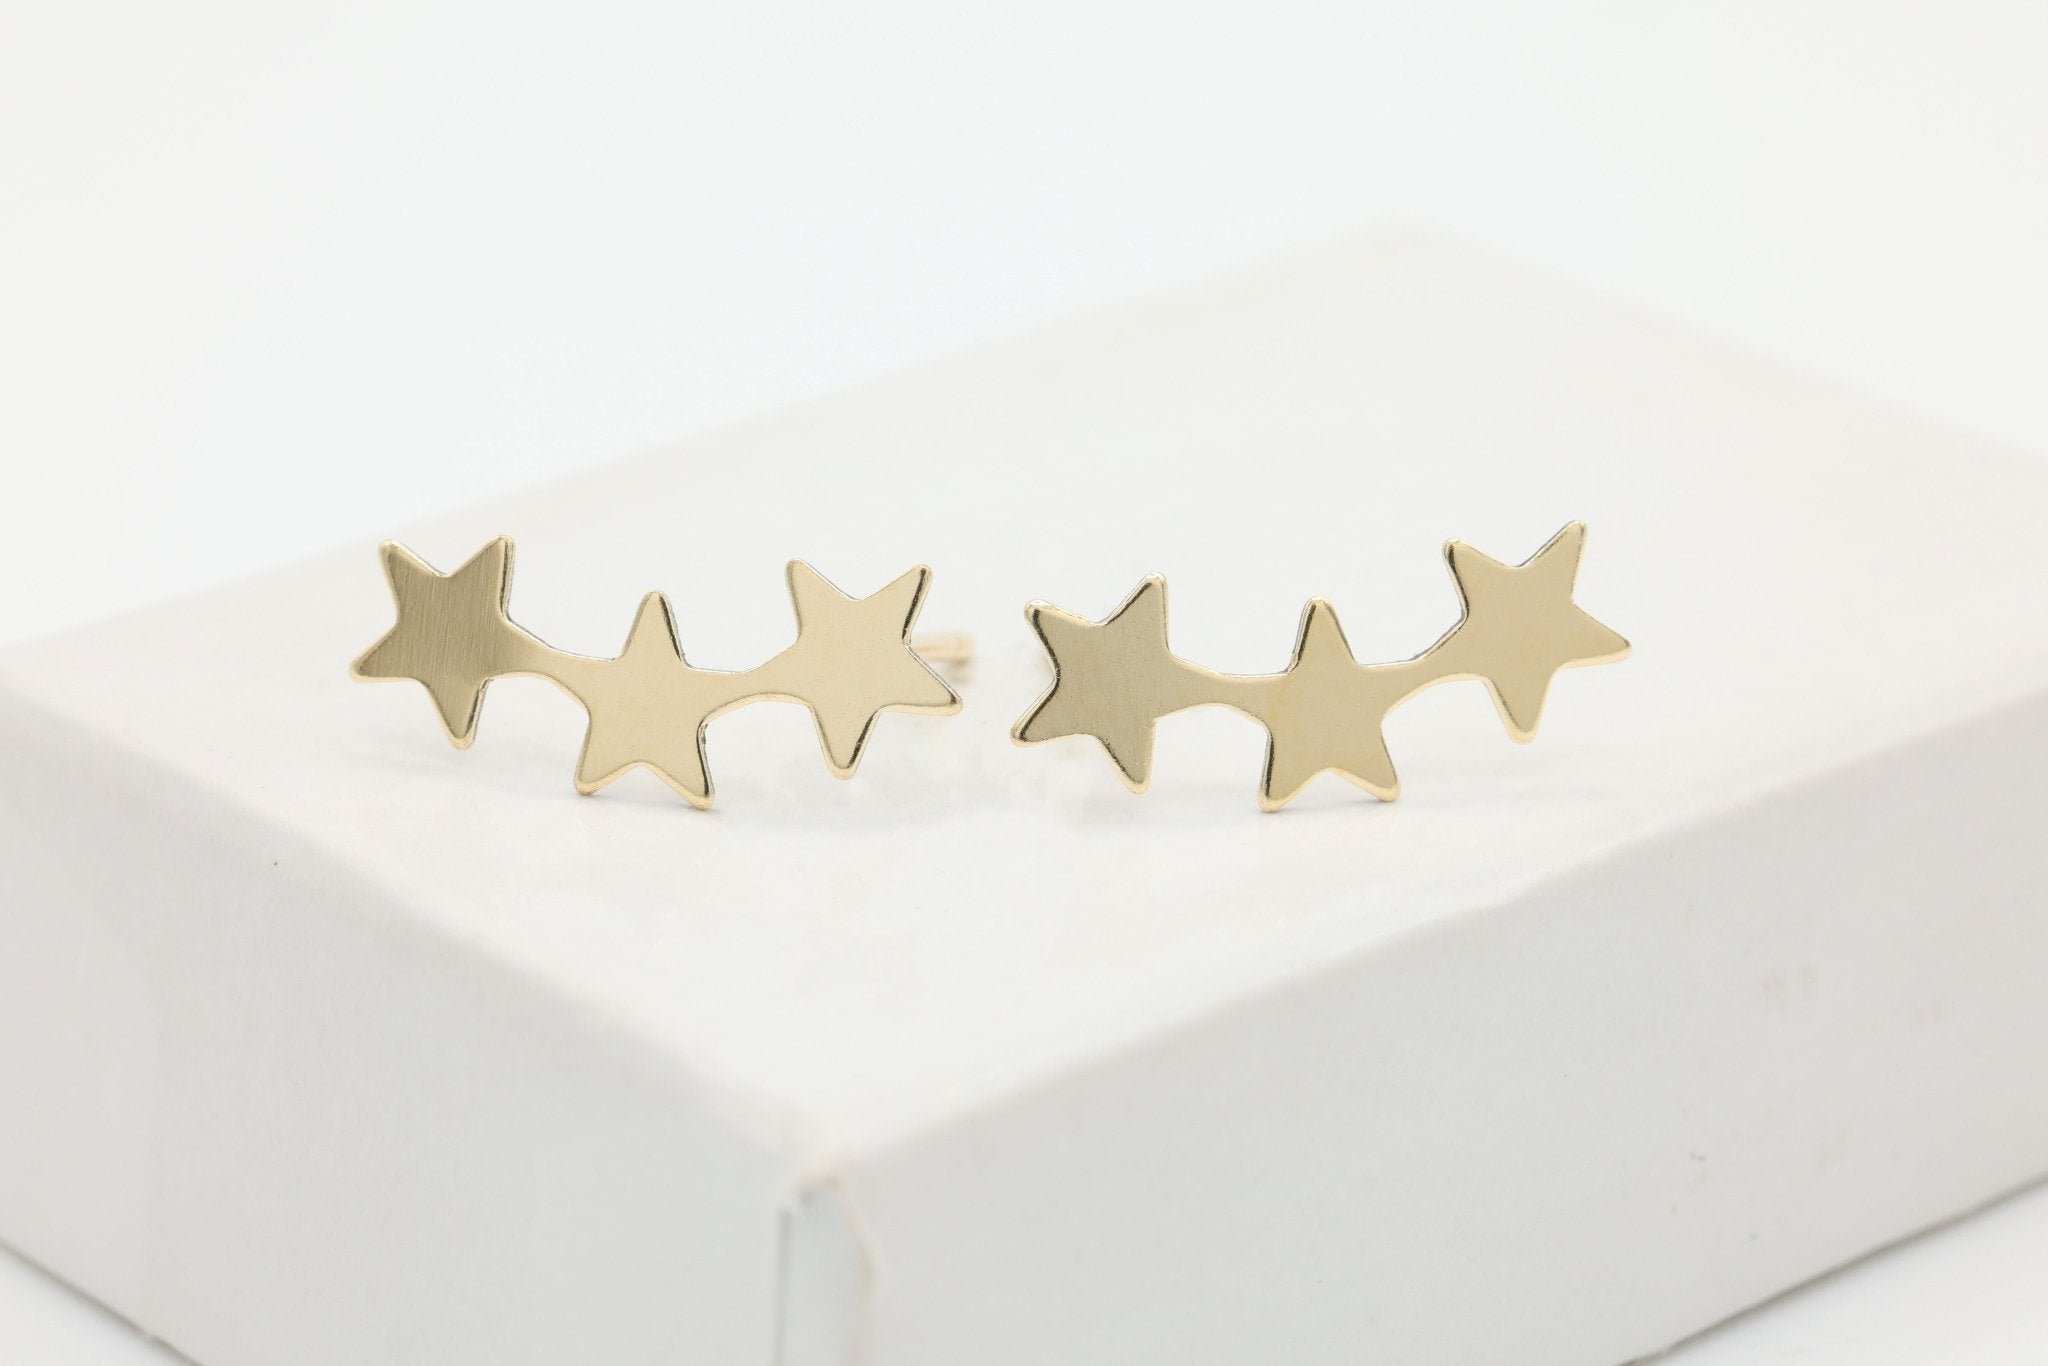
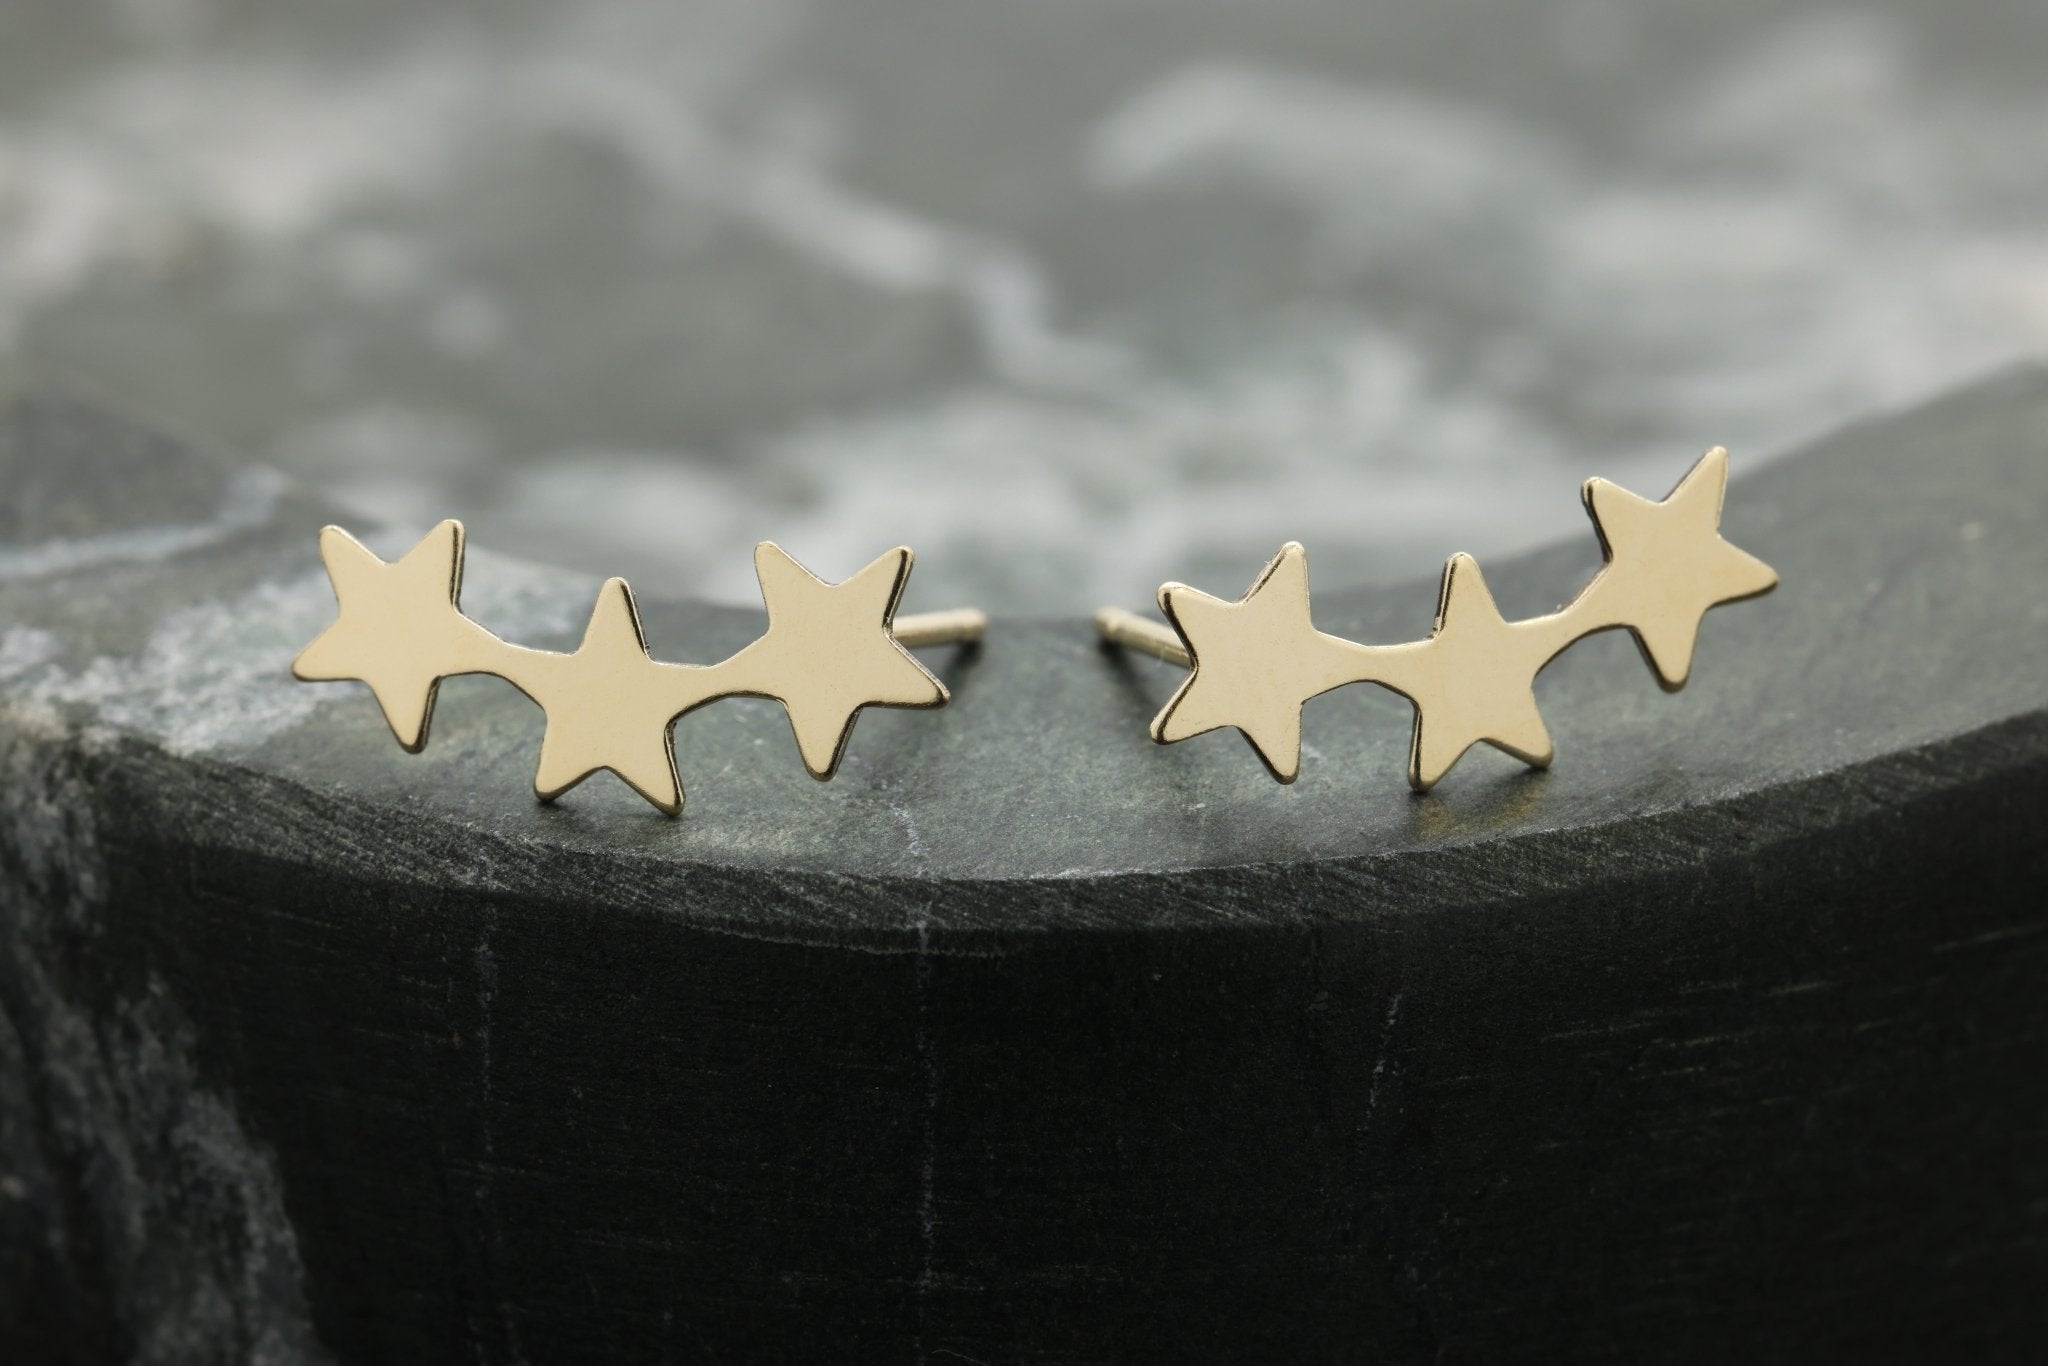
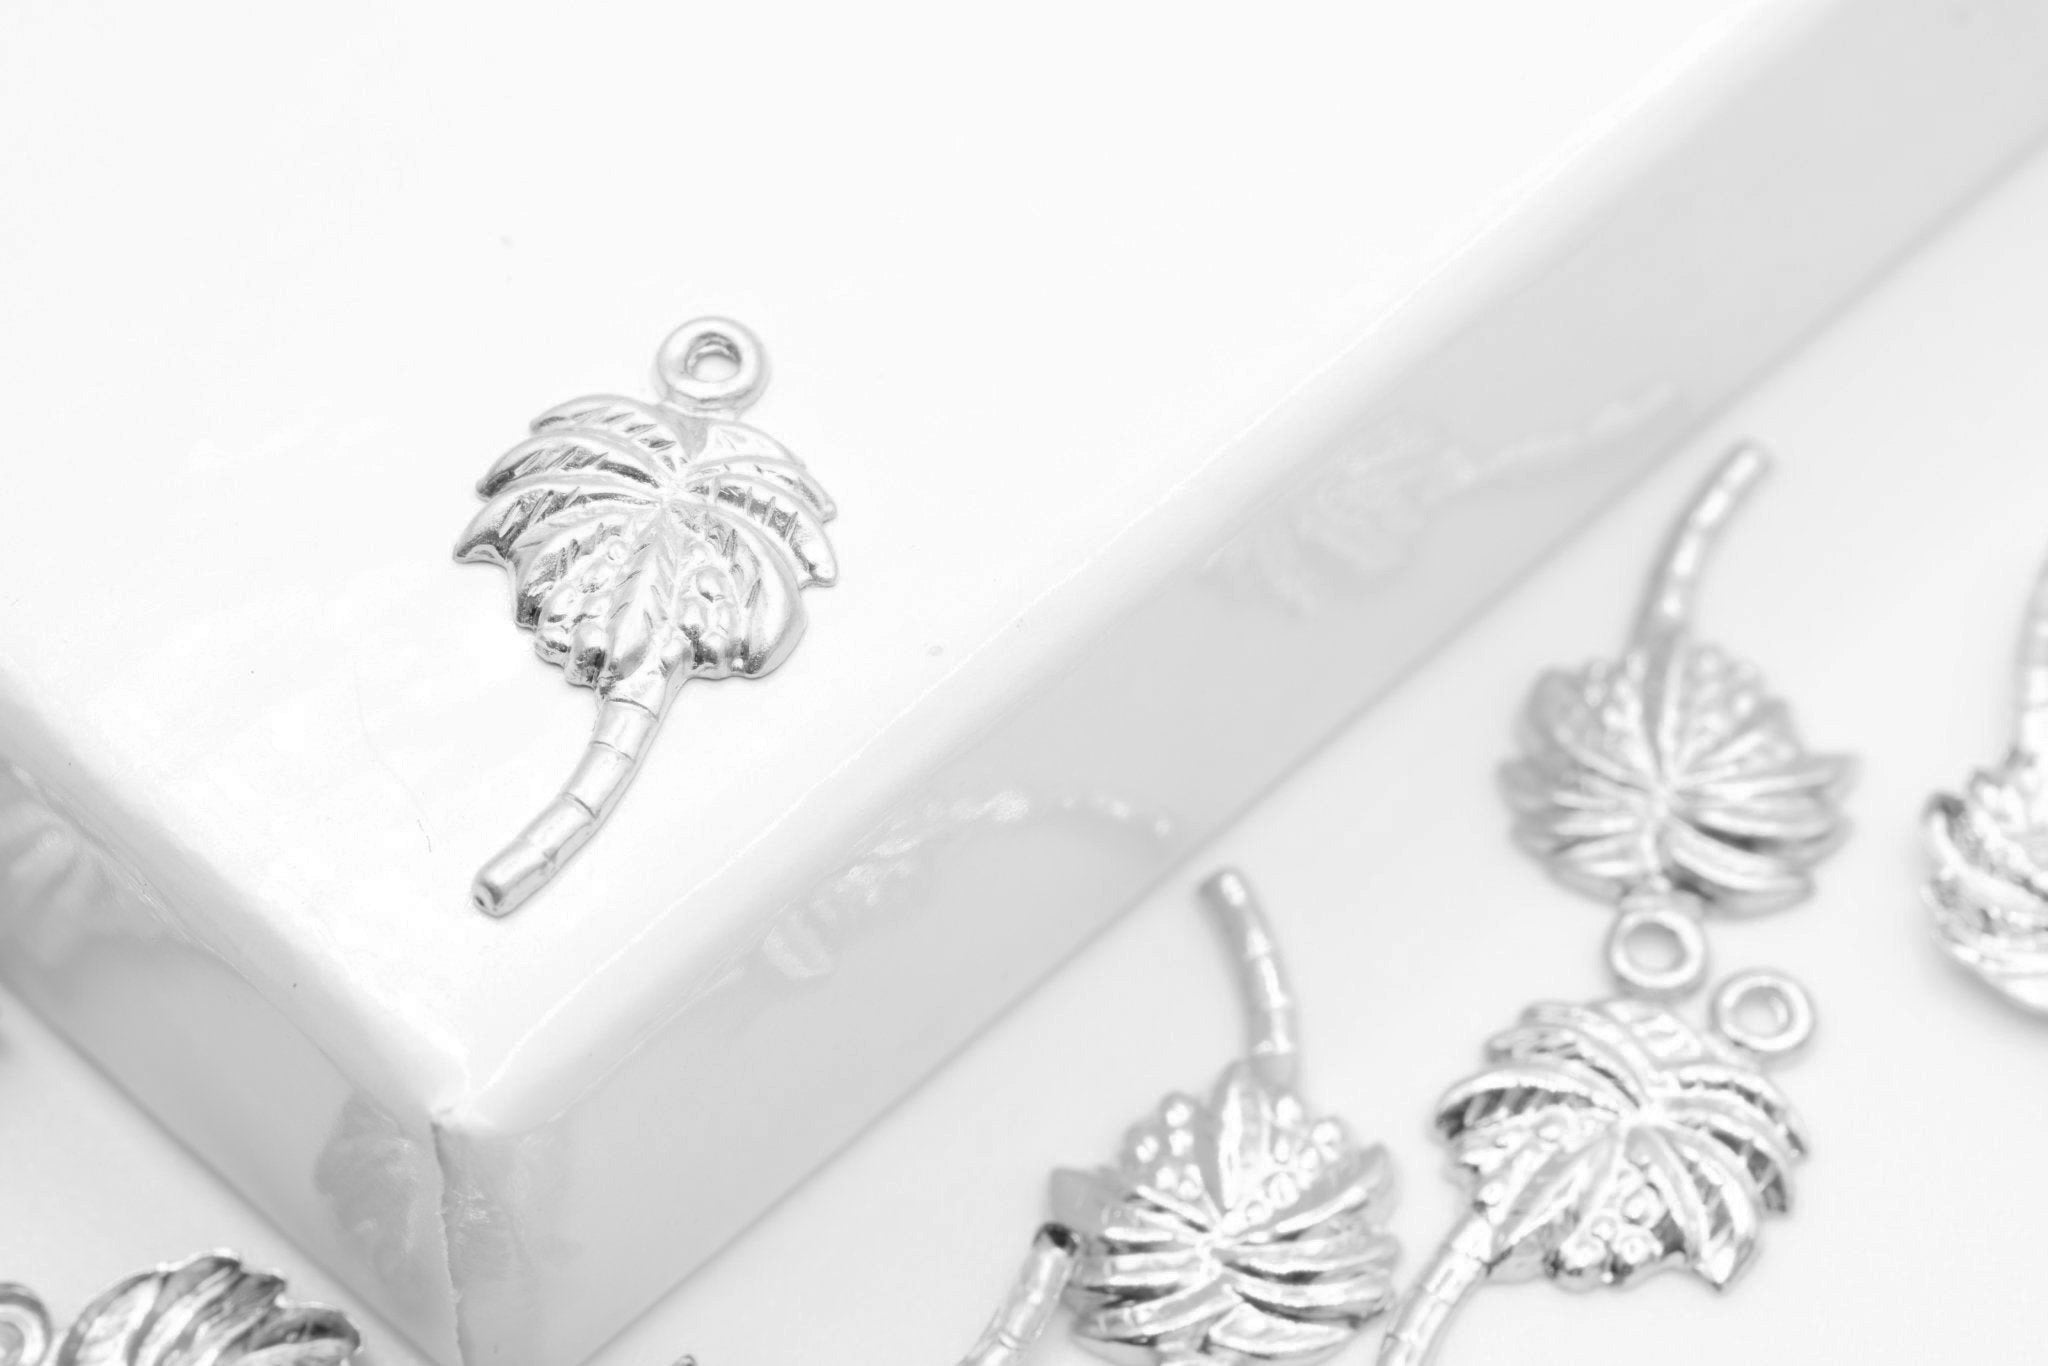
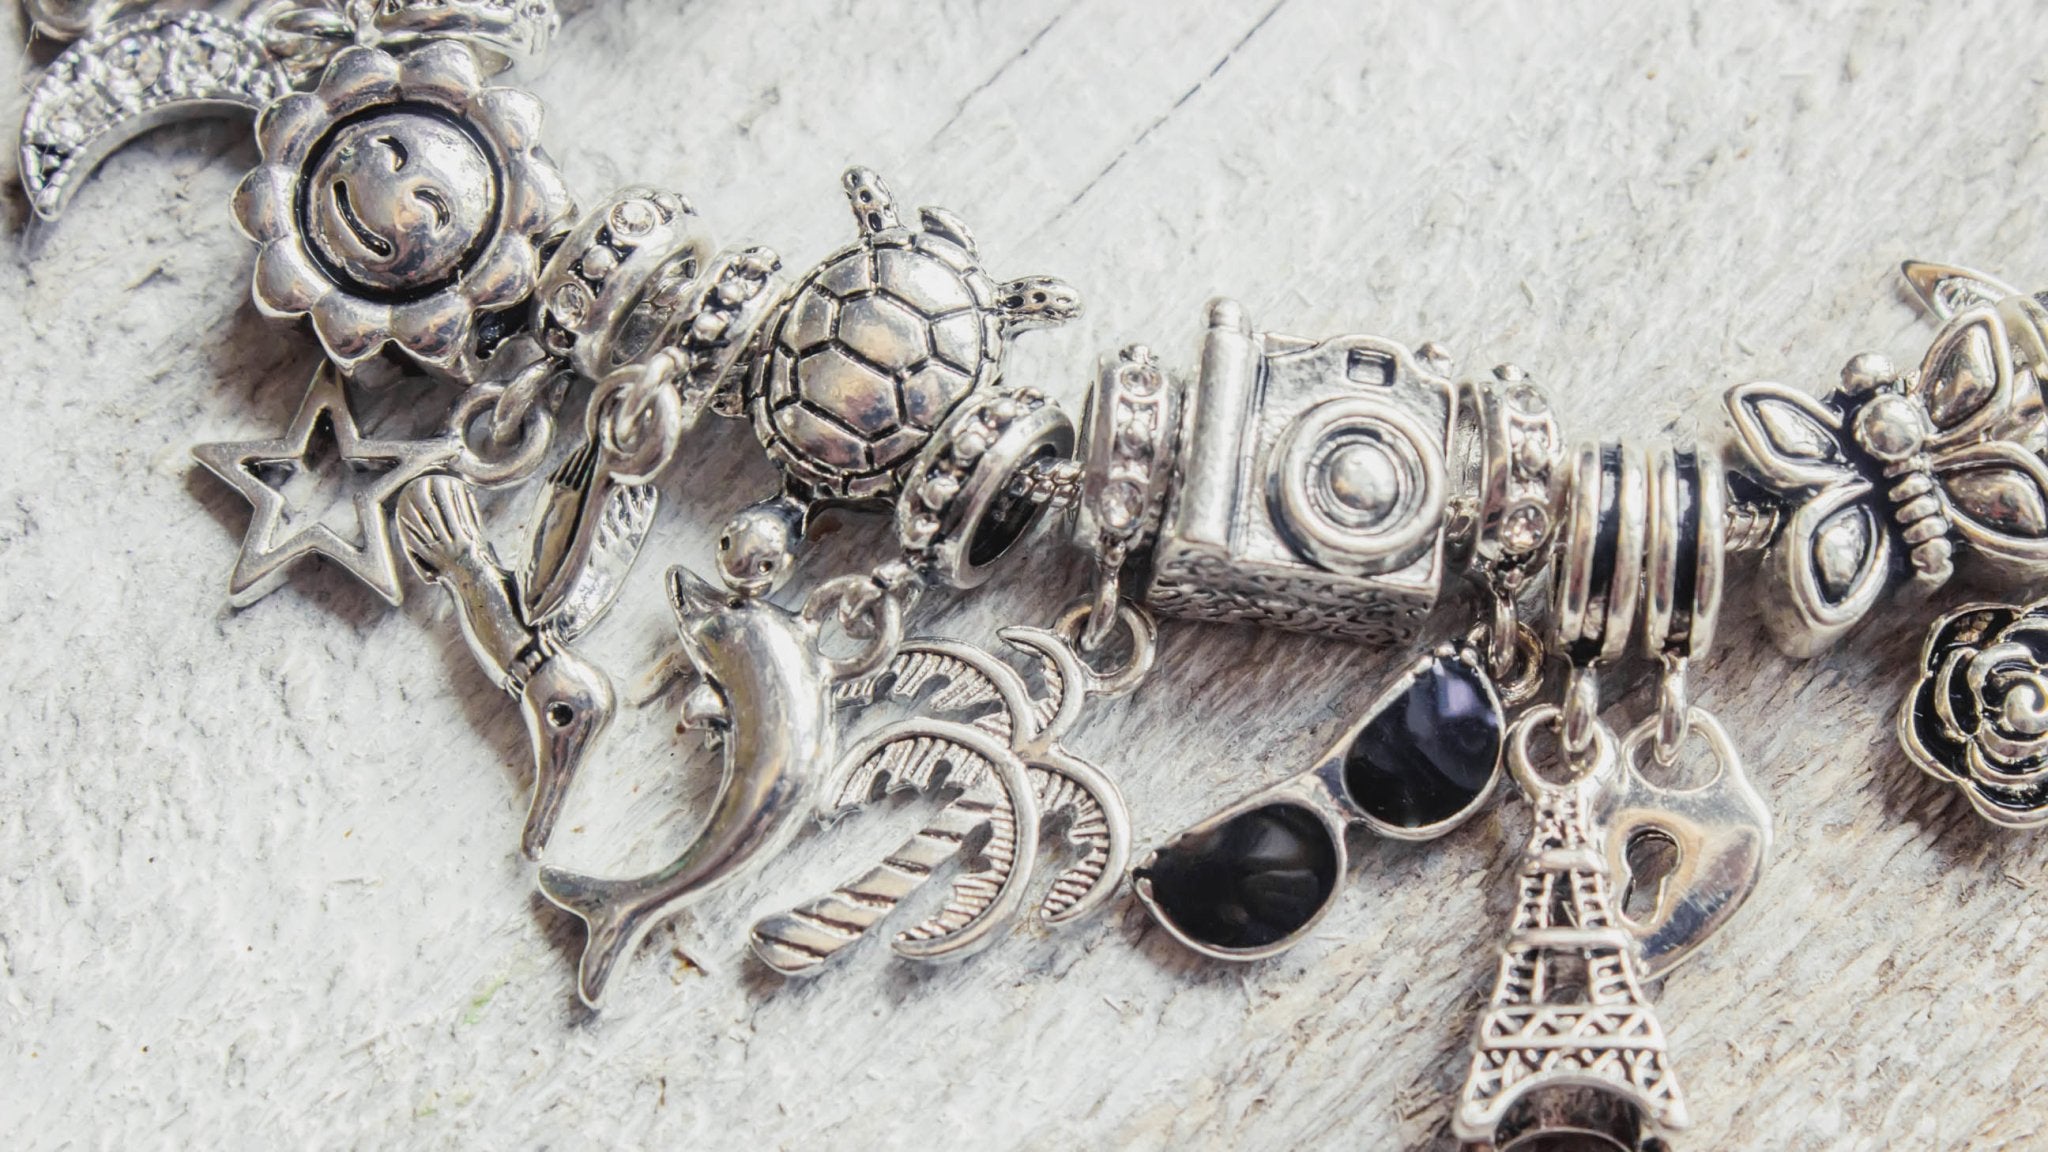
- Your choice of charms
- Jump rings
- Flat and/or needle nose pliers
- Scissors
- Soft tape measure
- Closures/clasps (depending on bracelet material)
- Beads (optional)
As a general rule, we always encourage buying more of these items than you think you’ll need. After all, accidents happen. Jump rings can - and invariably will - go missing, chain or cord will be cut too short, and closures may get bent out of shape. Keeping a plentiful stockpile is the best way to avoid these mishaps from throwing a wrench in your jewelry-making plans, so try to buy in bulk whenever possible.
Trying to keep your budget down but have a lot you want to craft? Wholesale options like our unfinished Figaro chains and pay by the foot 26 gauge wire offer high volume without the high prices, making them smarter investments for those who plan to sell their creations commercially or are otherwise dedicated to playing with several designs rather than just producing a bracelet or two.
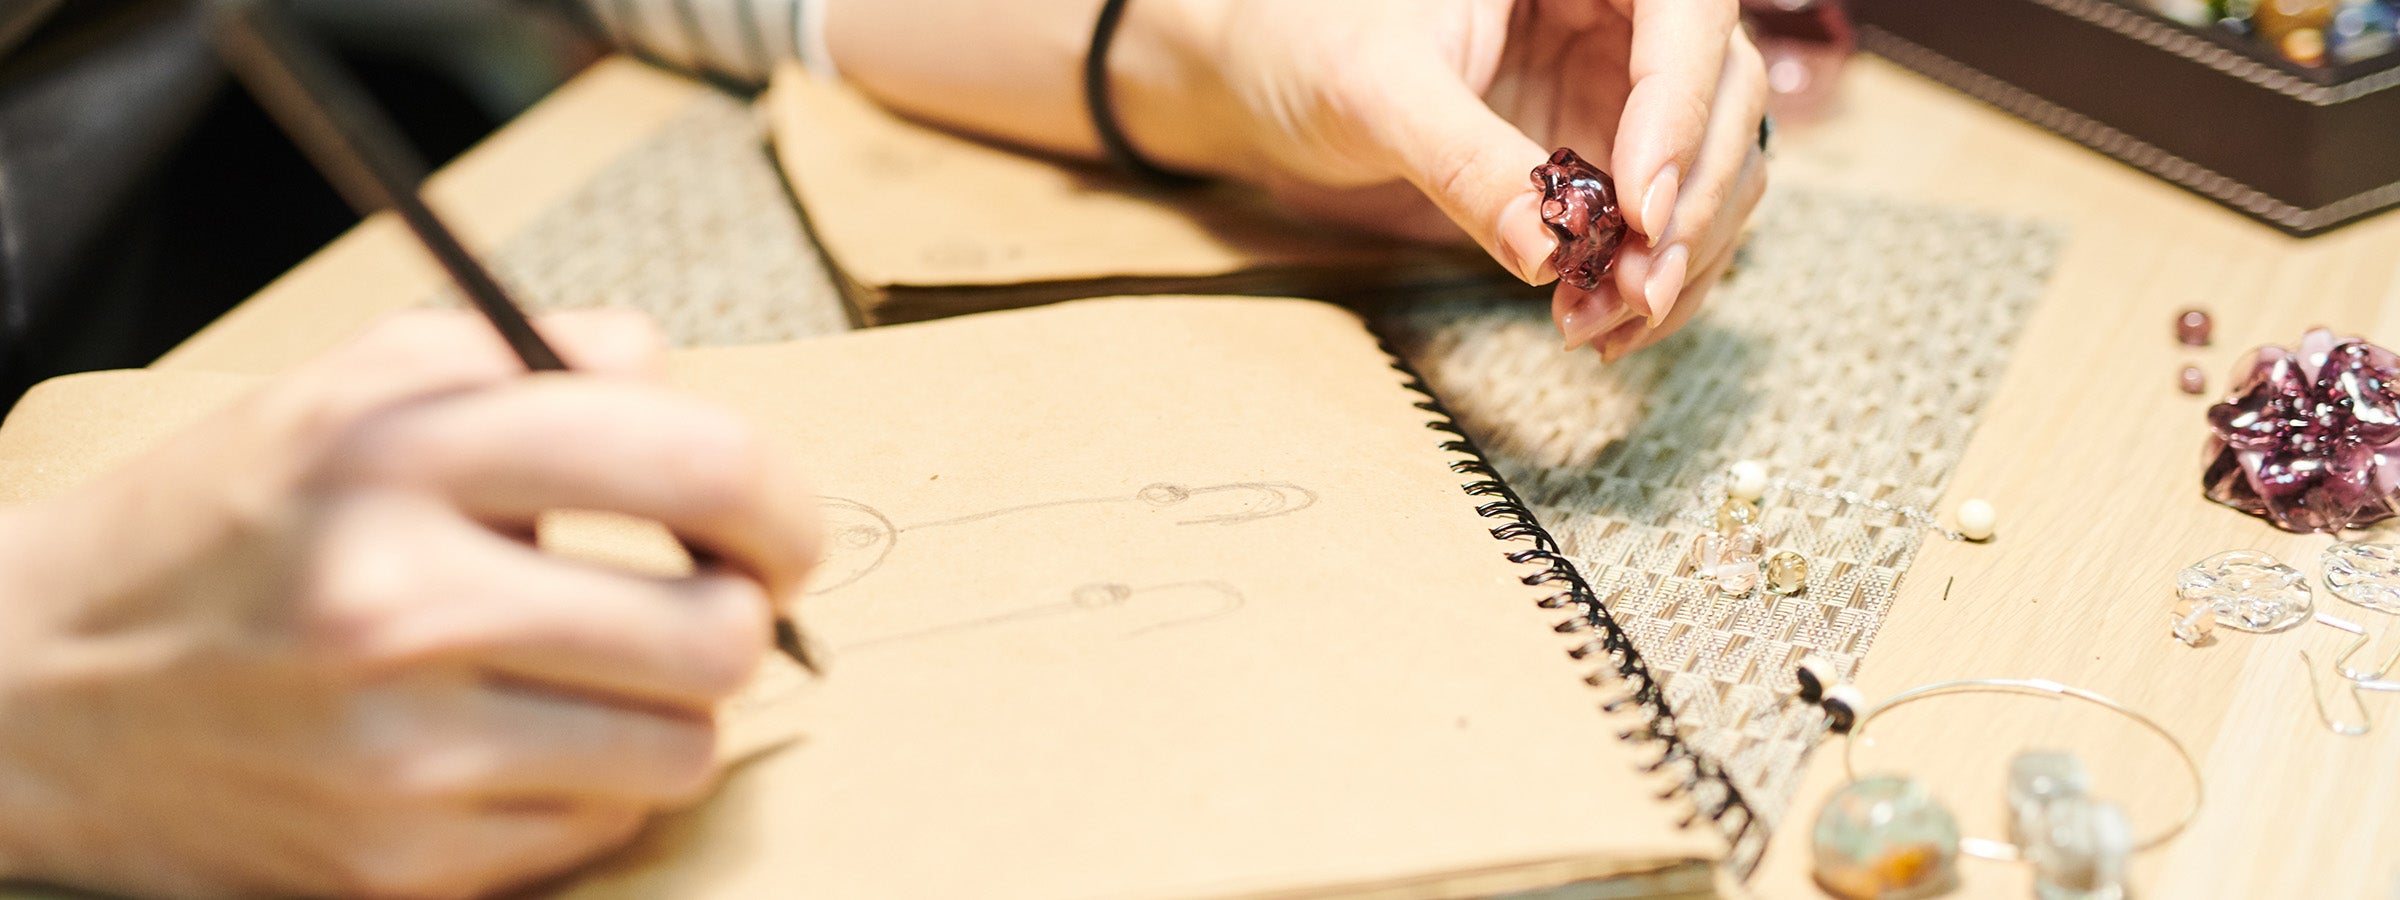
Step 1: Settle On Materials, Color Scheme, & Charms
Making jewelry of any sort is a fairly flexible affair, yet there’s undeniably one step that must come before all the rest: deciding on what you’re to make. Simple, yeah? Well, that largely depends on your imagination and creative vision. If you’re going in blind, this is by far the hardest step of the bunch, so take your time and think things through.
What kind of jewelry are you after? Do you want something elegant or rustic, bulky or elegant? Are you interested in understated pieces or bracelets bursting with personalized charms? Is traditional metal the move or would something more natural like leather work out better for your ideas? Do you have a particular color scheme in mind? Decide on the answer to these questions first and the rest will eventually fall into place. And when in doubt, seek inspiration elsewhere! You never know what will spark your interest or creativity.
Step 2: Measure/Cut the Bracelet Cord or Elastic String
After you’ve rounded up your basic bracelet-making supplies and settled on a design idea, you’re going to want to whip out your measuring tape to get a better feel for sizing. The ideal fit is really determined by three main factors: bracelet material, wrist thickness, and individual preference. Naturally, metal chain and other unyielding materials can use a little bit more slack whereas more forgiving ones such as soft leathers, elastic, cotton, and certain cords don’t need quite as much. People who prefer more fitted bracelets or have thinner wrists will also most likely do well with shorter lengths, though it will undoubtedly take a little trial and error to get precise measurements down to a science.
That being said, you have to begin somewhere, and a good starting point is to measure your wrist then add an extra inch to your bracelet’s final length. This will usually give a fairly comfortable and versatile fit, allowing for a bracelet that’s loose but not to the point it will rub and irritate the skin or potentially fall off. If it doesn’t feel quite right, you can always trim up the length further with some scissors or jewelry pliers.
Step 3: Add Your Final Touches
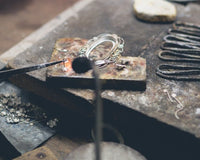
After you’ve figured out your bracelet’s length and have made the necessary cuts, it’s best to then focus on adding all those extra bits that make it a bracelet rather than a bare-bones scrap of chain or cord. Since this includes closures/clasps, charms, and any jump rings you’ll be using to attach fun design components like charms and pendants, be sure to have those materials and jewelry pliers ready to go.
The process itself is thankfully straightforward - using said pliers, just twist open your jump rings, slide them onto your desired charm, and firmly shift them back into place where they connect to the bracelet. However, do watch carefully to make sure they’re properly closed and are spaced out evenly! Too many jump rings and charms or a few improperly placed can make even the nicest DIY bracelet appear cluttered and unprofessional.